
37 Gallery Wall Decor Ideas for Any Room in Your Home
Do you ever stare at an empty wall and feel completely stuck on what to put there? It’s a common problem. A bare stretch of drywall can feel about as exciting as sitting in a waiting room.
Good news: the right gallery wall idea solves that problem fast, and you don’t need any design training to pull it off.
You’ve got plenty of options for filling that empty space. Maybe you want to showcase family photos, add bursts of color, or mix frame styles for a collected-over-time look. A playful grid keeps a mixed layout from feeling cluttered, since the even spacing gives your eye a place to rest. Try pairing art prints with a mirror or two for added depth and light.
Aim for some visual balance as you plan the layout, but don’t be afraid to follow your instincts once the basic structure is in place.
1. Symmetrical Grid Layout with Matching Frames
 Save
SaveSix black-and-white photos, evenly spaced and hung in a straight row inside matching frames, create an instantly polished look. This layout works well above a sofa or a bed, where the horizontal line echoes the furniture below it.
 Save
SaveThe clean lines give the whole wall a calm, orderly feel, but precision matters here. A single crooked frame will be obvious immediately, so check each one with a level before you commit to nail holes.
 Save
SaveMatching frames and mats pull this look together, so pick a consistent style before you start hanging. Choose photos with a common thread, such as family portraits or landscape shots, so the set reads as one collection instead of six random pictures. Budget-friendly frame lines sold at big box furniture stores are a good option here since every unit in the line looks identical.
Uneven walls can complicate this project, and perfectionists may find the setup frustrating if the plaster or drywall underneath isn’t perfectly flat.
2. Vintage Frame Charm with Mismatched Prints
 Save
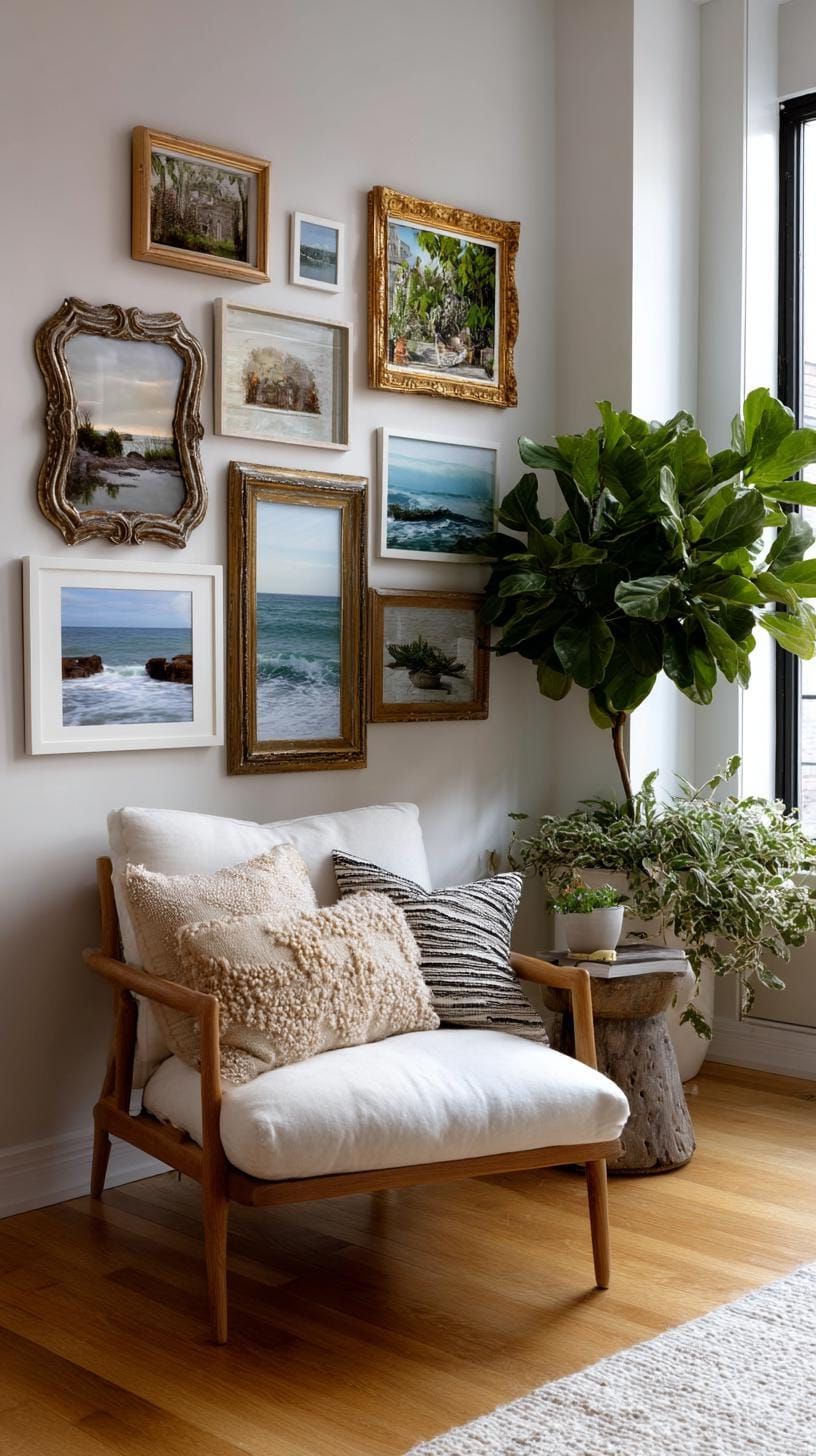
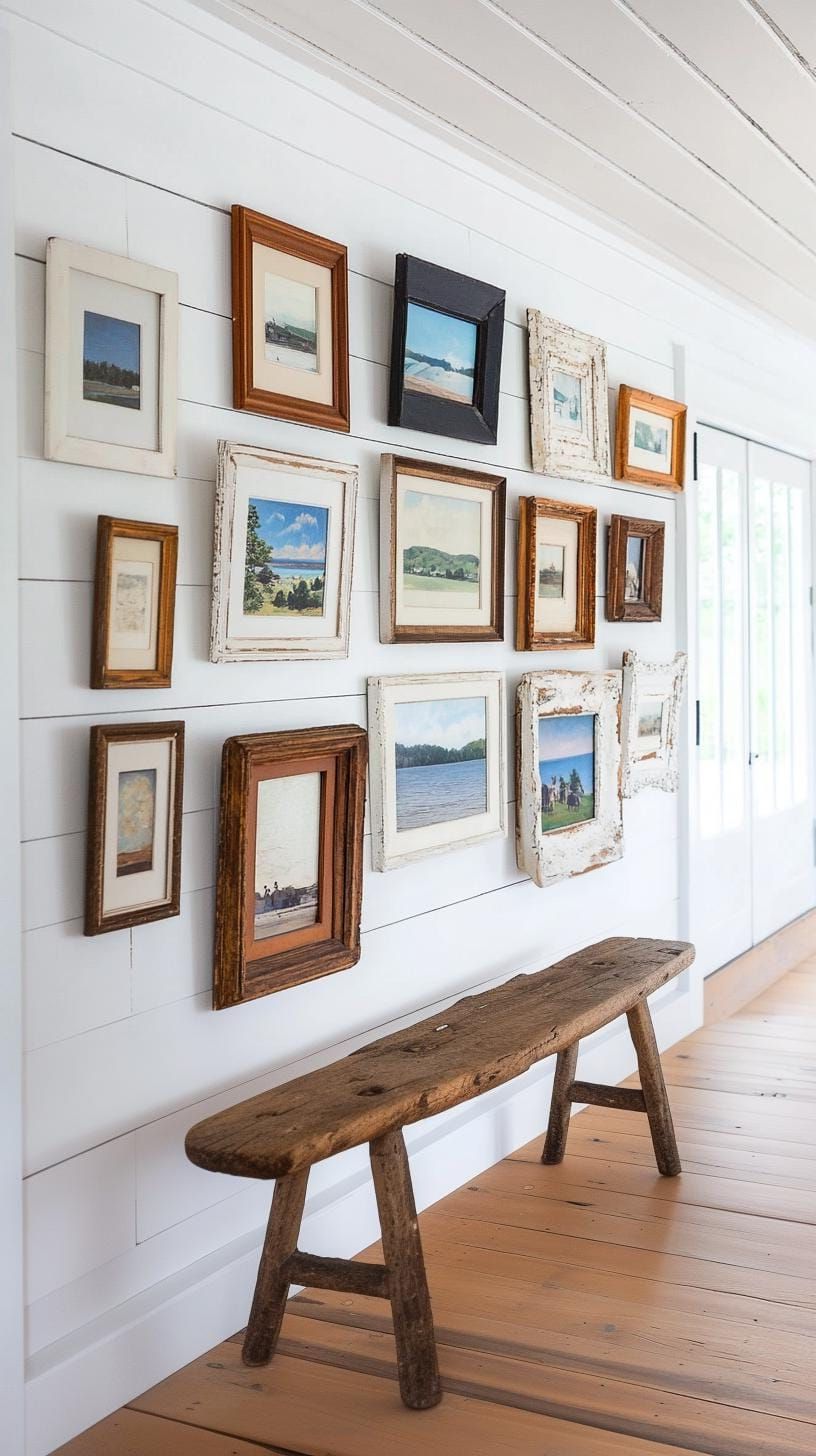
SaveThink of a grandmother’s attic reimagined for a modern living room: a collection of antique frames, no two alike, each holding a botanical sketch or an old travel print. Skip perfect symmetry here and let every frame stand on its own merits. This approach rewards a bit of personal history, like a frame passed down from a relative.
 Save
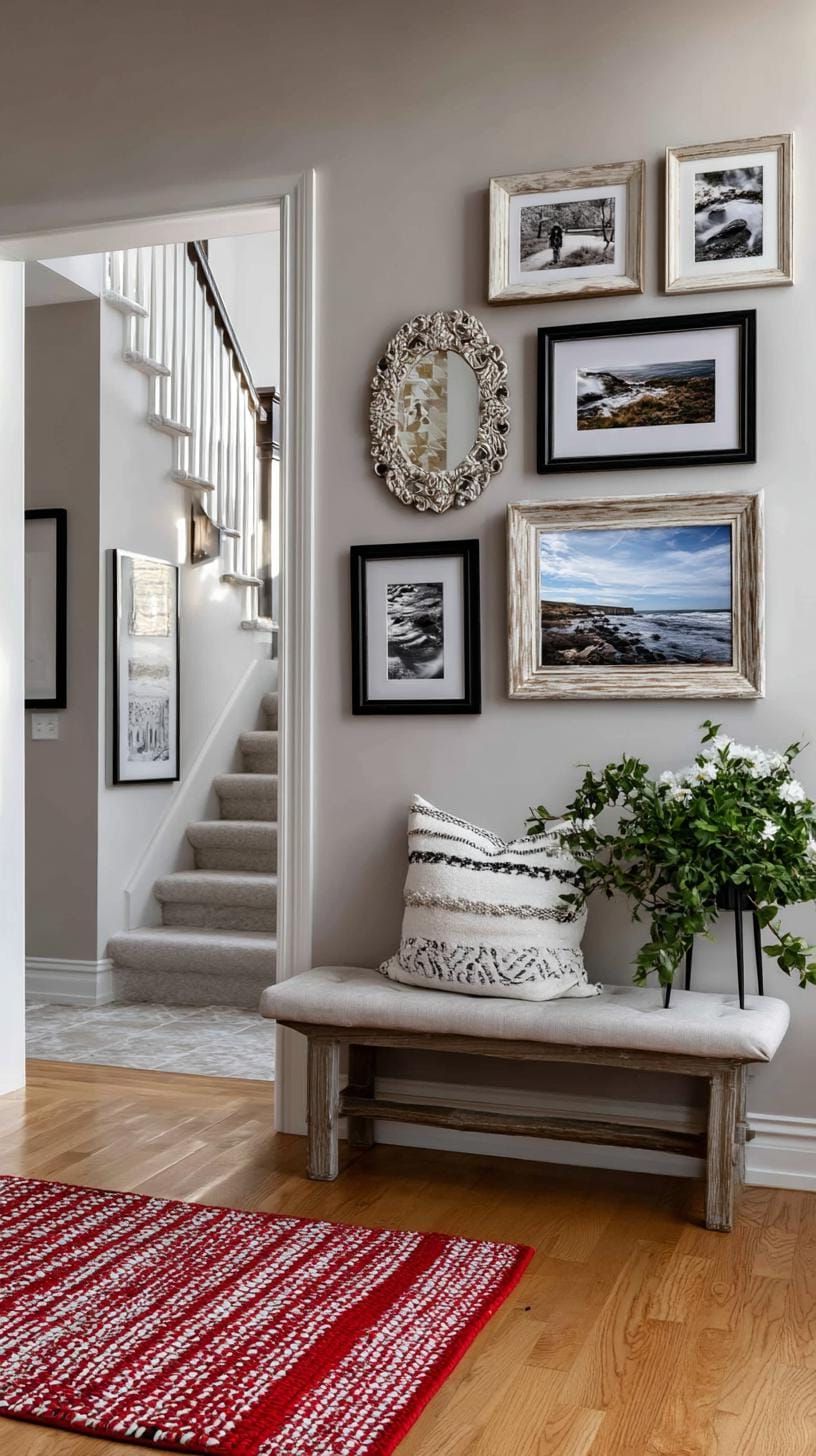
SaveCombine different frame shapes, finishes, and even a bit of natural wear for a look that feels like it belongs in an old storybook. Antique shops and flea markets are reliable sources for frames with this kind of character.
 Save
SaveLay every frame out on the floor first and test a few arrangements before you pick up a hammer. Groupings with an odd number of pieces, three, five, or seven, tend to look more natural than even ones.
This style feels warm and lived-in without looking sloppy. Watch out for overcrowding, since too many ornate frames packed together can turn busy fast. Leave breathing room between pieces and keep the subject matter loosely connected, whether that’s nature, travel, or family history, so the wall still reads as a set.
3. Floor-to-Ceiling Photo Column
 Save
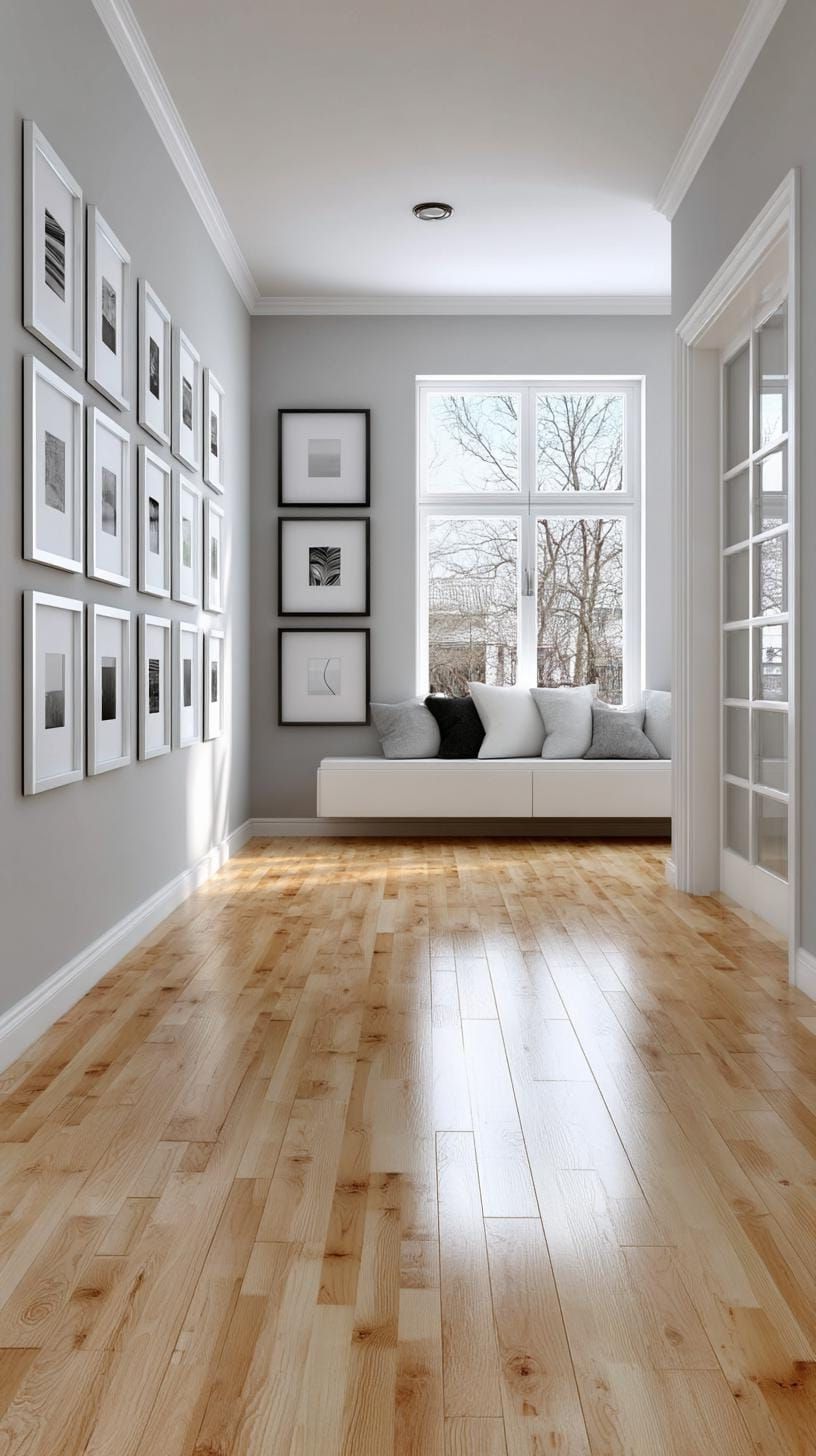
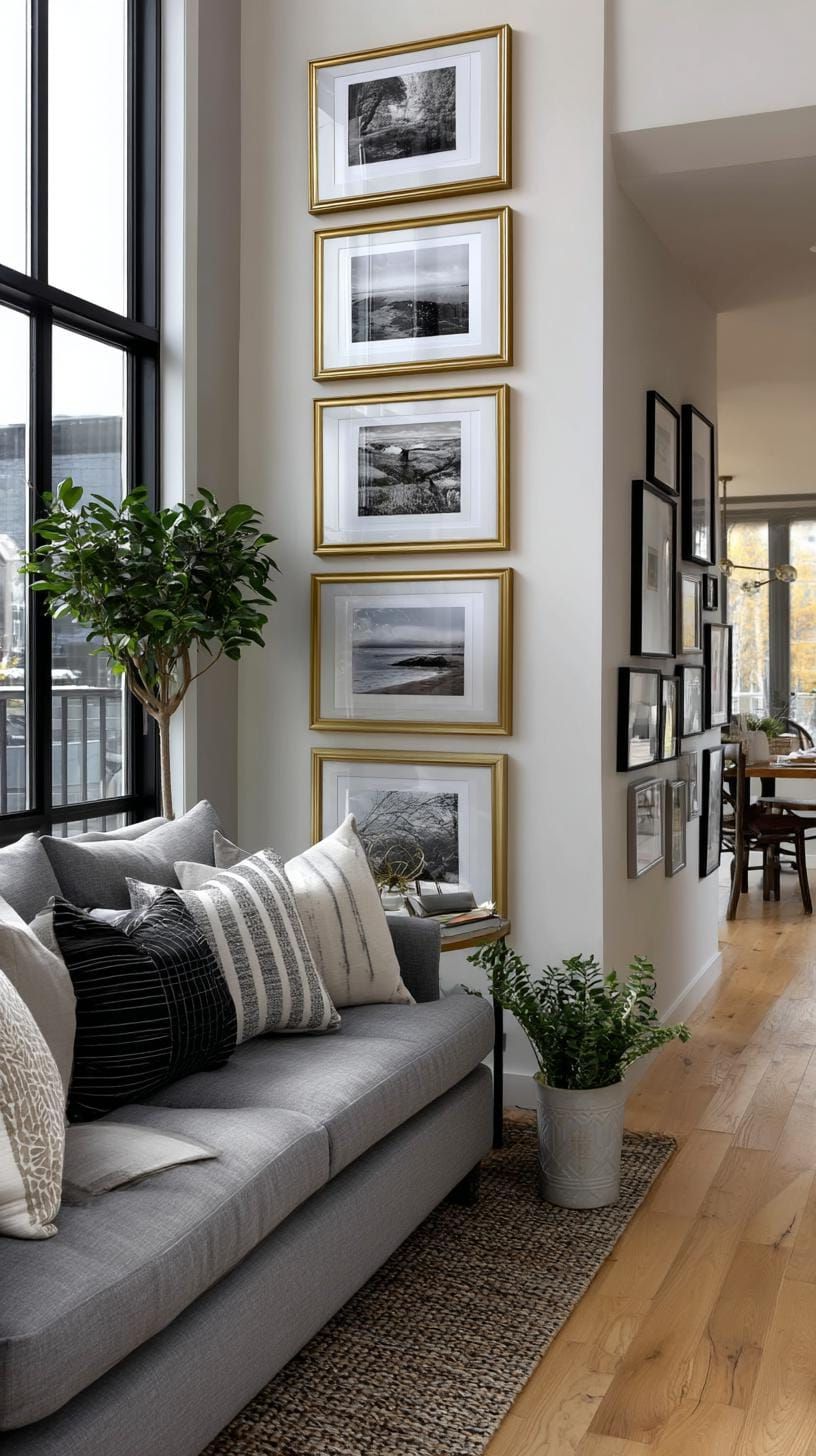
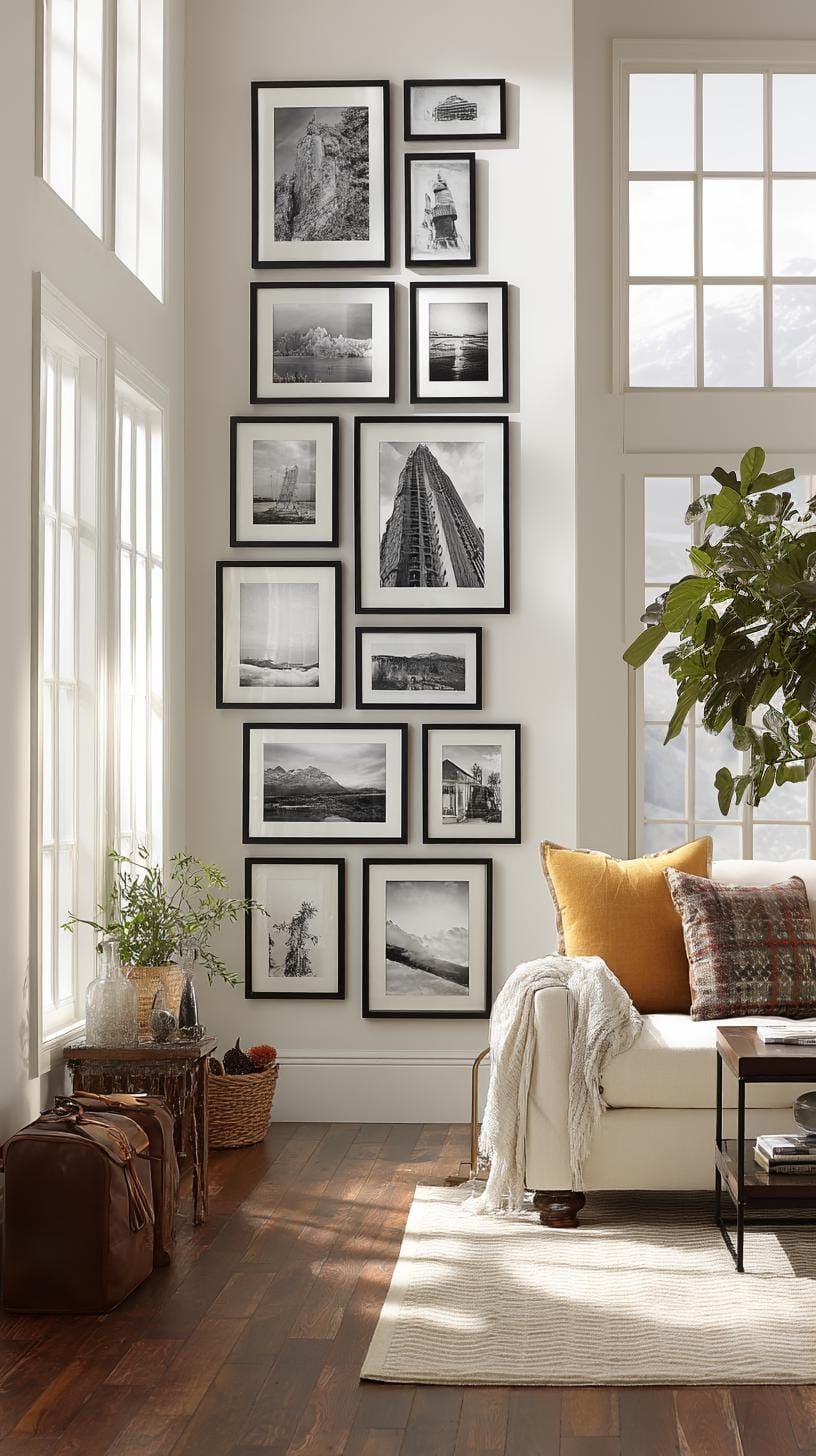
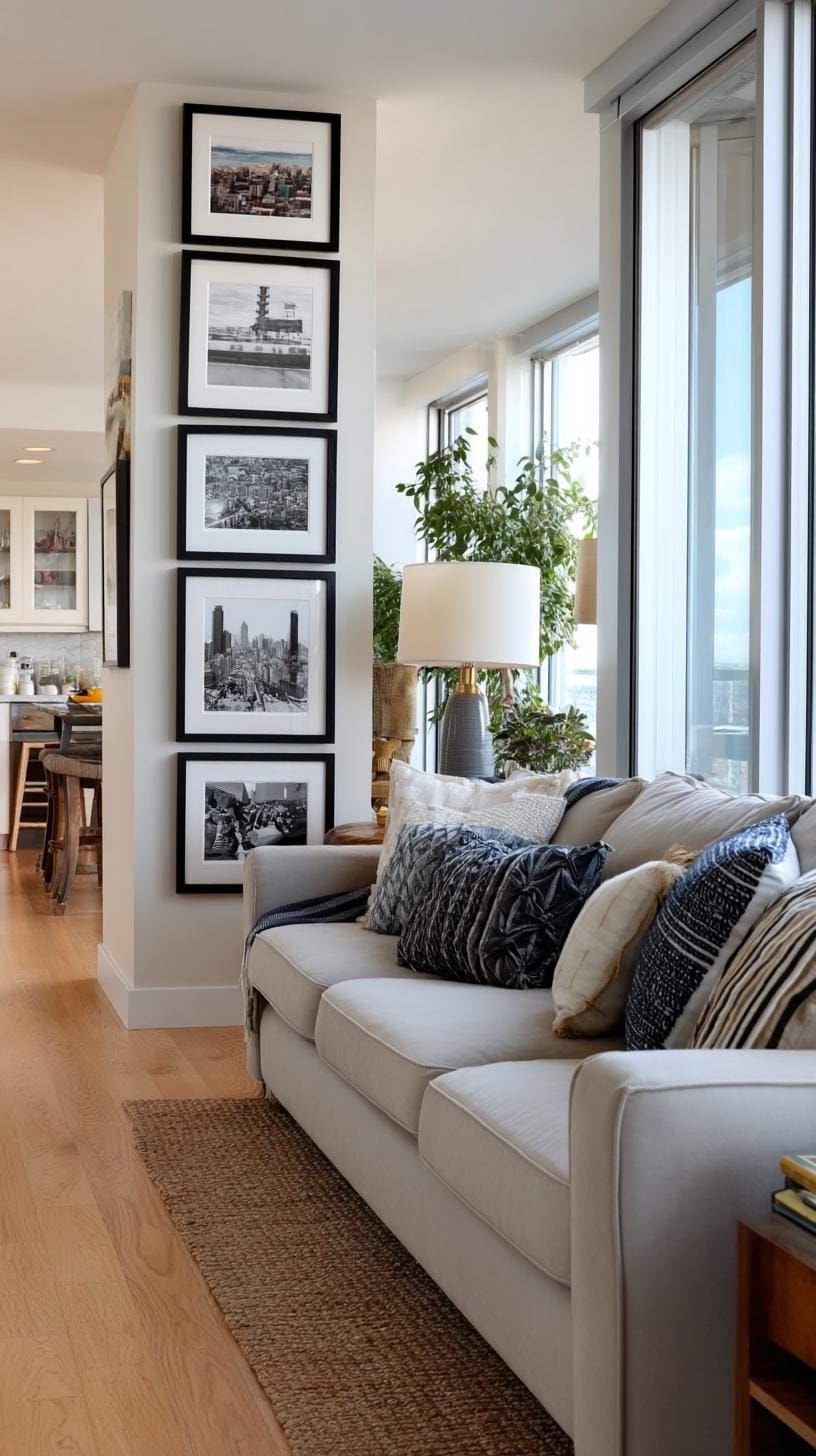
SaveA tall, narrow column of framed photos running from floor to ceiling works especially well in tight spots like hallways or the wall beside a doorway. Stacking frames vertically also tricks the eye into thinking the ceiling sits higher than it does.
 Save
SaveBreak up the column by alternating black-and-white portraits with a few color prints for contrast. Sticking to one frame style from top to bottom keeps the whole column looking intentional rather than thrown together.
 Save
SaveOne practical note: frames near the bottom of the column collect more dust, so plan on wiping them down more often than the ones up high. Renters should reach for adhesive wall strips instead of nails to keep the wall damage-free.
That means you can enjoy a tall, dramatic display without risking your security deposit when you move out.
4. Horizontal Art Row Above the Sofa
 Save
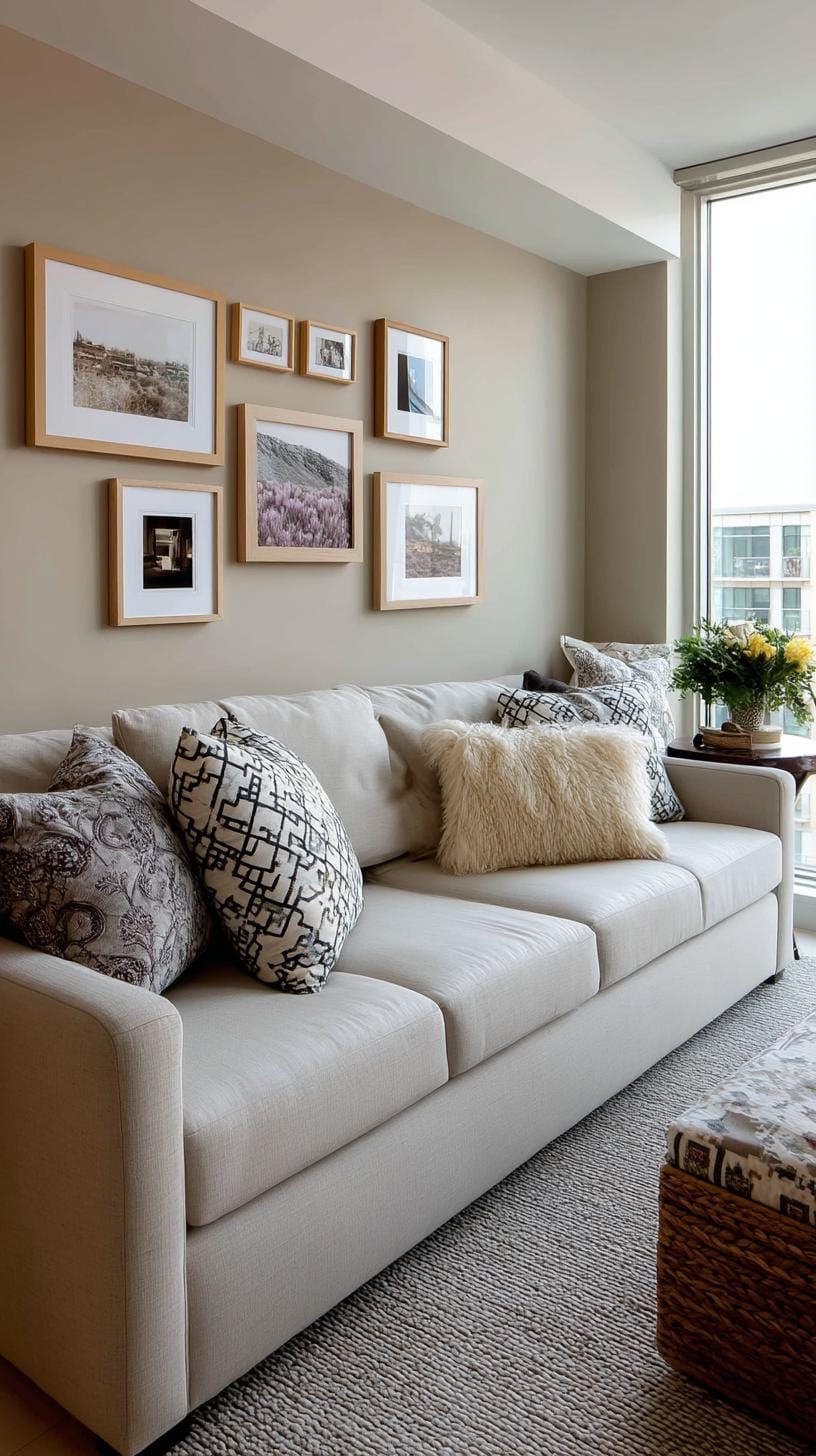
SaveHanging artwork directly above your sofa gives the seating area a clear focal point and helps ground the room visually. Three prints of matching size, spaced evenly in a row, create a clean, cohesive line above the cushions.
 Save
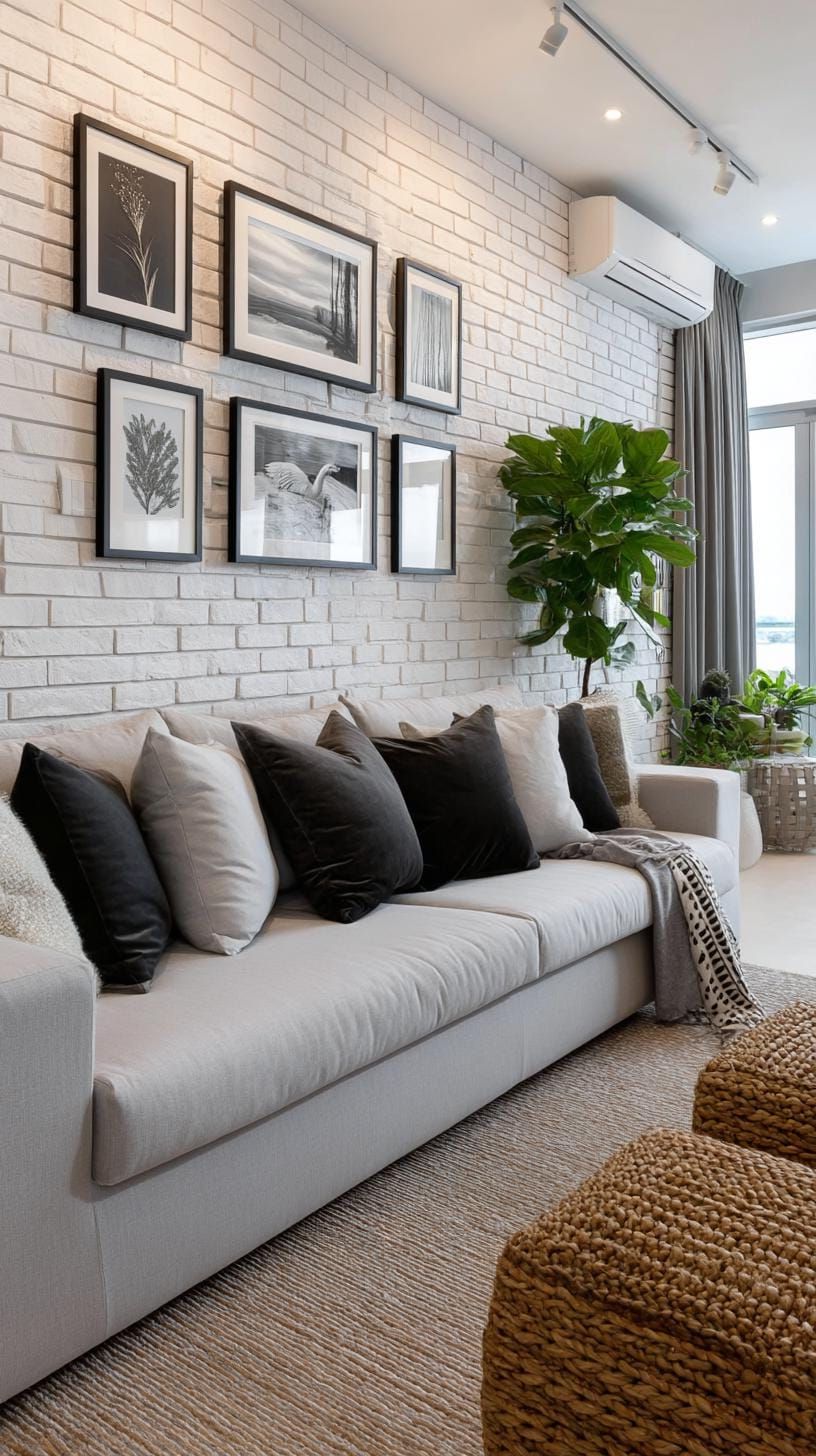
SaveFor more personality, mix frame colors while keeping the gaps between them identical. This trick works well with landscape shots, abstract art, or black-and-white photography, and it lets you swap in new frame finishes later without redoing the whole layout.
 Save
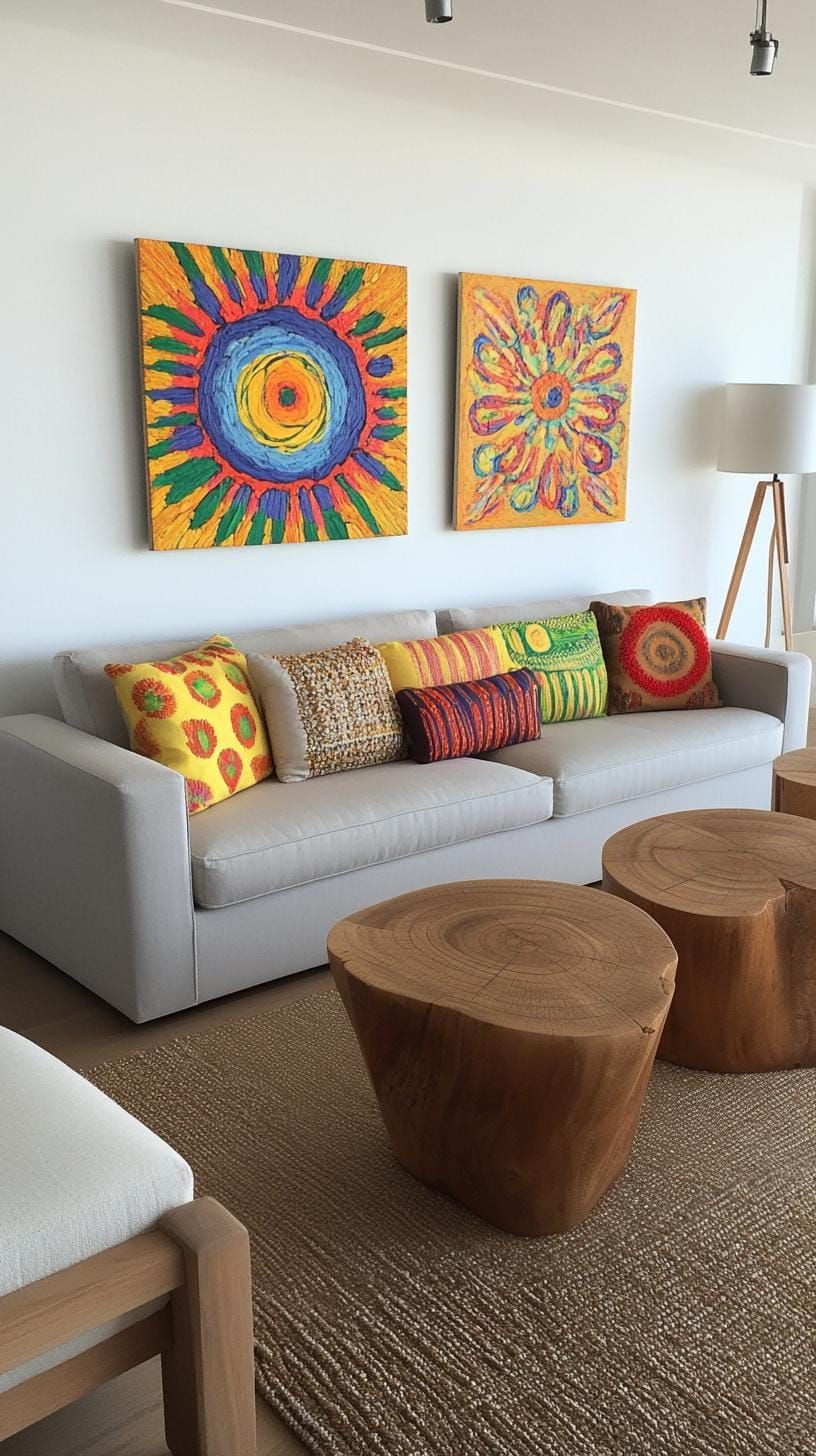
SaveScale matters more than most people expect in this layout. Undersized art floating above a large sofa looks off, similar to tiny shoes on a tall person. A good rule of thumb is to choose pieces that together span at least two-thirds of the sofa’s width.
Setup and rearranging are simple with this layout, though swapping out a single print later usually means adjusting the spacing of the others to keep things looking even.
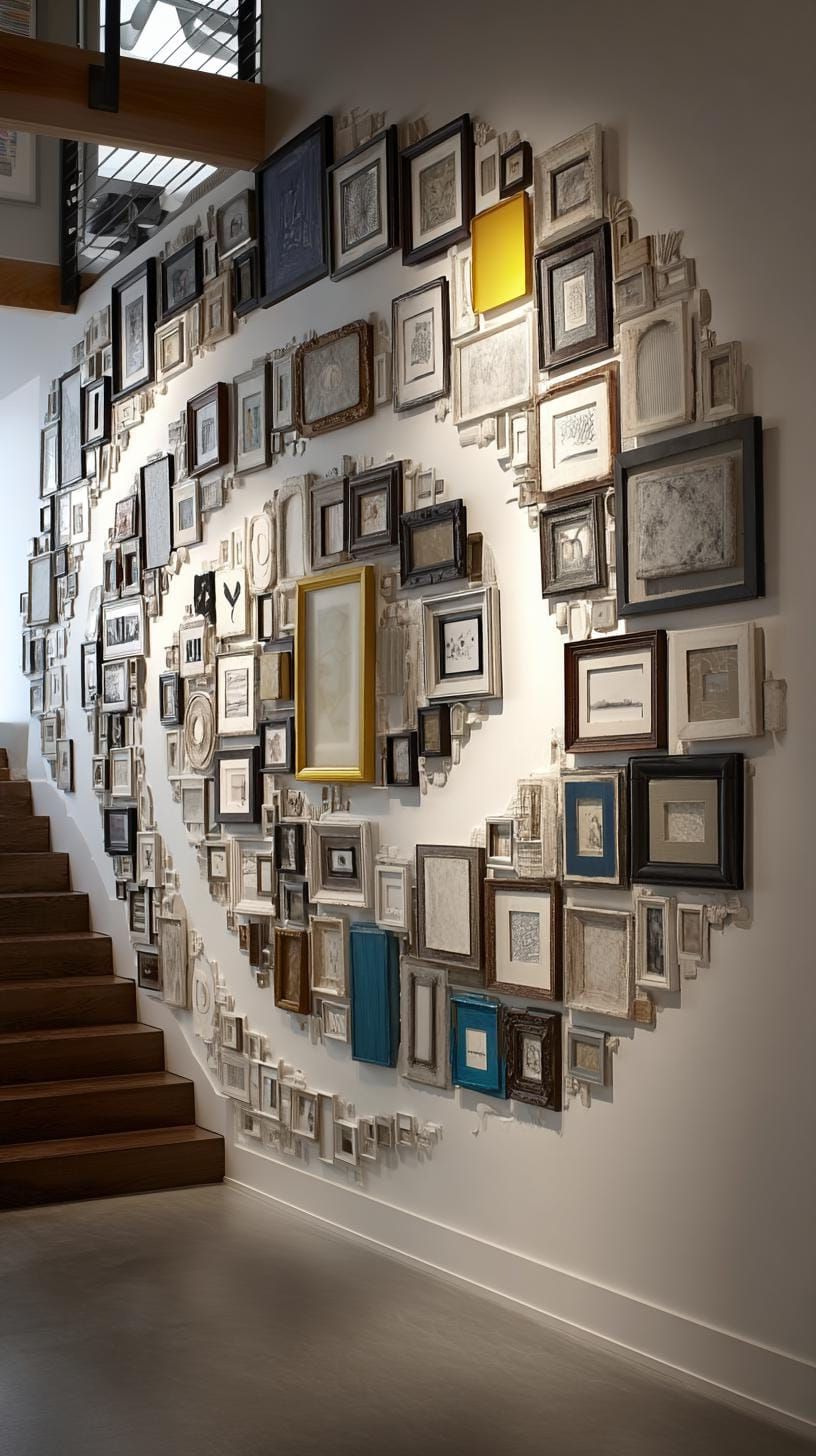
5. Spiral Art Formation for a Playful Twist
 Save
SaveGallery walls don’t have to follow straight lines or rigid grids. A spiral formation breaks the usual rules by curving outward from a central piece, letting the arrangement wind around the wall instead of marching across it.
 Save
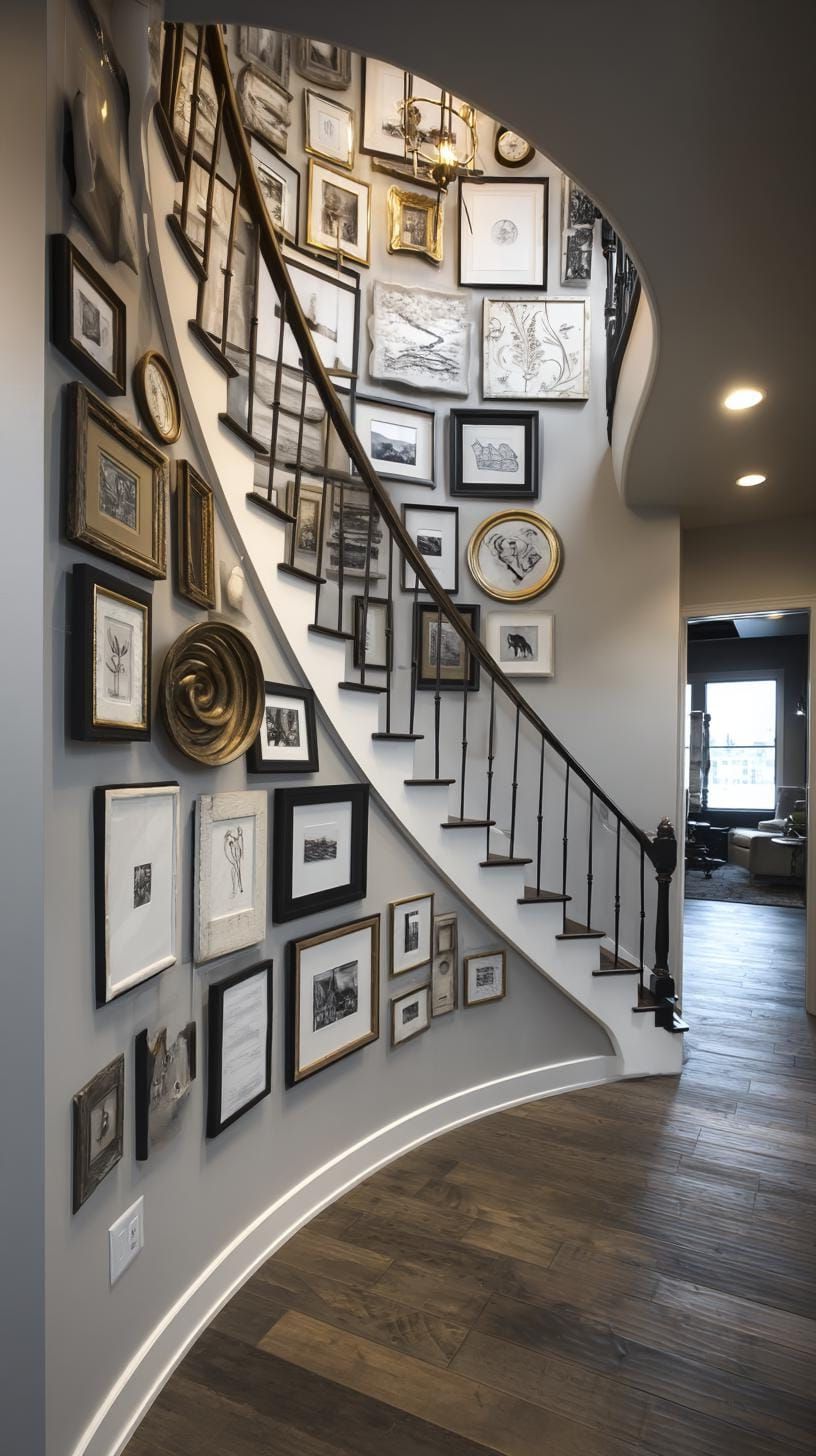
SavePicture each frame twisting outward like the layers of a fresh cinnamon roll, unwinding as it moves toward the edges. The effect is playful and a little unexpected.
 Save
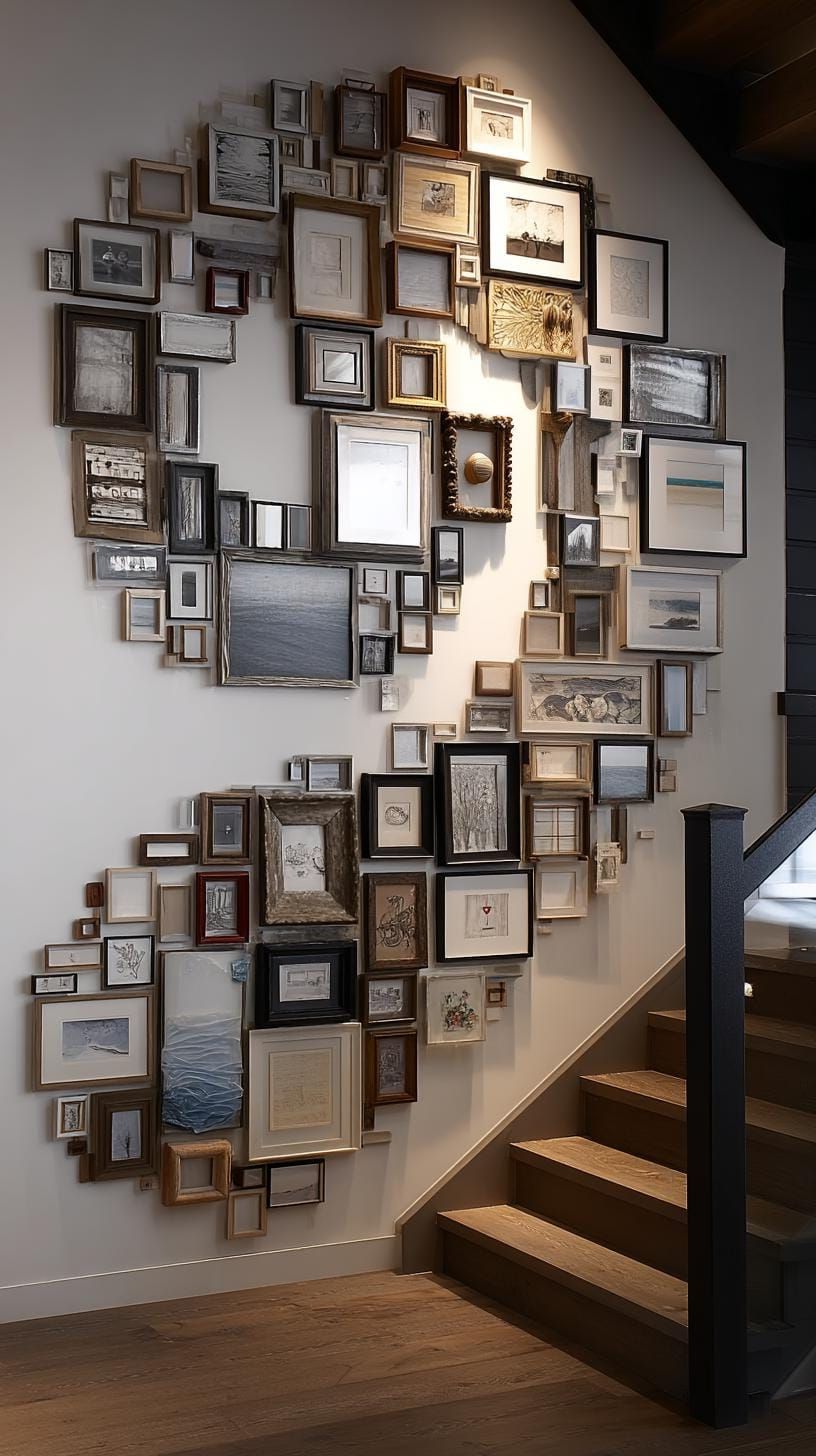
SaveThis layout welcomes a mix of frame sizes and shapes, and overlapping edges add extra visual movement. Keep an eye on overall balance, though, since too many swirling elements at once can start to feel chaotic instead of dynamic.
Anchoring the spiral with one bold painting at the center gives the eye a place to land first. Precise spacing matters here more than in a straight grid, since an off-center anchor throws the whole spiral out of balance.
6. Frameless Art Display for a Relaxed Look
 Save
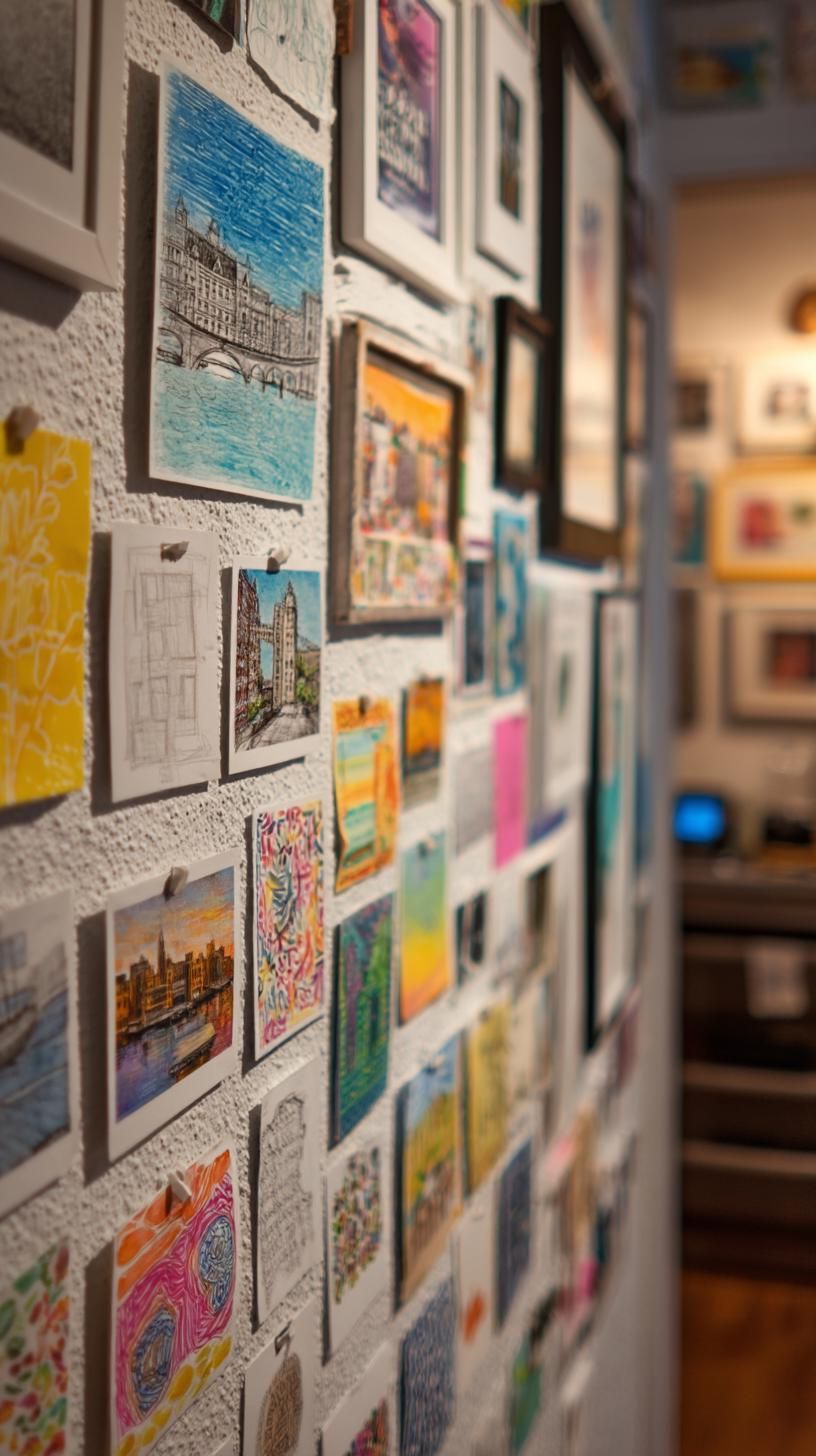
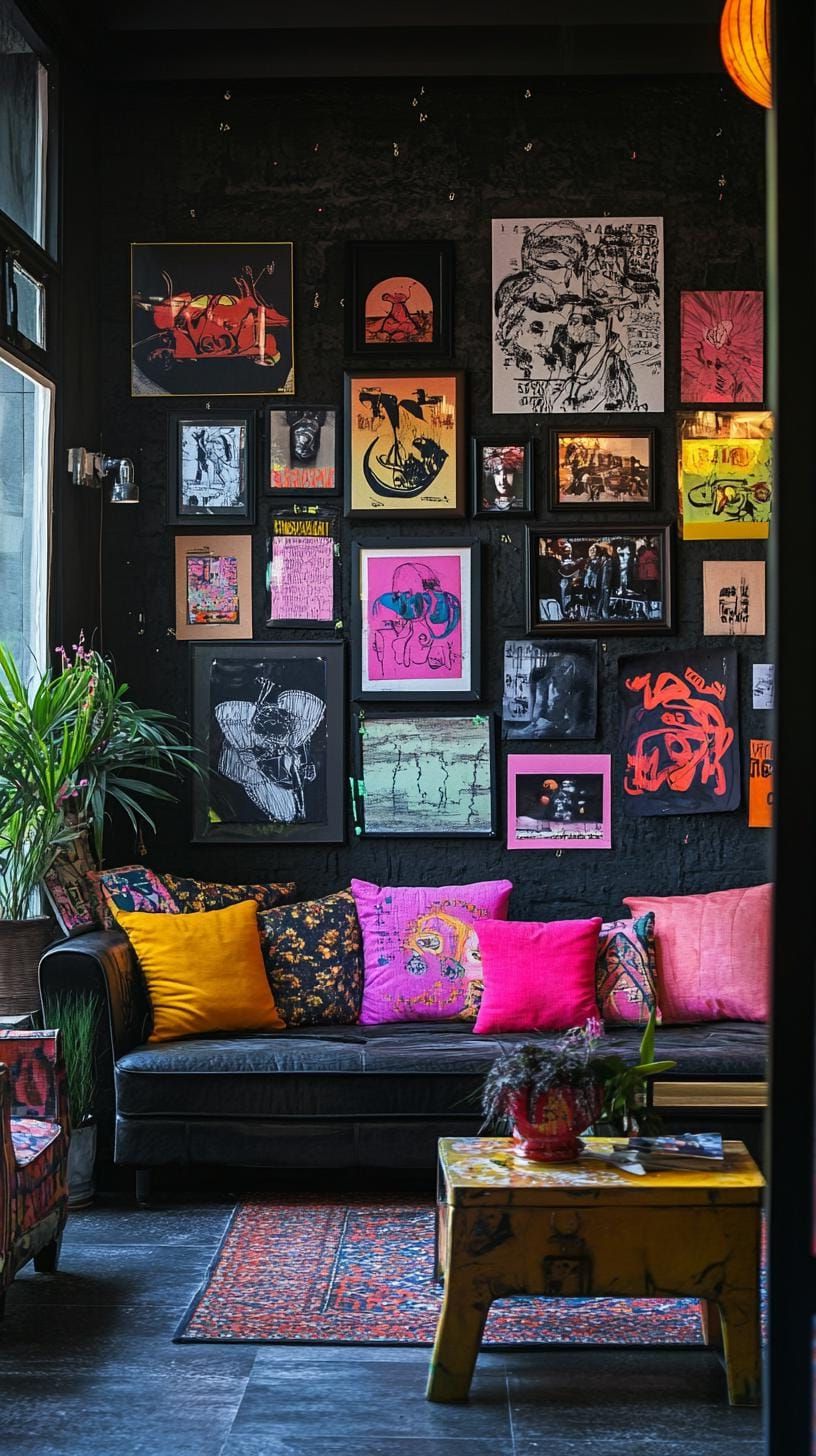
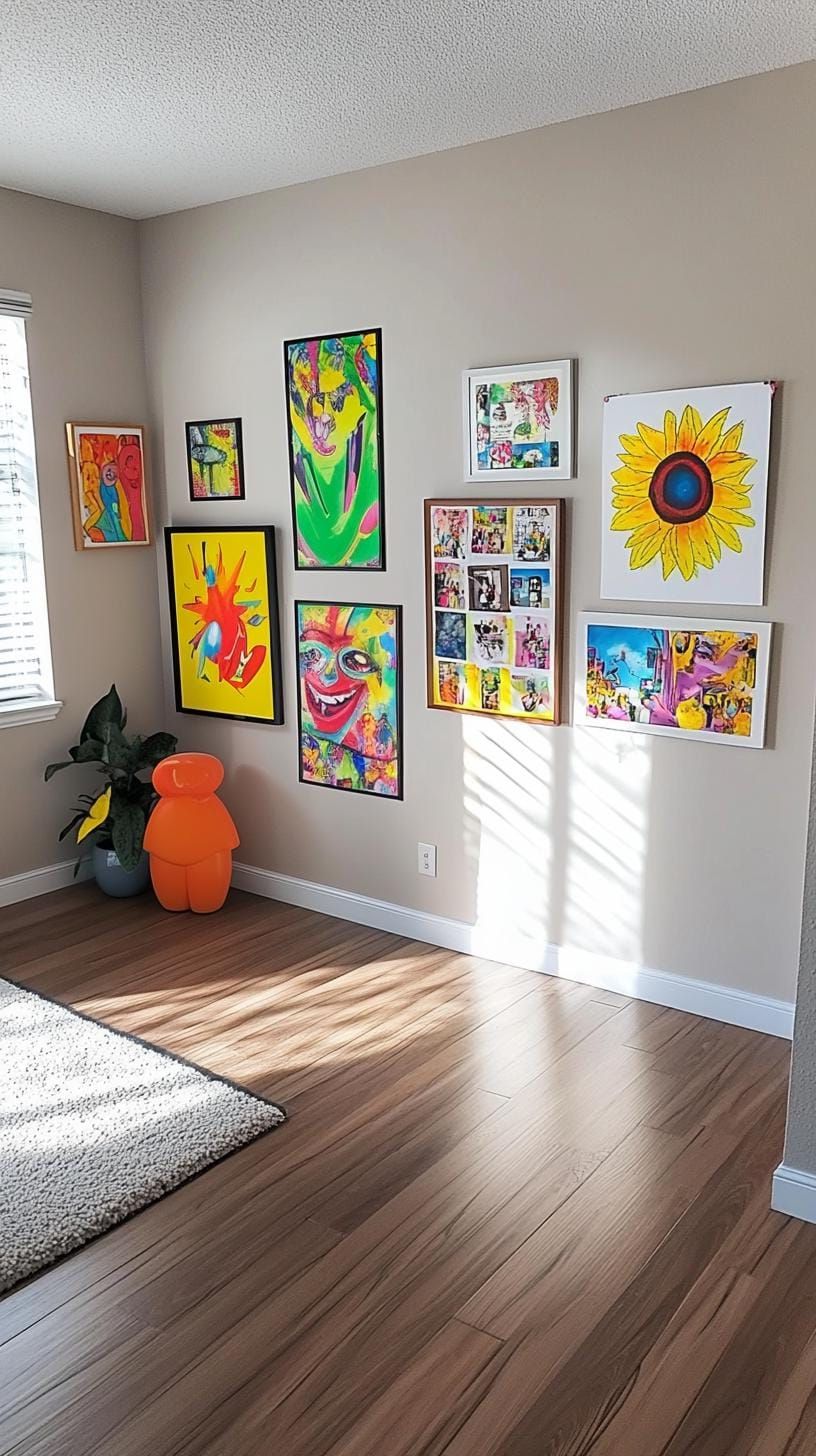
SaveSkipping frames entirely and taping or pinning art straight to the wall gives a room a relaxed, low-cost look. It’s also one of the easiest displays to update as your taste changes over time.
 Save
SavePostcards, sketches, or clippings torn from magazines all work well in a loose grid or a zigzag pattern. Skip the ruler and measuring tape here, and just move pieces around the wall until the spacing feels right by eye.
 Save
SaveThis approach isn’t without downsides. Unframed paper can curl at the corners over time, and it’s more prone to tearing, especially in humid rooms like bathrooms or basements.
Pins and artist’s tape avoid the wall damage that comes with heavy hardware, which matters most for renters. Washi tape adds a pop of color at the edges and peels off cleanly if you decide to rearrange the layout later.
7. Leaning Frames on a Floating Shelf Ledge
 Save
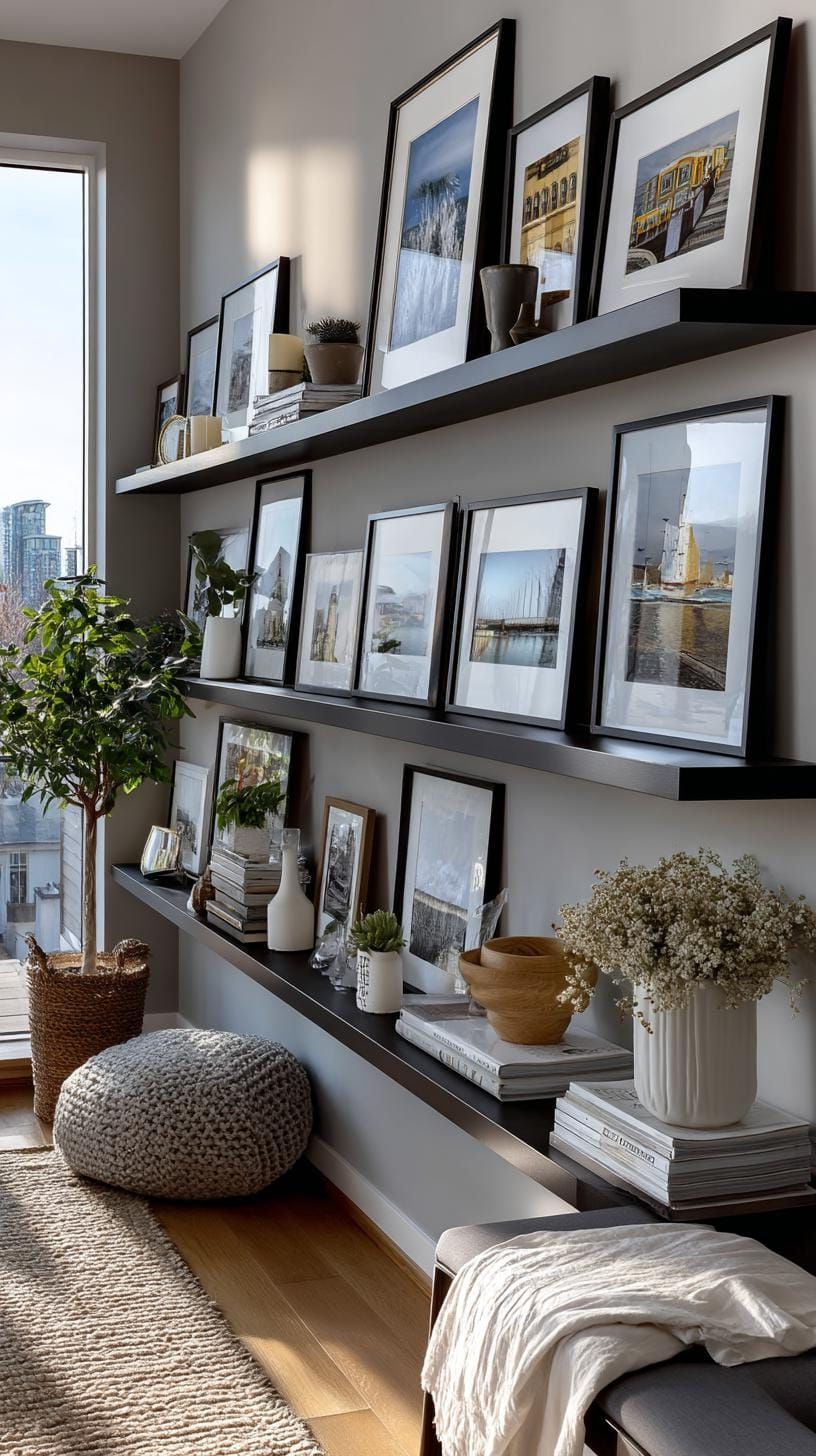
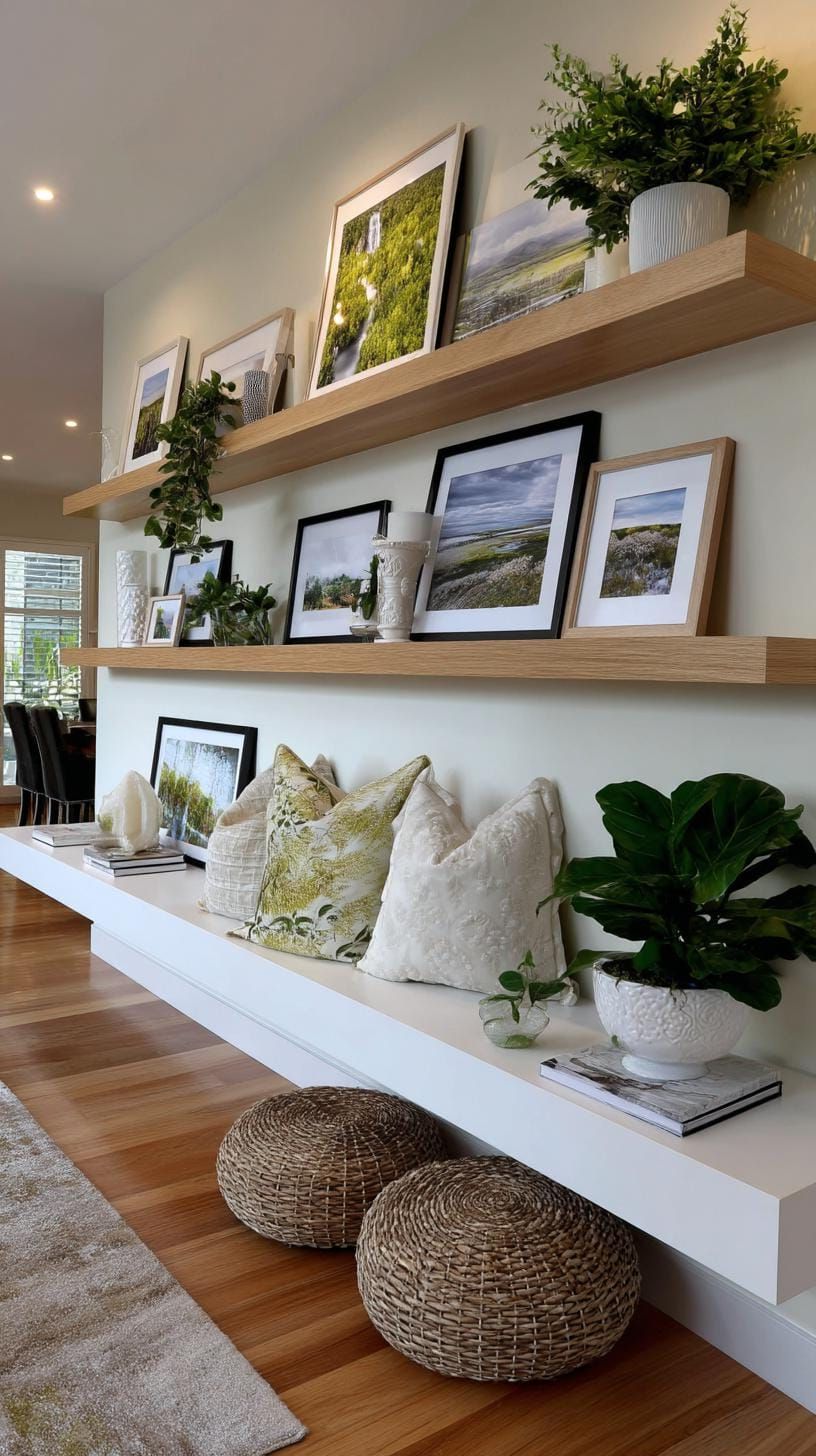
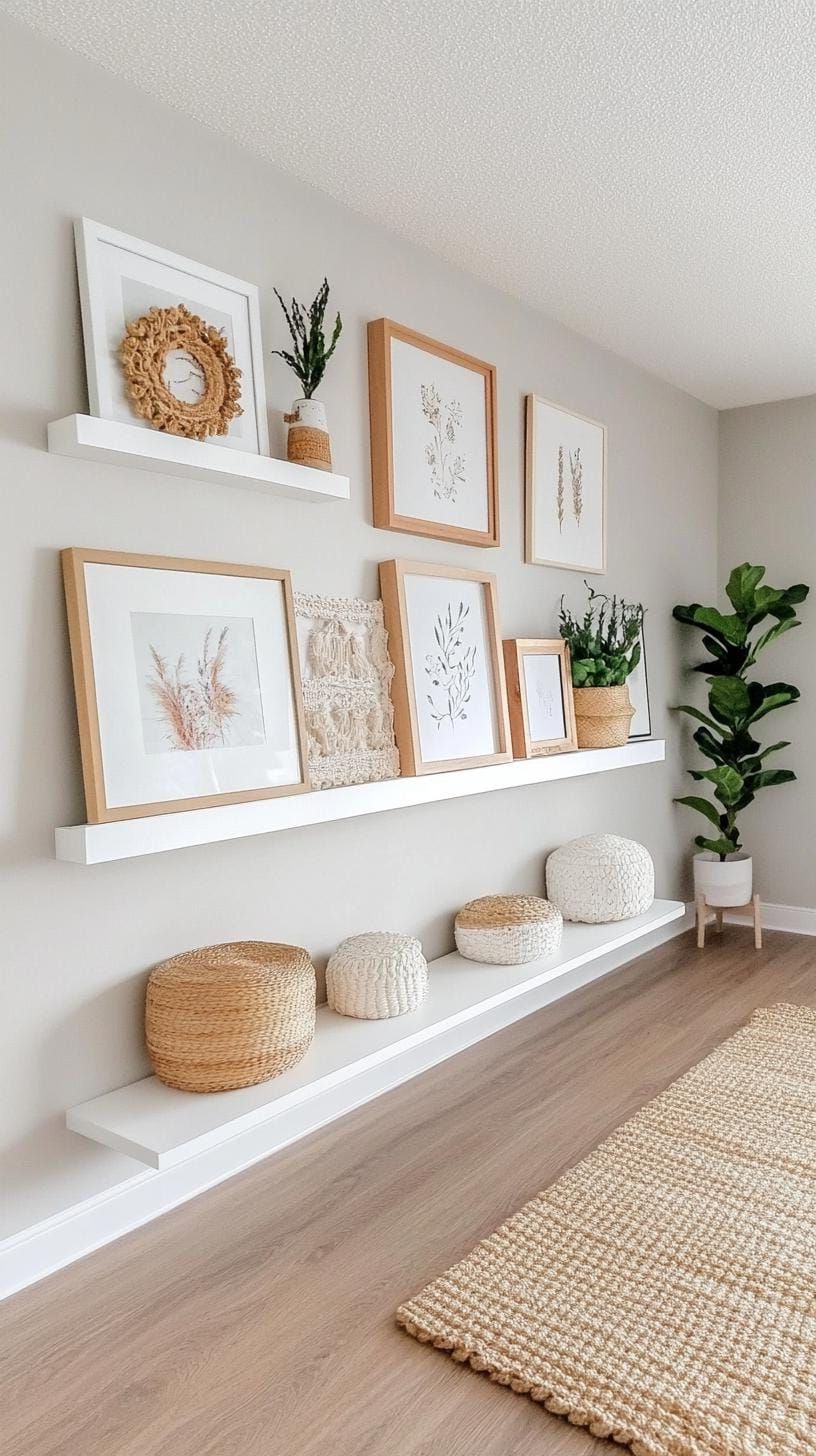
SaveSkip the hammer entirely with a gallery ledge shelf, where framed prints simply lean against the wall instead of hanging from nails. A floating shelf or two turns this into a relaxed, easy-to-update display.
 Save
SaveSince nothing is nailed in place, you can reorder the photos or swap in new art anytime without patching a single hole.
 Save
SaveWhen setting up your space, consider grouping items with similar colors or mixing different frame shapes to create a unique and eye-catching look. Whether you’re renting or just have a passion for design, this setup will feel like a dream come true.
One thing to keep in mind is that you’ll need to dust the shelf regularly, and having too many frames can make it look a bit cluttered if you don’t keep it in check. But the freedom to display whatever you want is totally worth it!
8. Clean Black and White Photo Grid
 Save
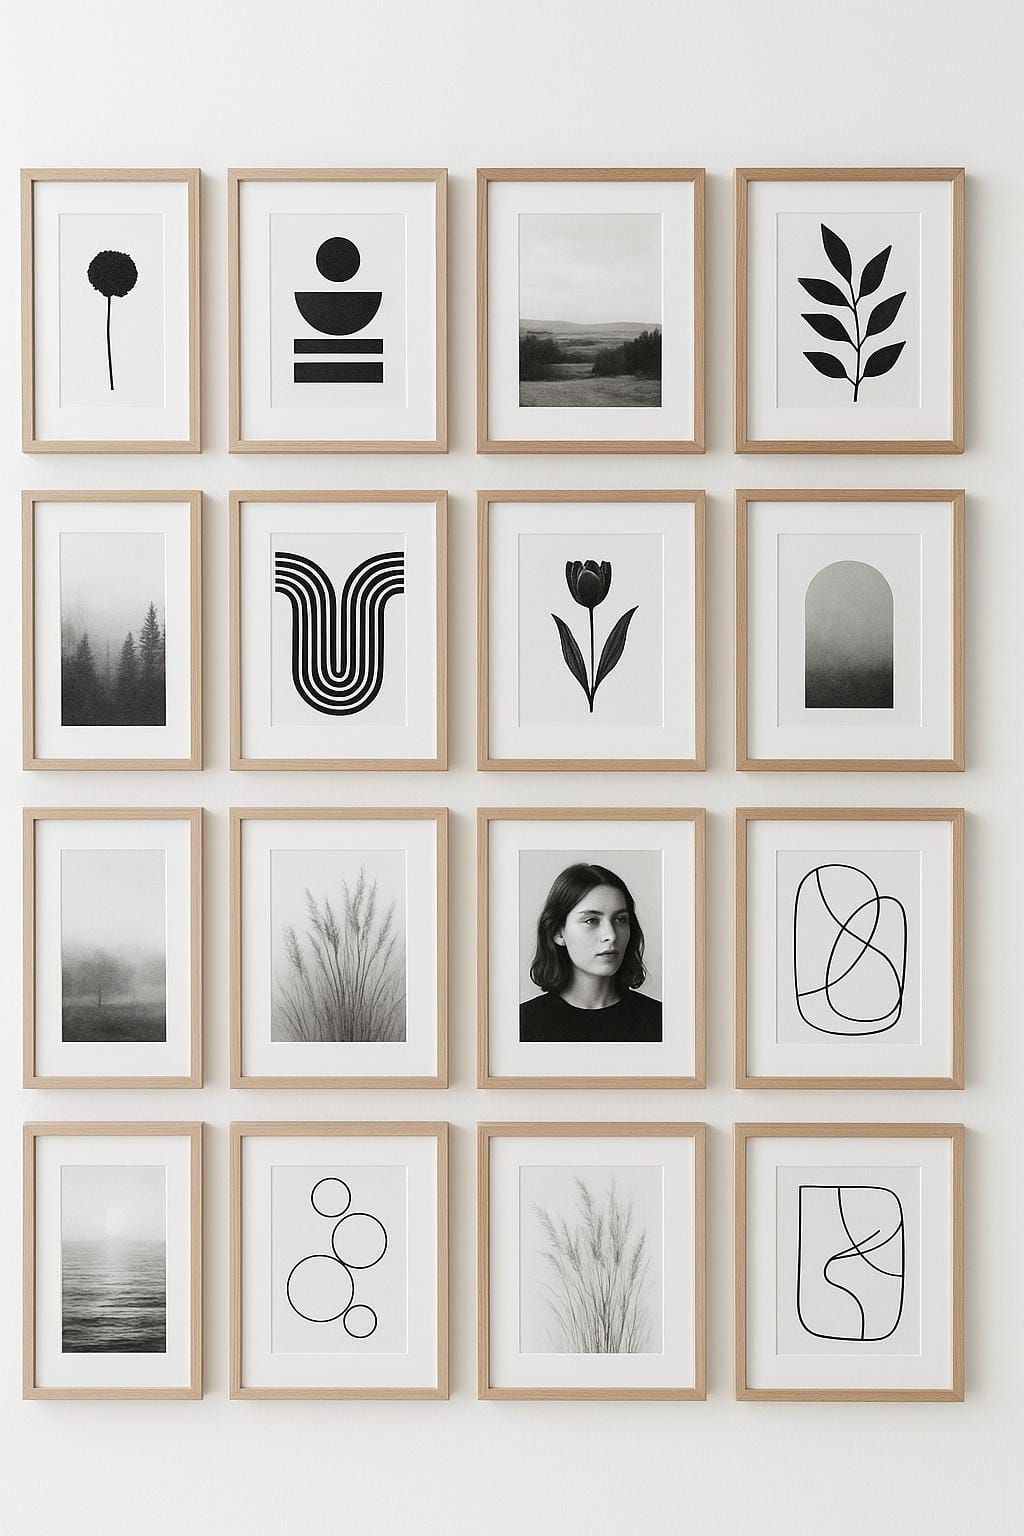
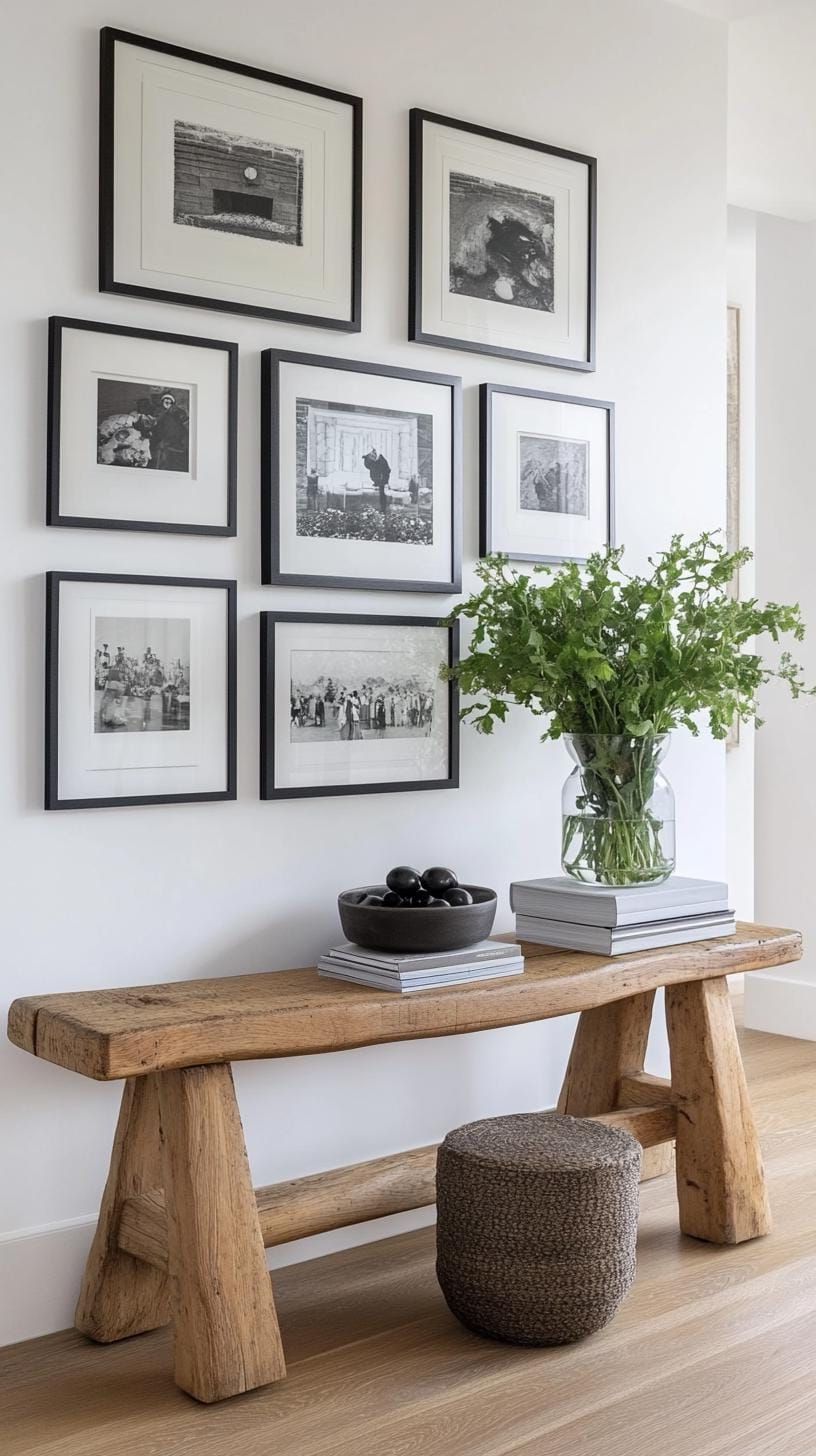
SaveThere’s just something about a wall covered in black and white photos all lined up perfectly that adds a touch of classy vibes, don’t you think? It’s like a simple yet elegant way to spruce up a space and make it look so chic and on-trend.
Art lovers really seem to love this one! Imagine a three-by-three square with nine frames perfectly spaced out. It creates such a peaceful and gallery-like vibe that guests always seem to appreciate and comment on.
 Save
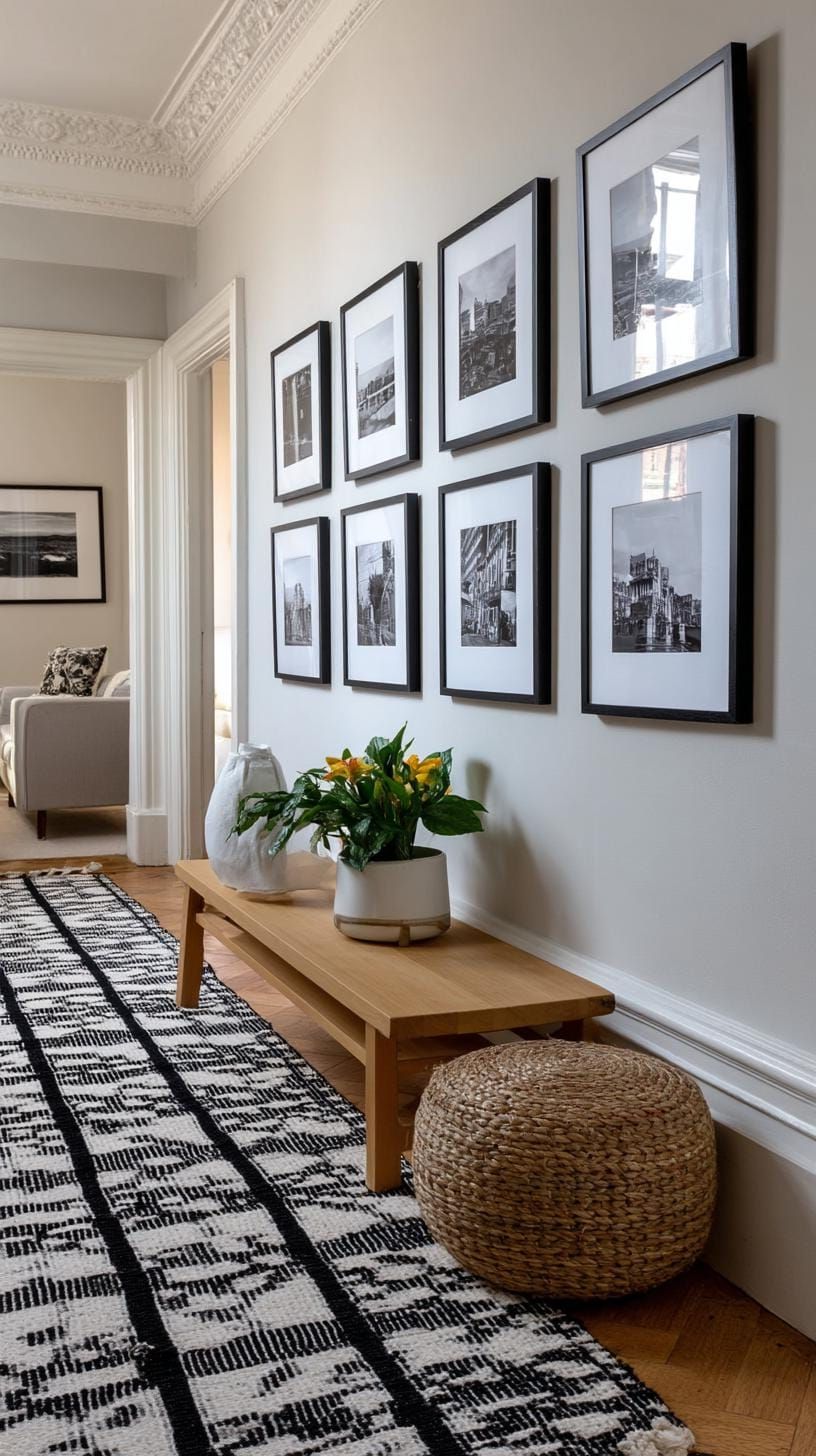
SaveHaving symmetry in a space just gives it a nice, balanced vibe – it looks clean and purposeful. When you stick to one kind of frame, it’s easier to pick out what works. And don’t stress too much about what to put in those frames, anything from nature scenes to city shots to family pictures will do the trick!
The only downside might be that some people see it as too neat and organized, but those who love minimalism really appreciate the sleek and clean appearance.
9. Eclectic Wall Mixing Canvas Mirrors and Macramé
 Save
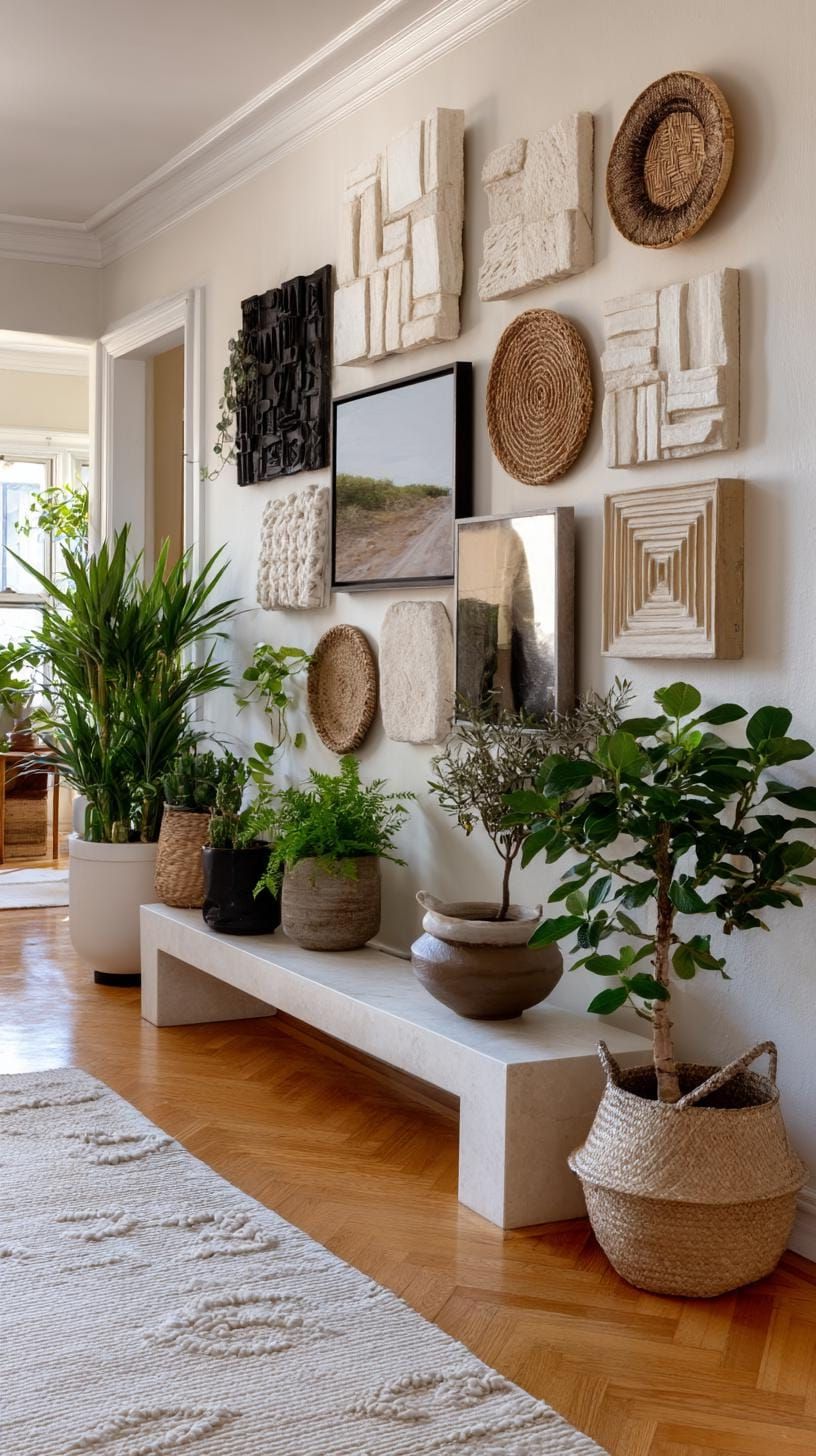
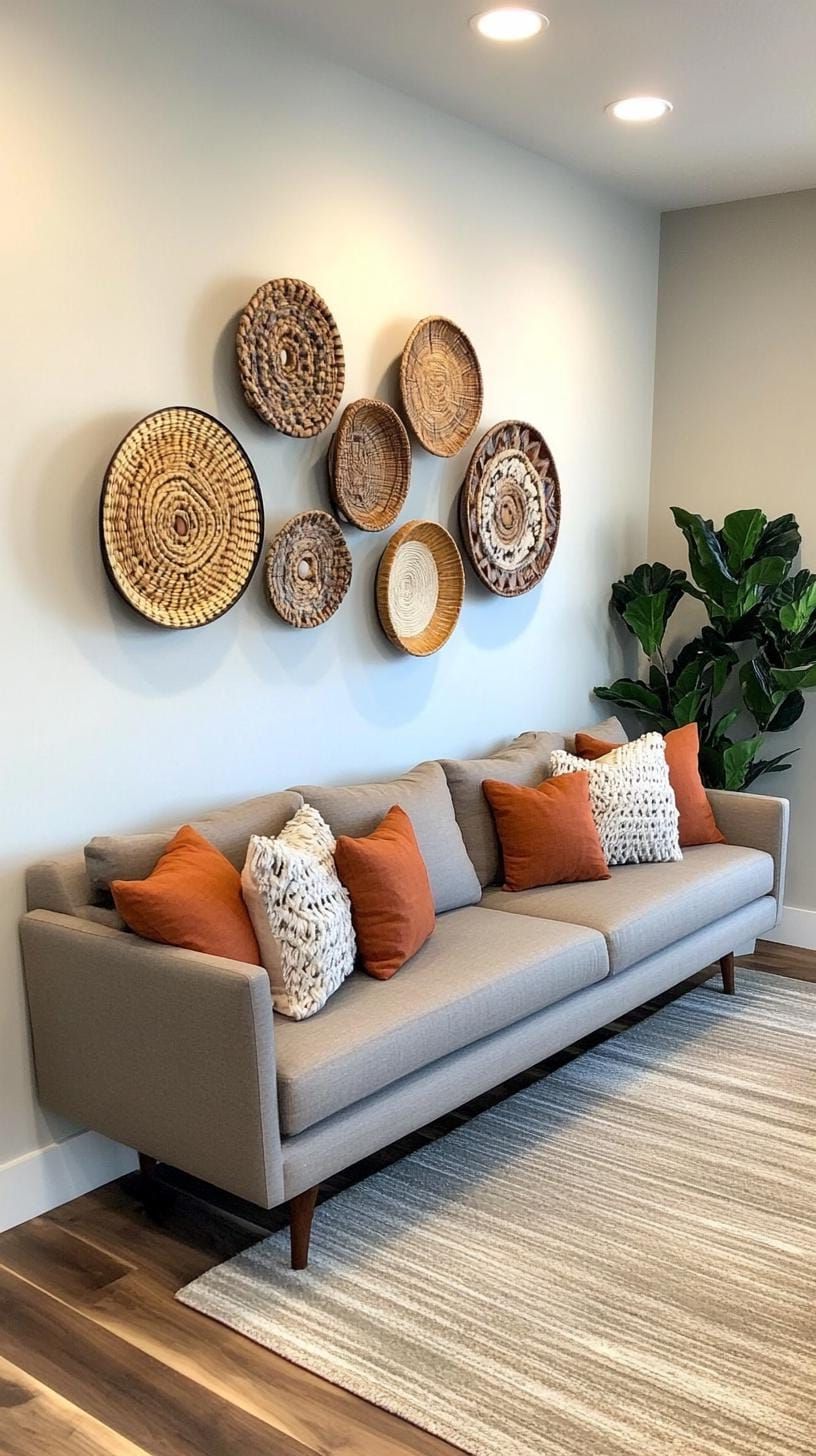
SaveHave you ever thought about hanging some mirrors next to your canvas paintings? It’s a fun and stylish idea that can really bring a room together. And if you add some vintage plates to the mix, your wall will start telling a story with a touch of texture and history. Give it a try!
 Save
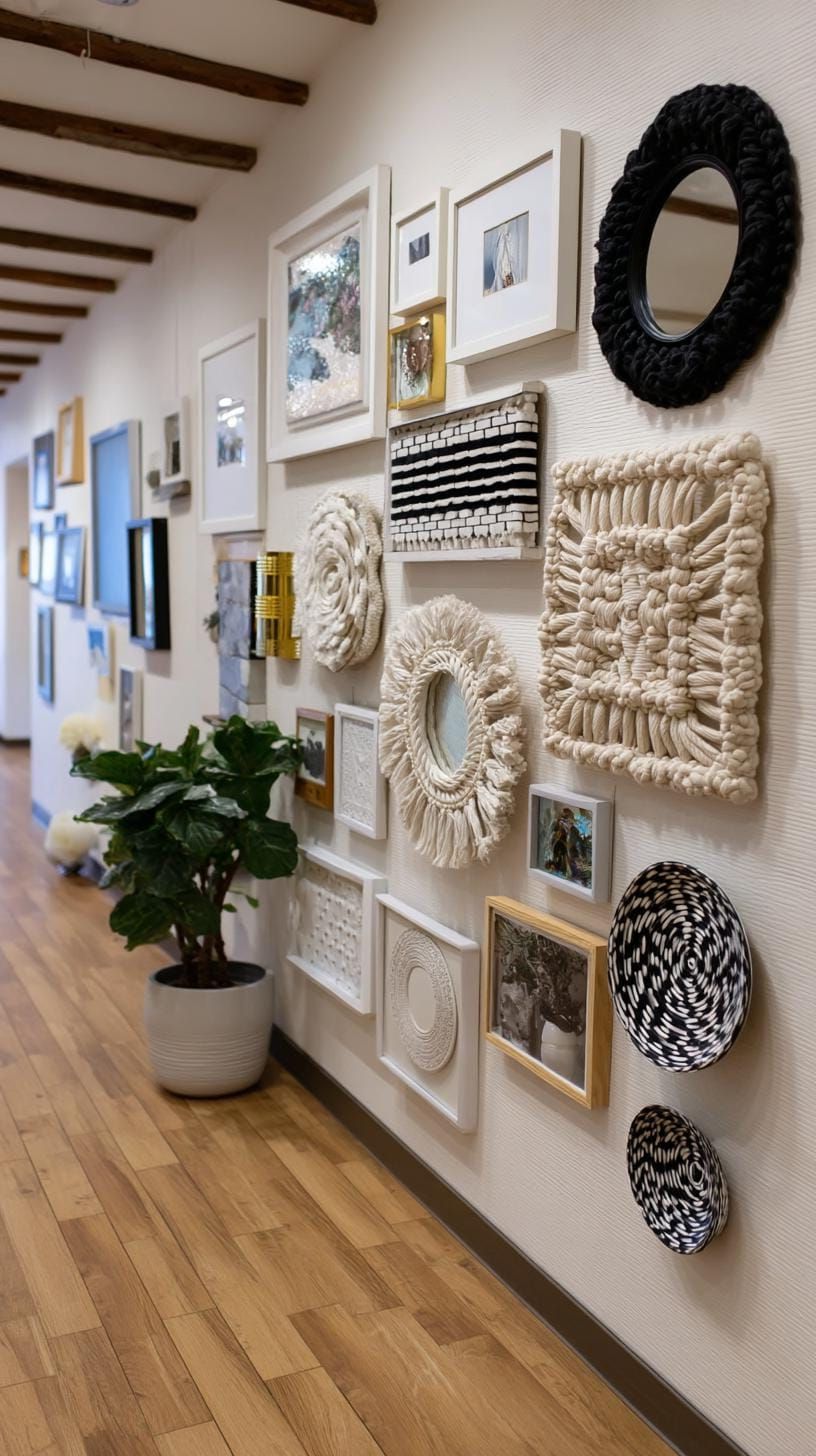
SaveHow about adding a macramé piece? It adds a little boho vibe without going overboard on the clutter.
 Save
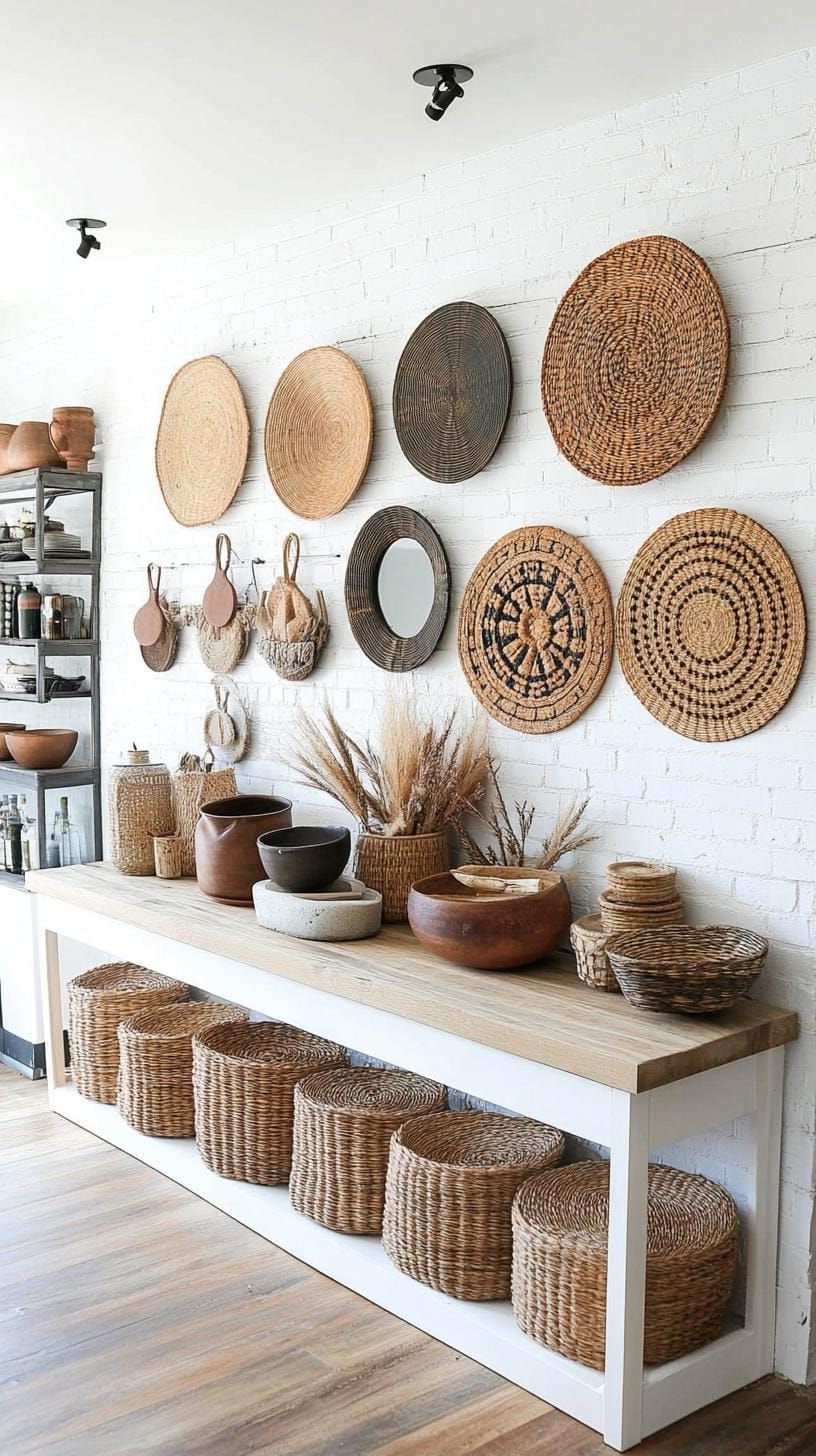
SaveHave you thought about how you position your decorations? Odd numbers always seem to work well, so try grouping things in threes or in a slightly off-center way. If you want to bring in more light, consider using mirrors to help bounce it around the room. And don’t forget to hang your macramé items a bit lower to add some depth to your space. It can really make a difference!
 Save
SaveNot everything has to match perfectly, but it’s important for colors to complement each other instead of clashing. This style encourages you to be daring with your choices, but be careful not to go overboard and create a chaotic look. Approach your selection with a light touch and curate with care.
10. Staggered Art Following a Staircase Slope
 Save
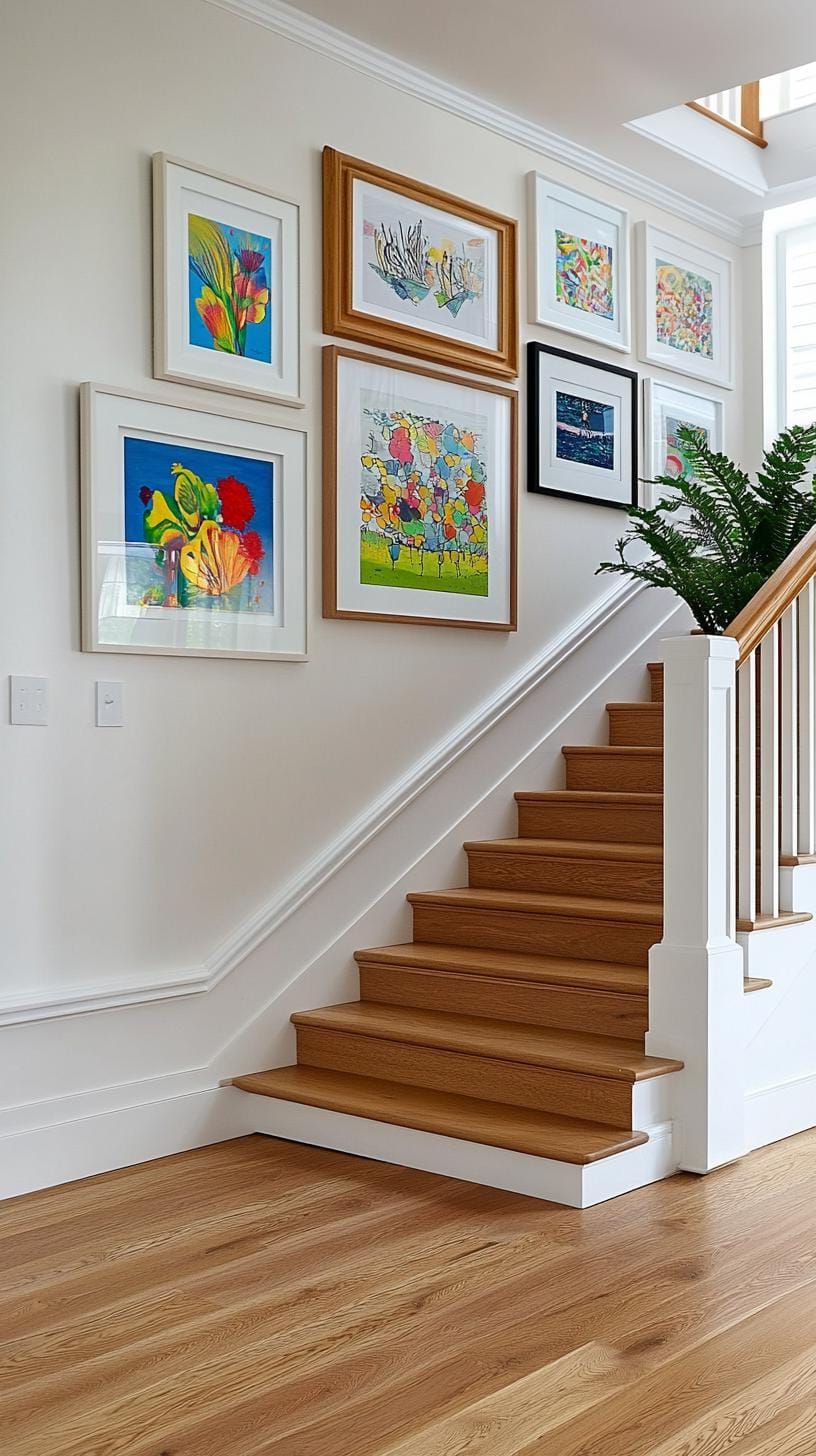
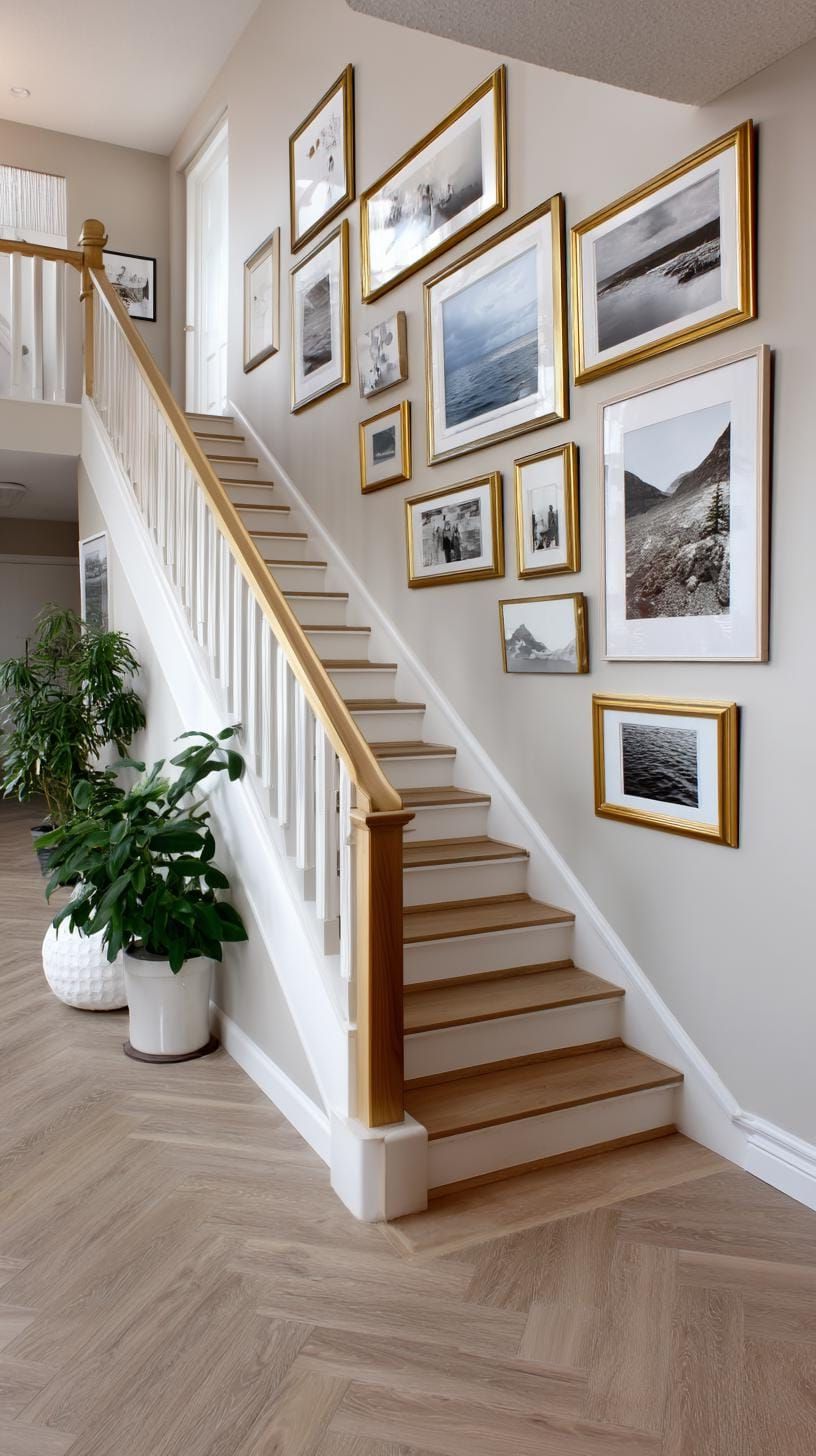
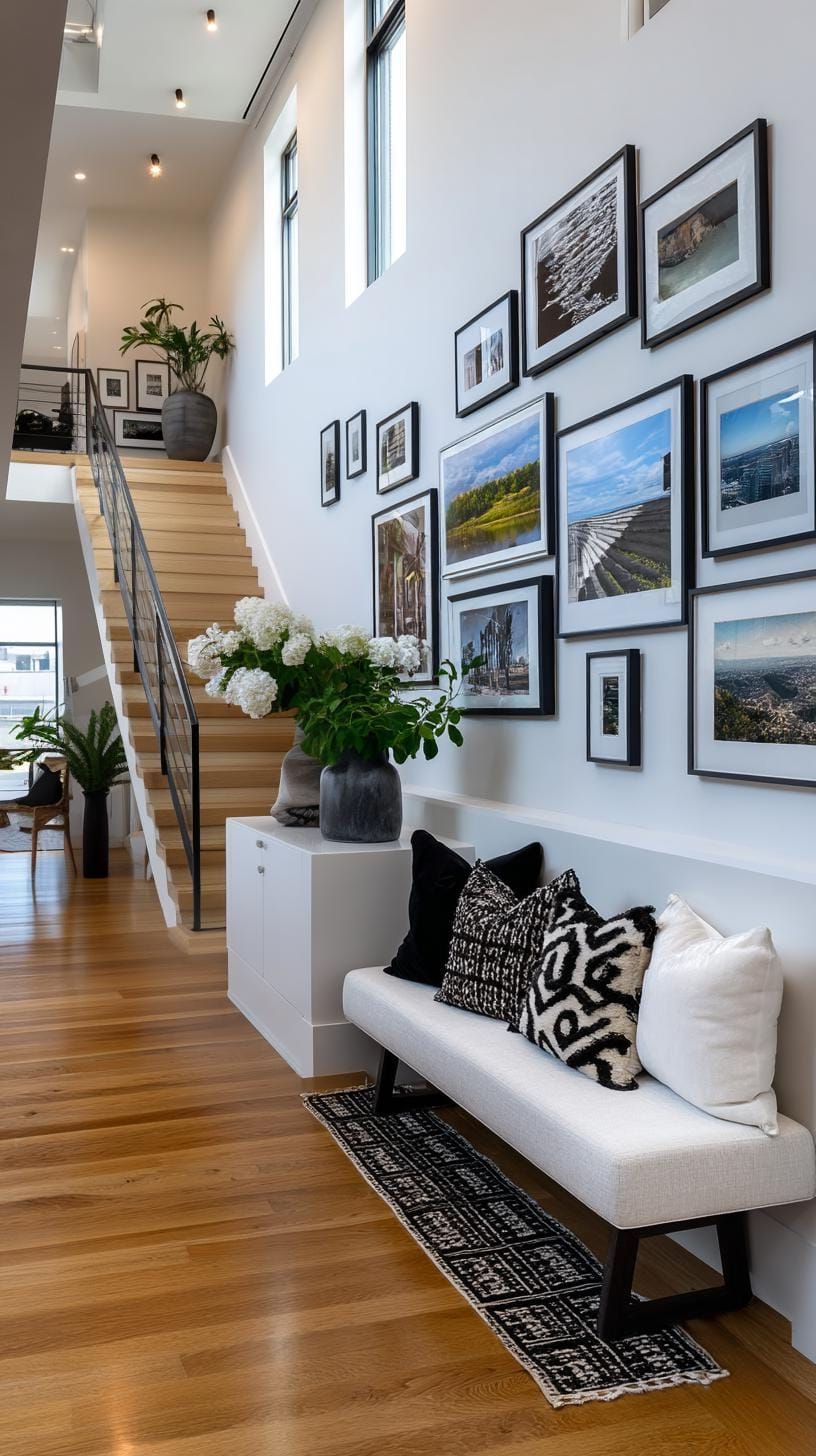
SaveWhen you hang art pieces in line with each stair step, it creates a nice flow and livens up the space. By placing frames at different heights along the slope of the stairs, it gives off a cool climbing effect that draws the eyes upward. It’s a fun way to add some movement and interest to your staircase!
 Save
SaveHere’s a cool idea: mix up the frame sizes, match the angle of the steps, and try using bold colors with neutral ones for some extra pop!
 Save
SaveYou know, sometimes it’s hard not to go overboard with decorating. When you add too many things, it can start to feel a bit overwhelming, like there’s just too much going on visually.
How about choosing some family photos or cool vintage prints for your staircase? It’s tempting to overcrowd the space, but remember that sometimes less is more, especially in areas that get a lot of foot traffic.
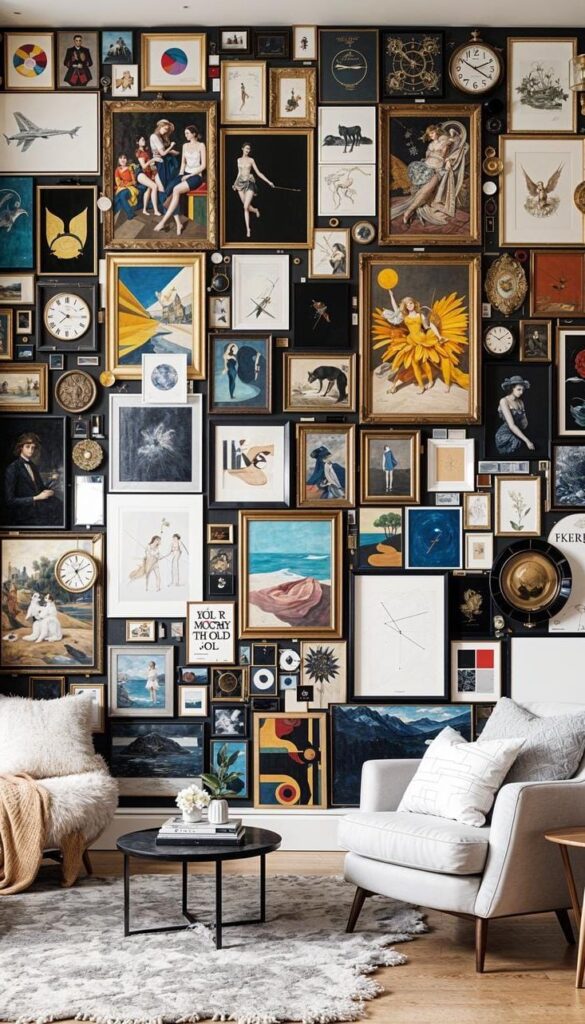
11. Maximalist Wall Packed with Art Pieces
 Save
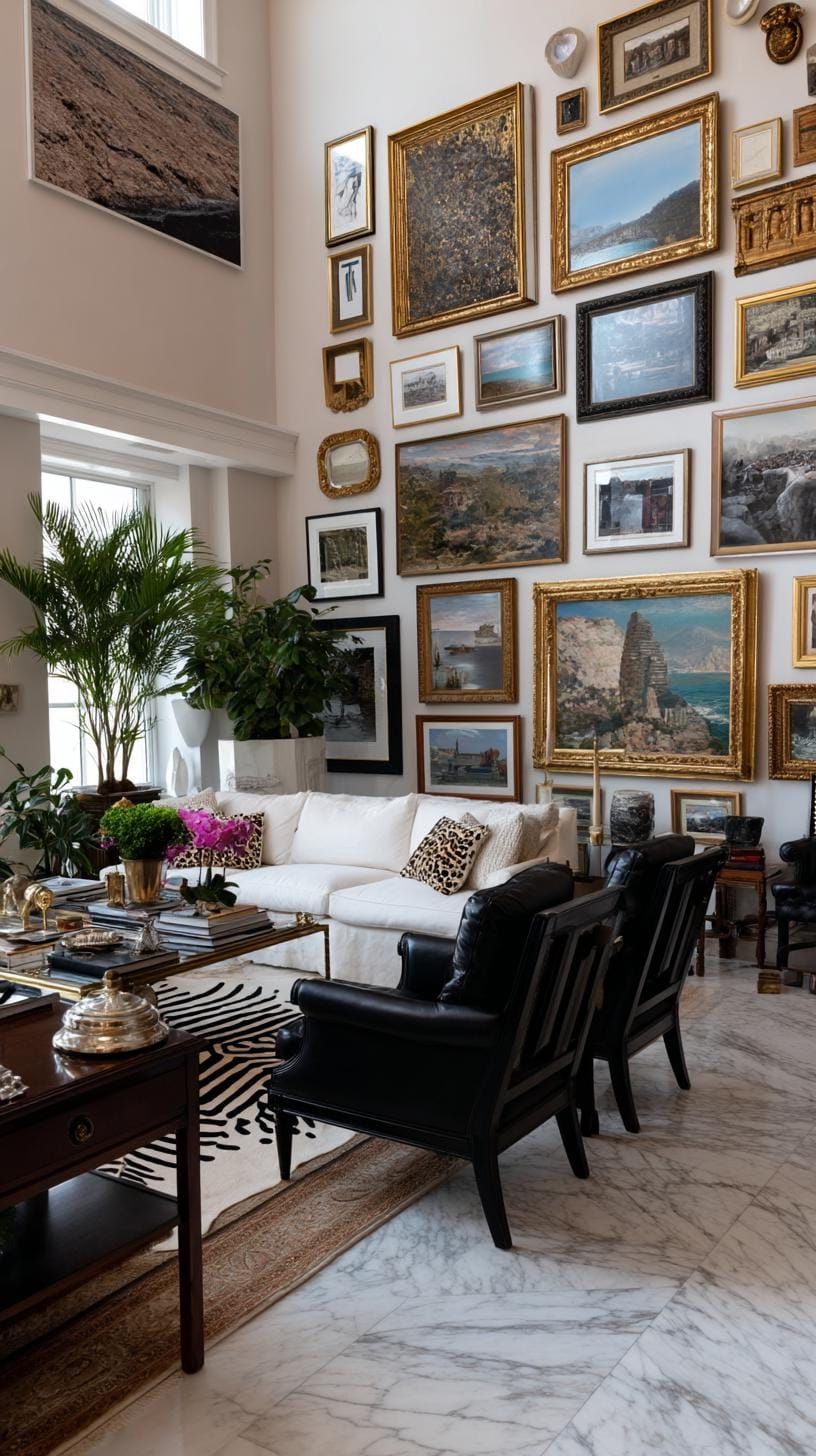
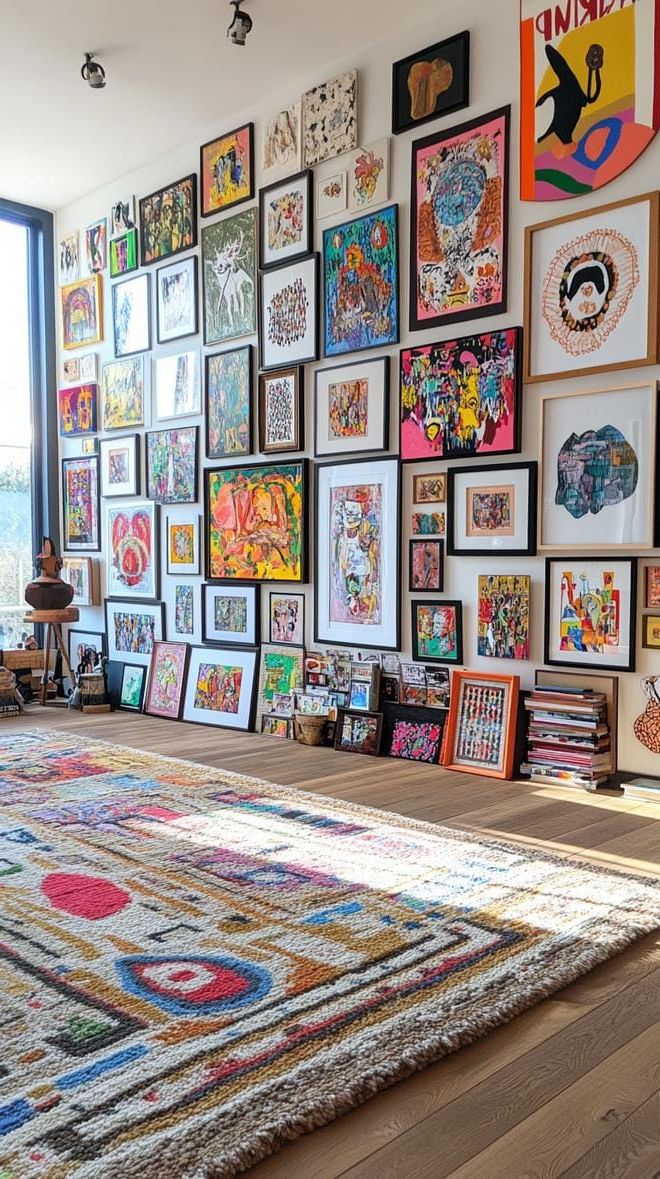
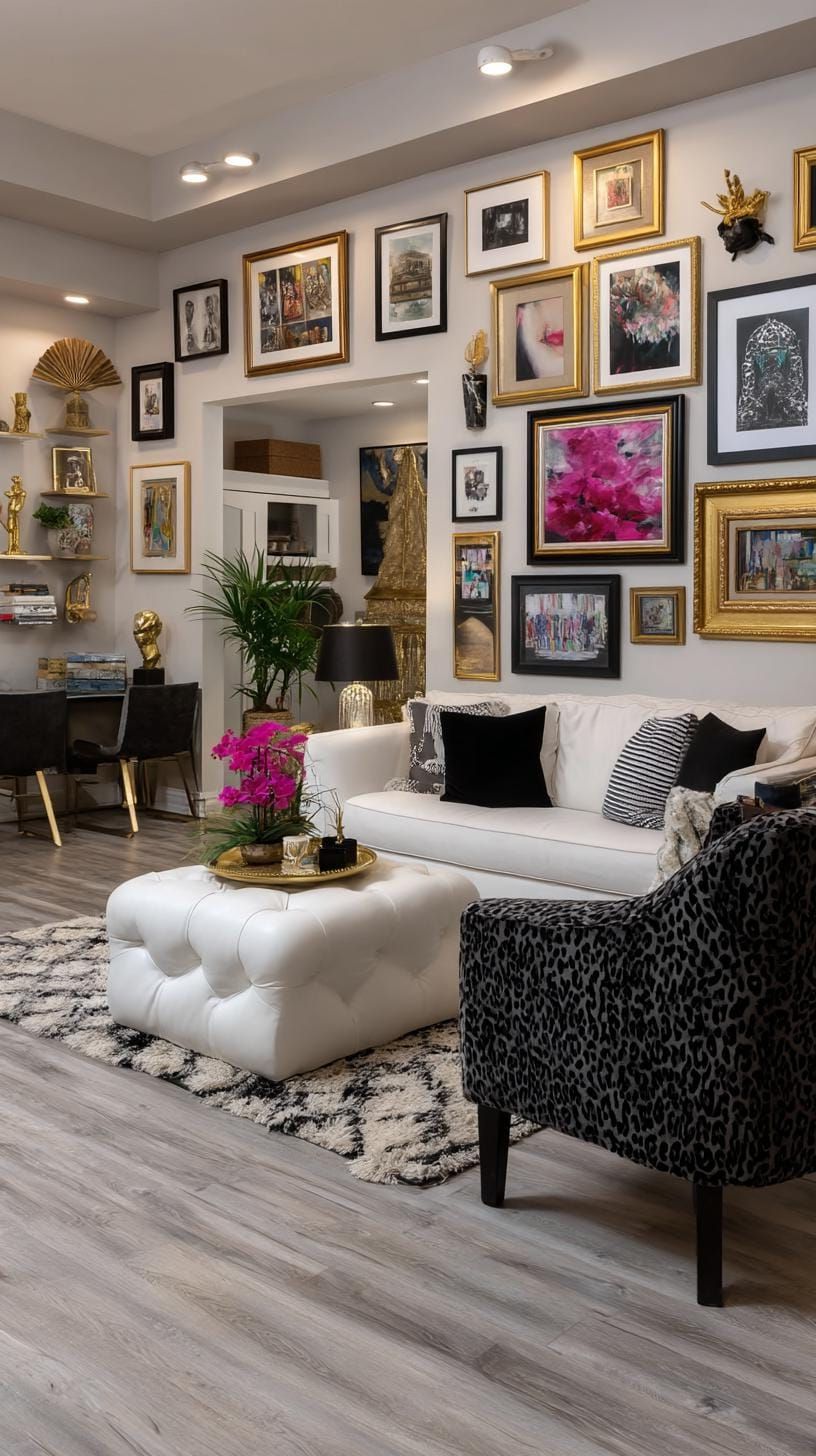
SaveHave you ever seen a salon styled room that just throws all restraint out the window? Picture a wall completely covered in paintings, prints, and quirky little treasures, all vying for your attention. It’s so dramatic and gives off a subtle bohemian vibe, don’t you think?
 Save
SaveWhy would you want to keep your passion hidden? Embrace a little organized chaos by playing around with different sizes, spacing things close together, and even letting elements overlap. It’s sure to create some visual interest!
 Save
SaveBefore just diving in and starting to hammer nails, it’s always a good idea to think about the practical side of things. Sometimes if you add too many layers of decor, it can end up making a room feel cramped. So, a helpful tip is to try using a paper template first to see how everything will fit together. And don’t stress too much about making everything match perfectly – sometimes mixing and matching different styles can actually look really cool and unique!
 Save
SaveIsn’t it amazing how adding art like vintage posters and family snapshots can instantly give a cozy vibe to a room? The key is to be bold and mix things up, rather than sticking to strict symmetry. You’ll be all set for receiving compliments and sparking interesting conversations, don’t you think?
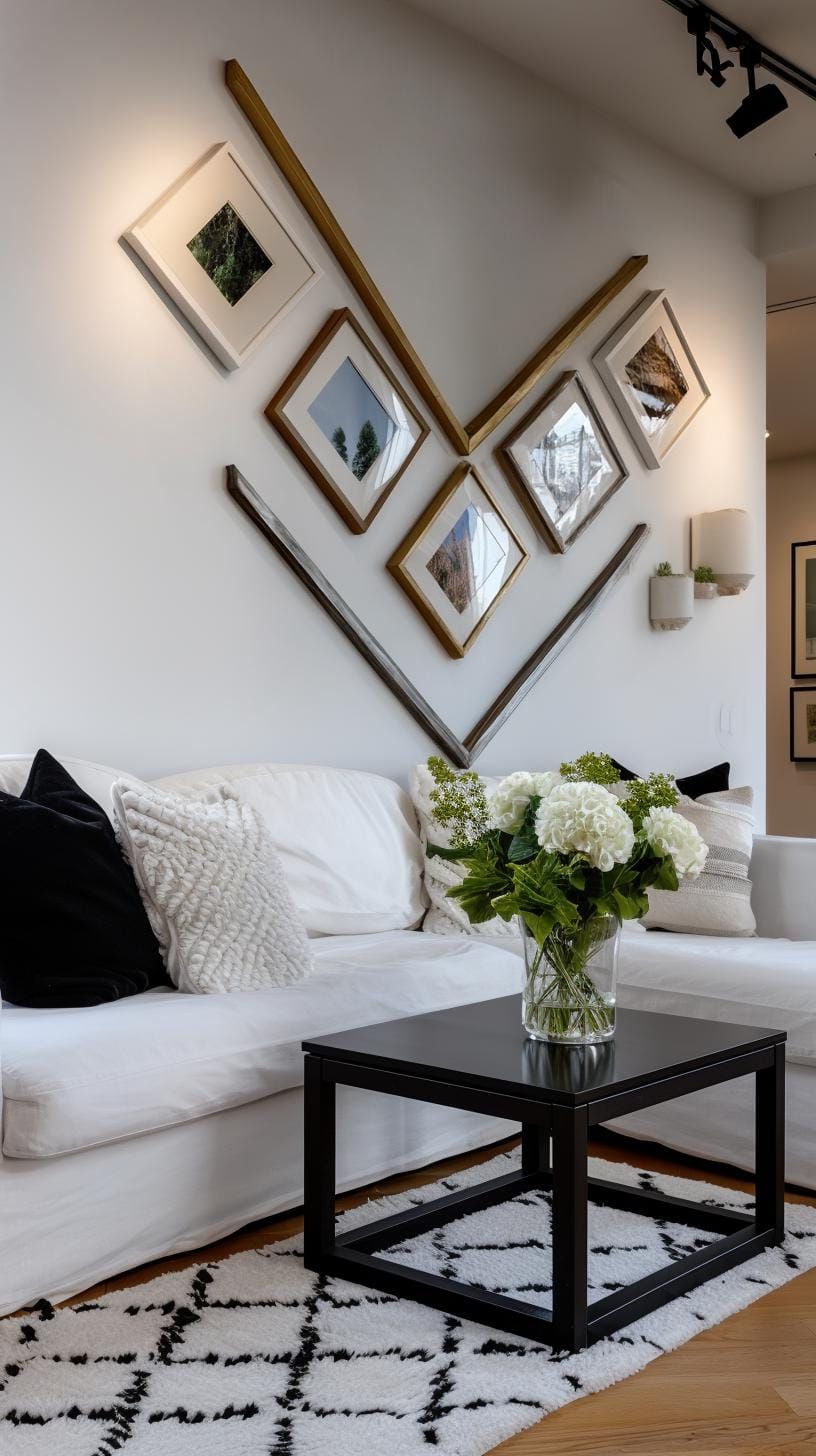
12. V-Shaped Chevron Gallery Arrangement
 Save
SaveHave you ever tried hanging your frames in a cool V shape on a plain wall? It really draws your attention and sparks conversation every time someone sees it!
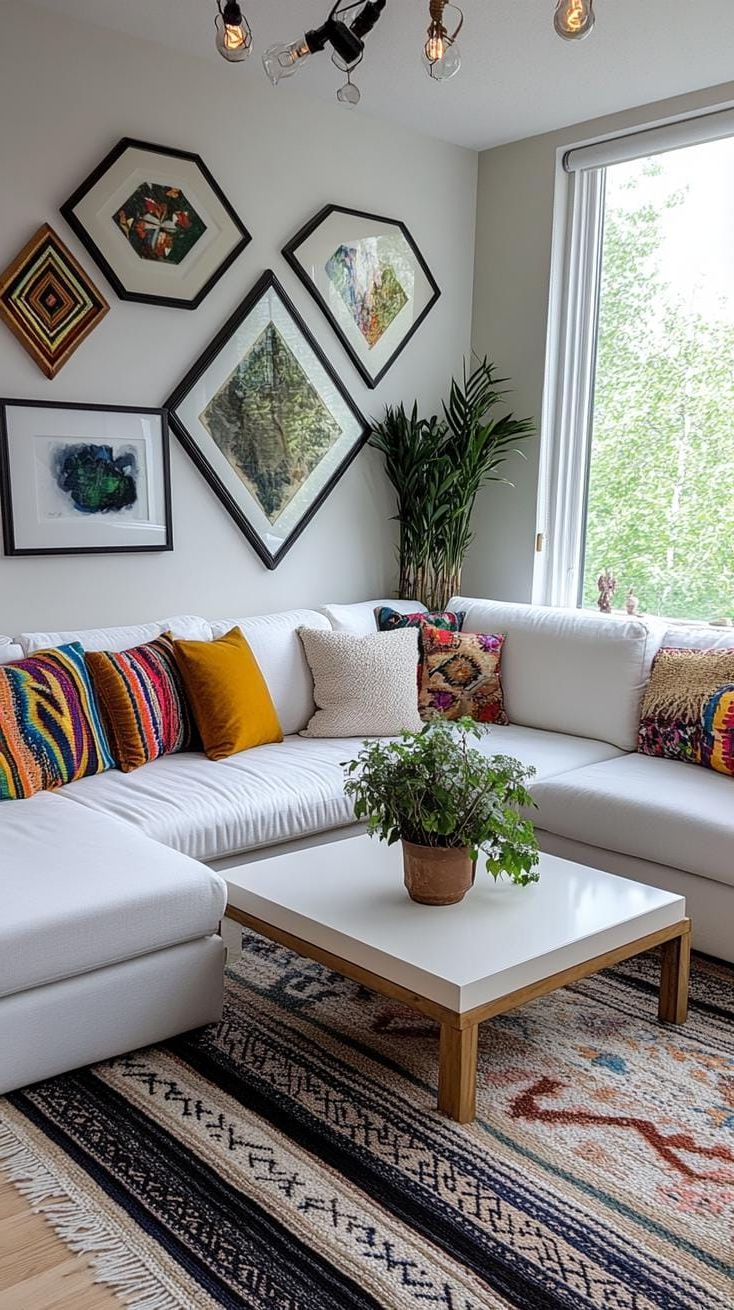
You can try arranging your artwork in a cool staggered zigzag pattern! Use different sizes to mix things up and keep it visually exciting. This method works really well for hallways and those tight little spaces. Give it a shot and see how it looks!
 Save
SaveSome people really like the cool, flowing look of a chevron pattern, but others feel like it can get a little too crazy if it’s not done just right. If you’re not sure how you feel about it, why not try playing around with some paper cutouts first? It’s a great way to test things out without making any permanent decisions.
I think it’s nice to mix family photos with modern art because it gives the space a cozy and welcoming vibe, you know? It helps break up any rigid patterns and just feels more lived-in and personal.
13. Wraparound Gallery Around an Interior Corner
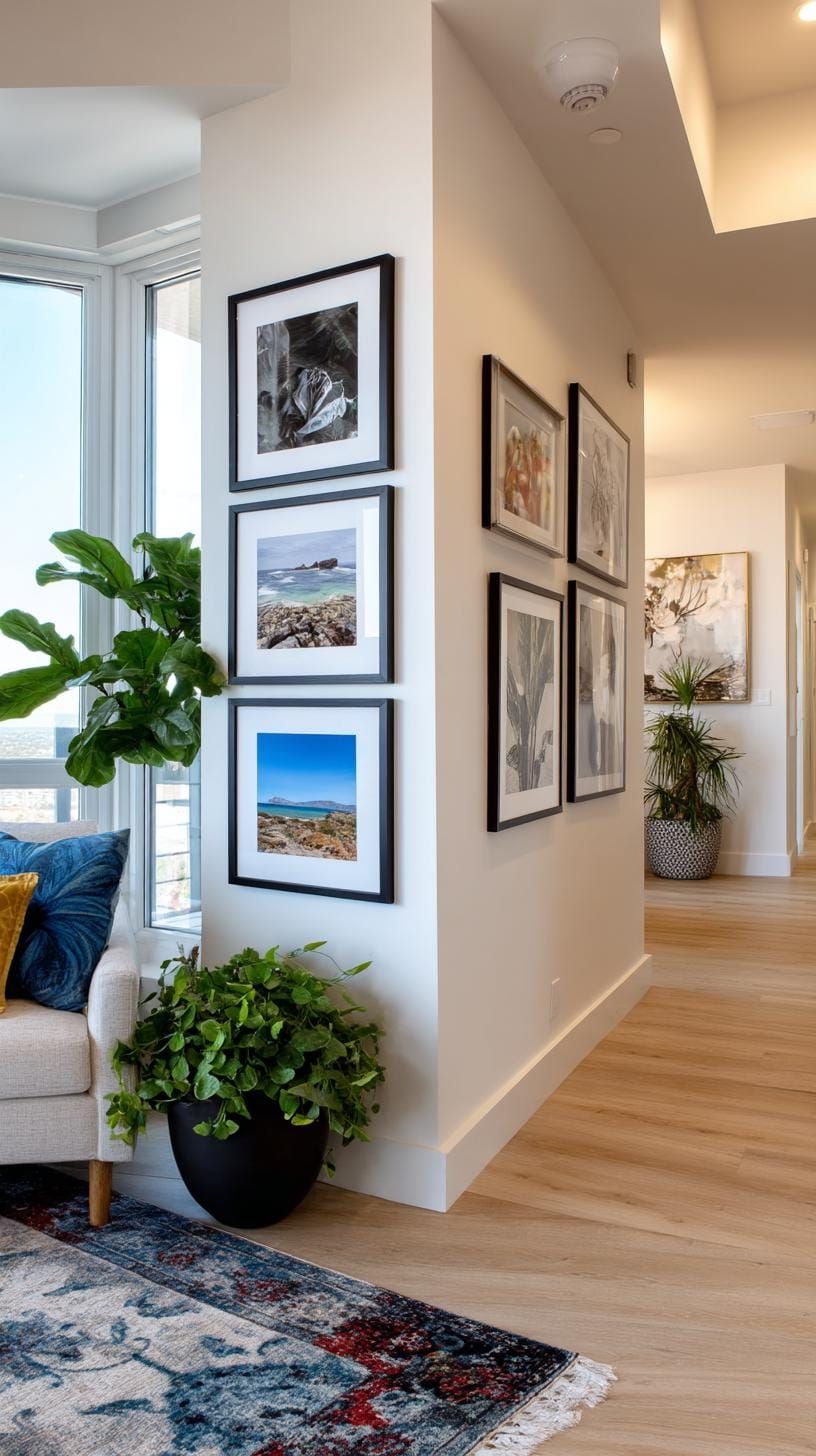 Save
SaveDo you feel like your boring corner could use a little pick-me-up? Well, if you think corner wraparound gallery layouts are only for fancy art galleries, think again! These L-shaped arrangements can really bring some life to your space by allowing your art pieces to flow seamlessly across both walls. It’s a simple way to turn that forgotten corner into a visually appealing focal point.
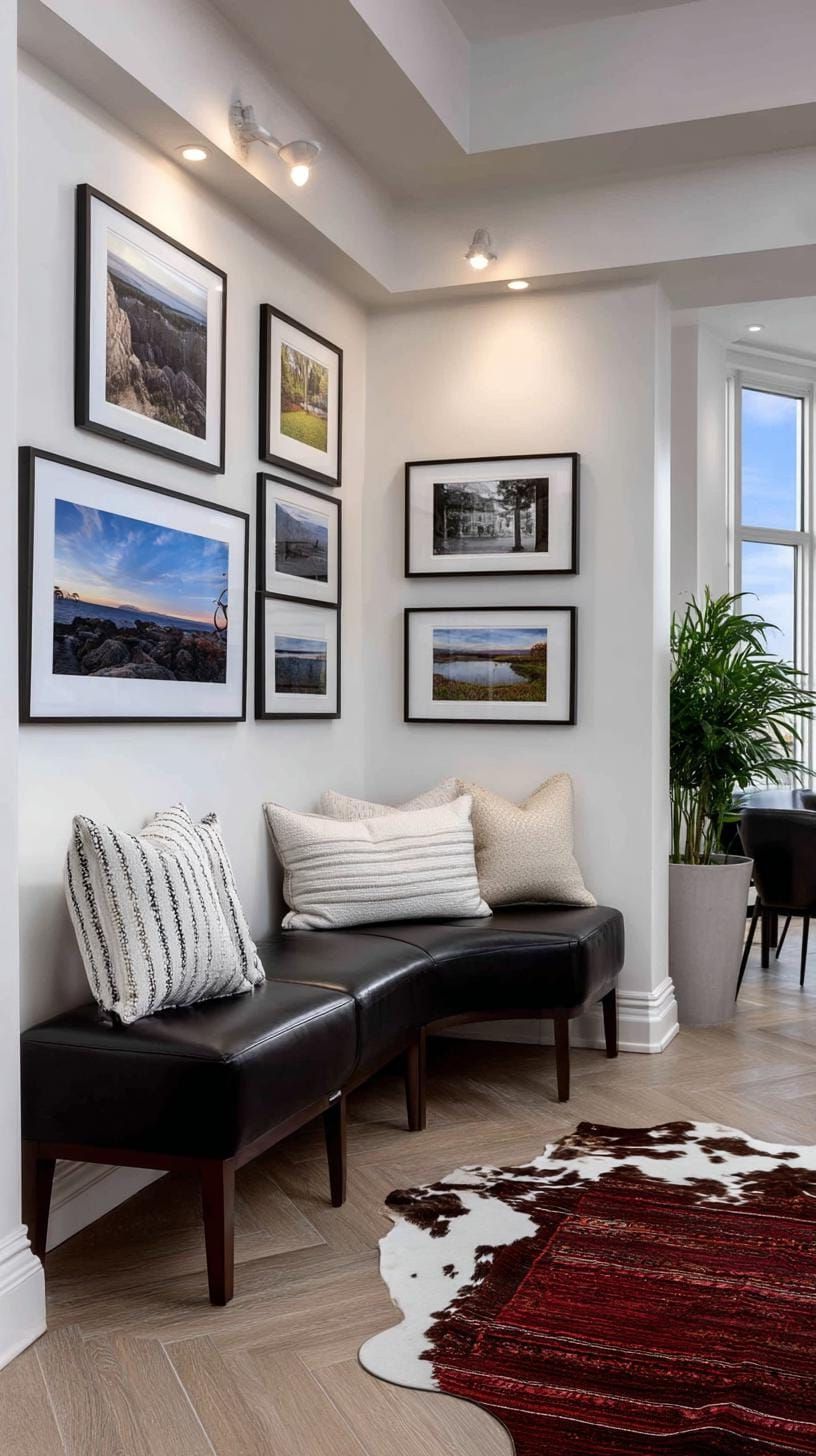 Save
SaveThis technique is perfect for displaying all your family memories, cool prints, or even some funky vintage mirrors to really give it that extra pizzazz!
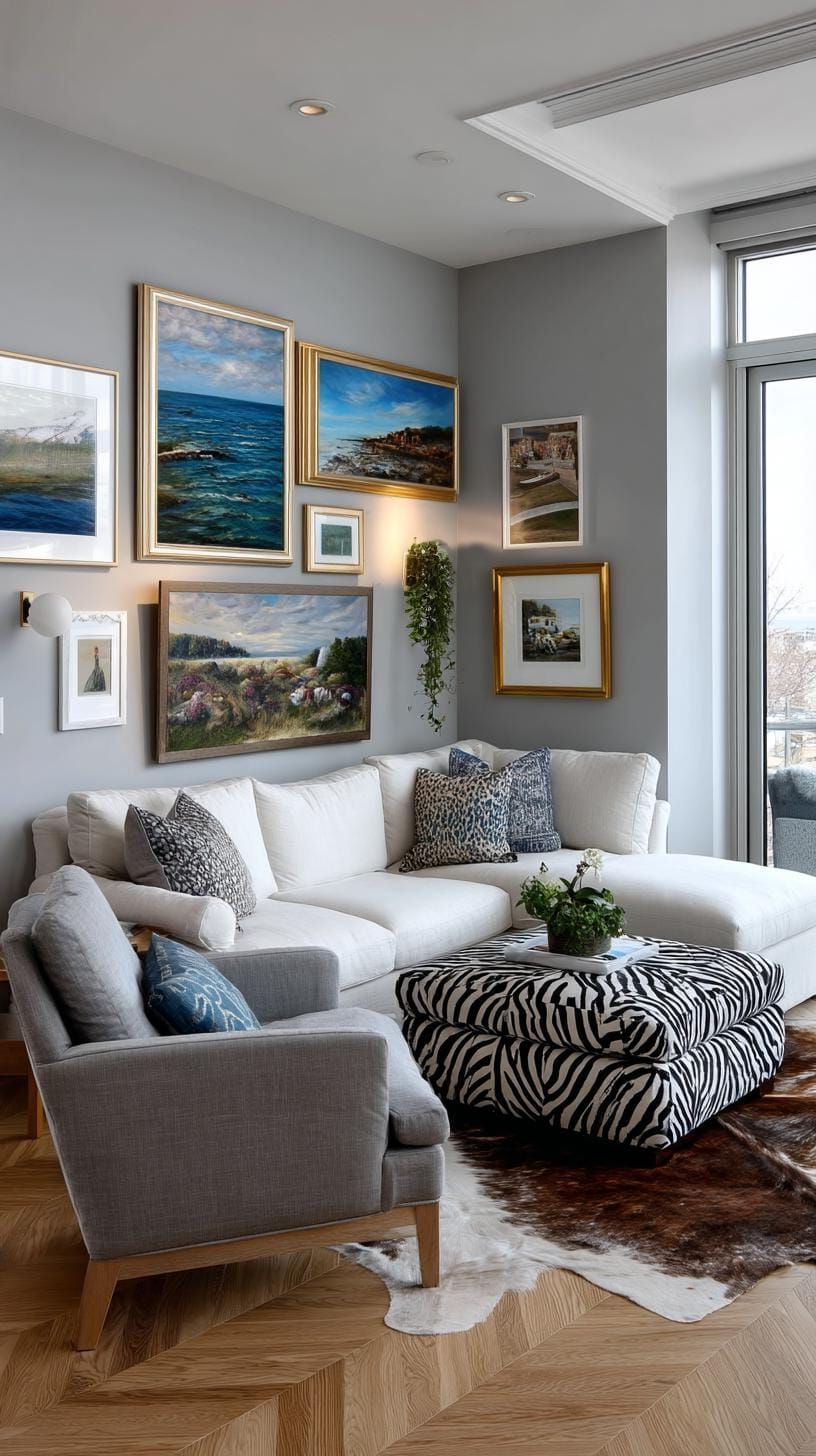 Save
SaveWant a simple tip? Just choose the same frames for a cohesive look, but mix up the art for some fun variety. Some people prefer even spacing for a classic feel, while others like a more casual look with different sizes and shapes.
Hey there! Just a heads up – having mismatched frame heights at the corner can be a bit distracting. If you plan things out with paper cutouts beforehand, it can help avoid any mishaps before you make a final decision. Just a helpful tip to keep in mind!
14. Bohemian Mix of Bold Colors and Textiles
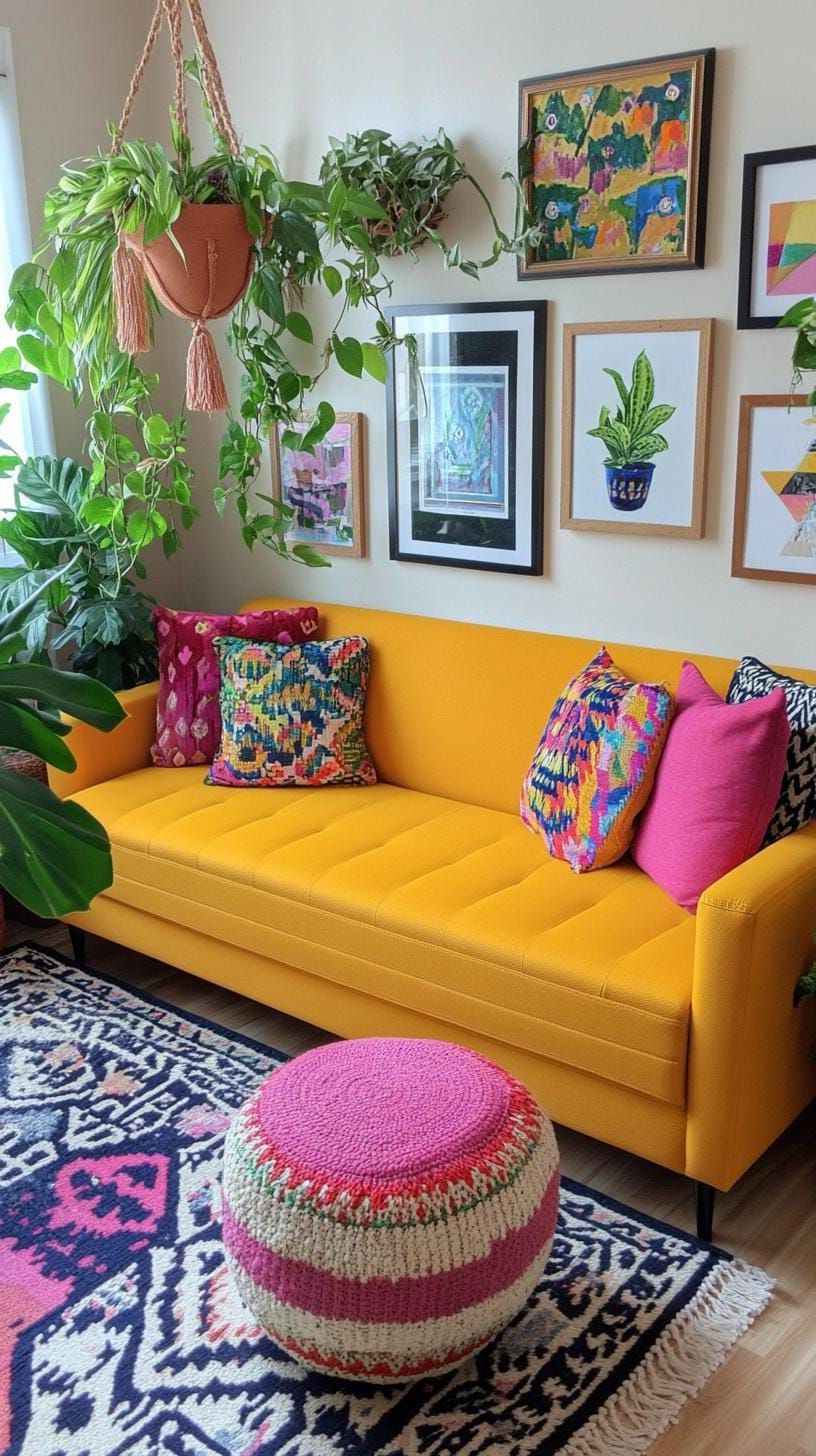 Save
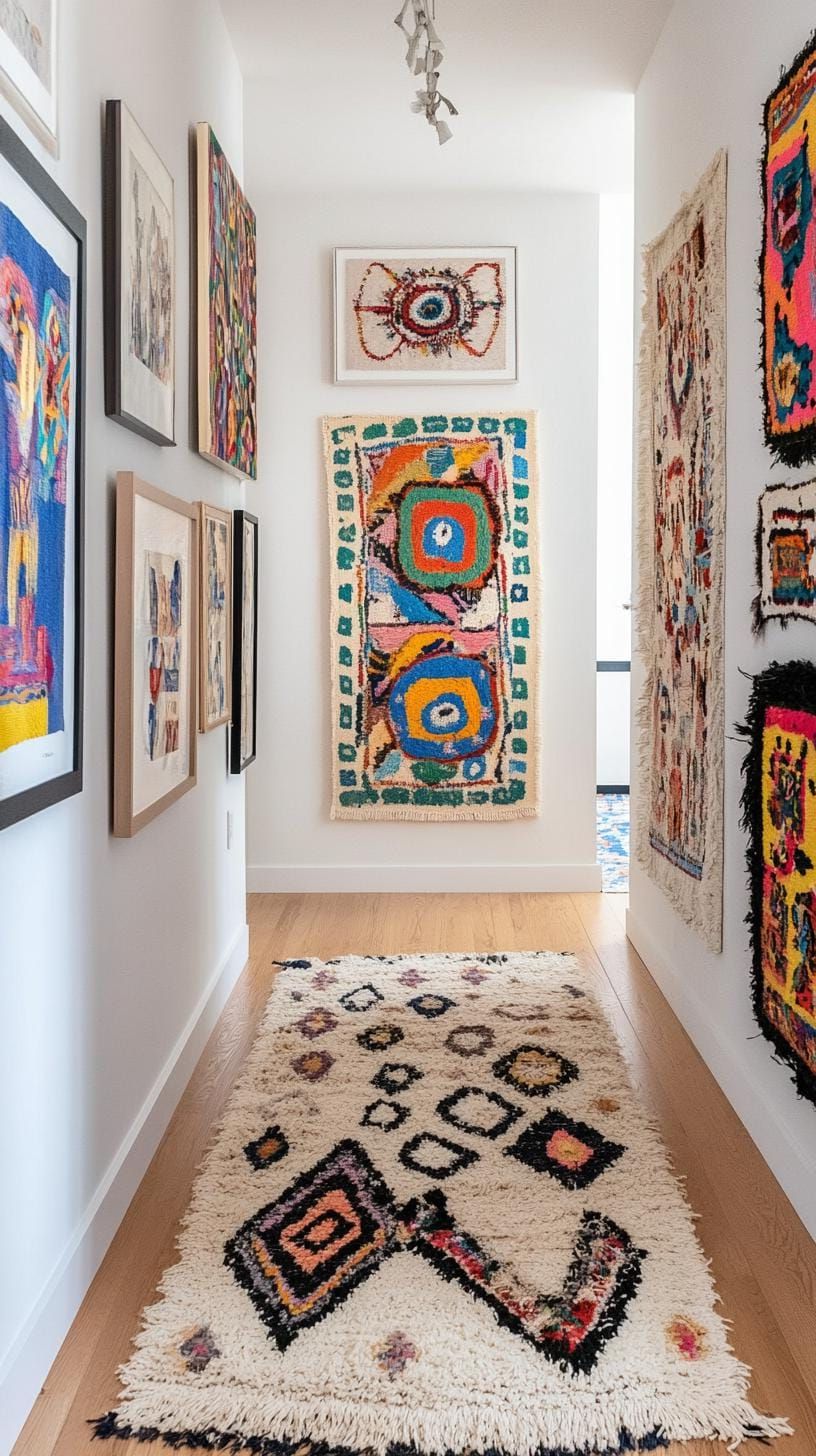
SaveWhy limit yourself to just neat symmetry when you can liven up your space with colorful textiles and unique frames? Bohemian wall layouts are all about embracing creativity and breaking free from rigid design rules.
 Save
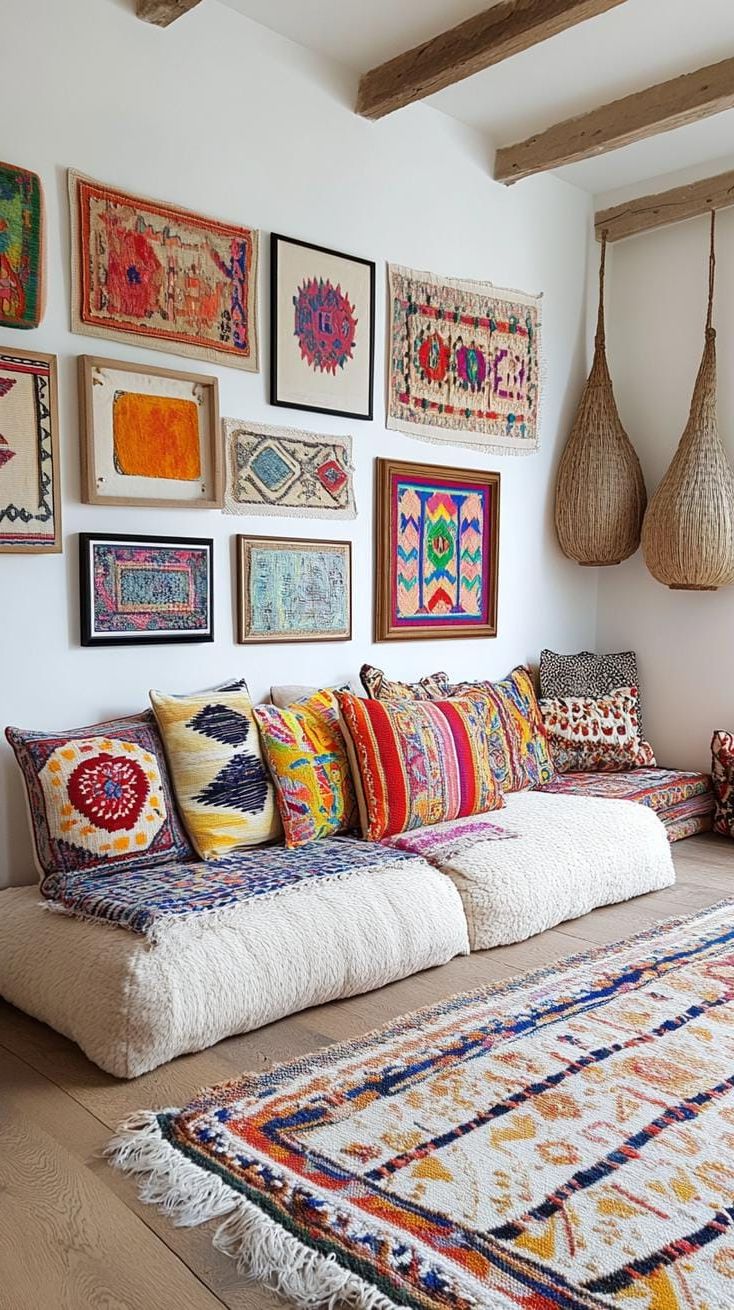
SaveWhy not mix things up with some round mirrors, fancy rectangles, and a touch of mismatched poufs or hanging fabric? It’ll create a warm and inviting vibe, kind of like stumbling upon a treasure trove at a flea market and just going with the flow.
 Save
SaveHey there! I’ve found that trying new things really pays off. If you place a beautiful jewel-toned tapestry next to a colorful woven basket and a cool abstract canvas, it can create a really interesting look. Oh, and don’t forget to add some contrast by using frames in gold, wood, or with painted patterns. It really makes everything pop!
Absolutely! When things start getting chaotic, it’s always helpful to have a color anchor or a standout piece that ties everything together. This way, your space stays cohesive and not too overwhelming. Let your walls reflect your own unique story and style.
15. Neutral Wall with One Bold Color Accent
 Save
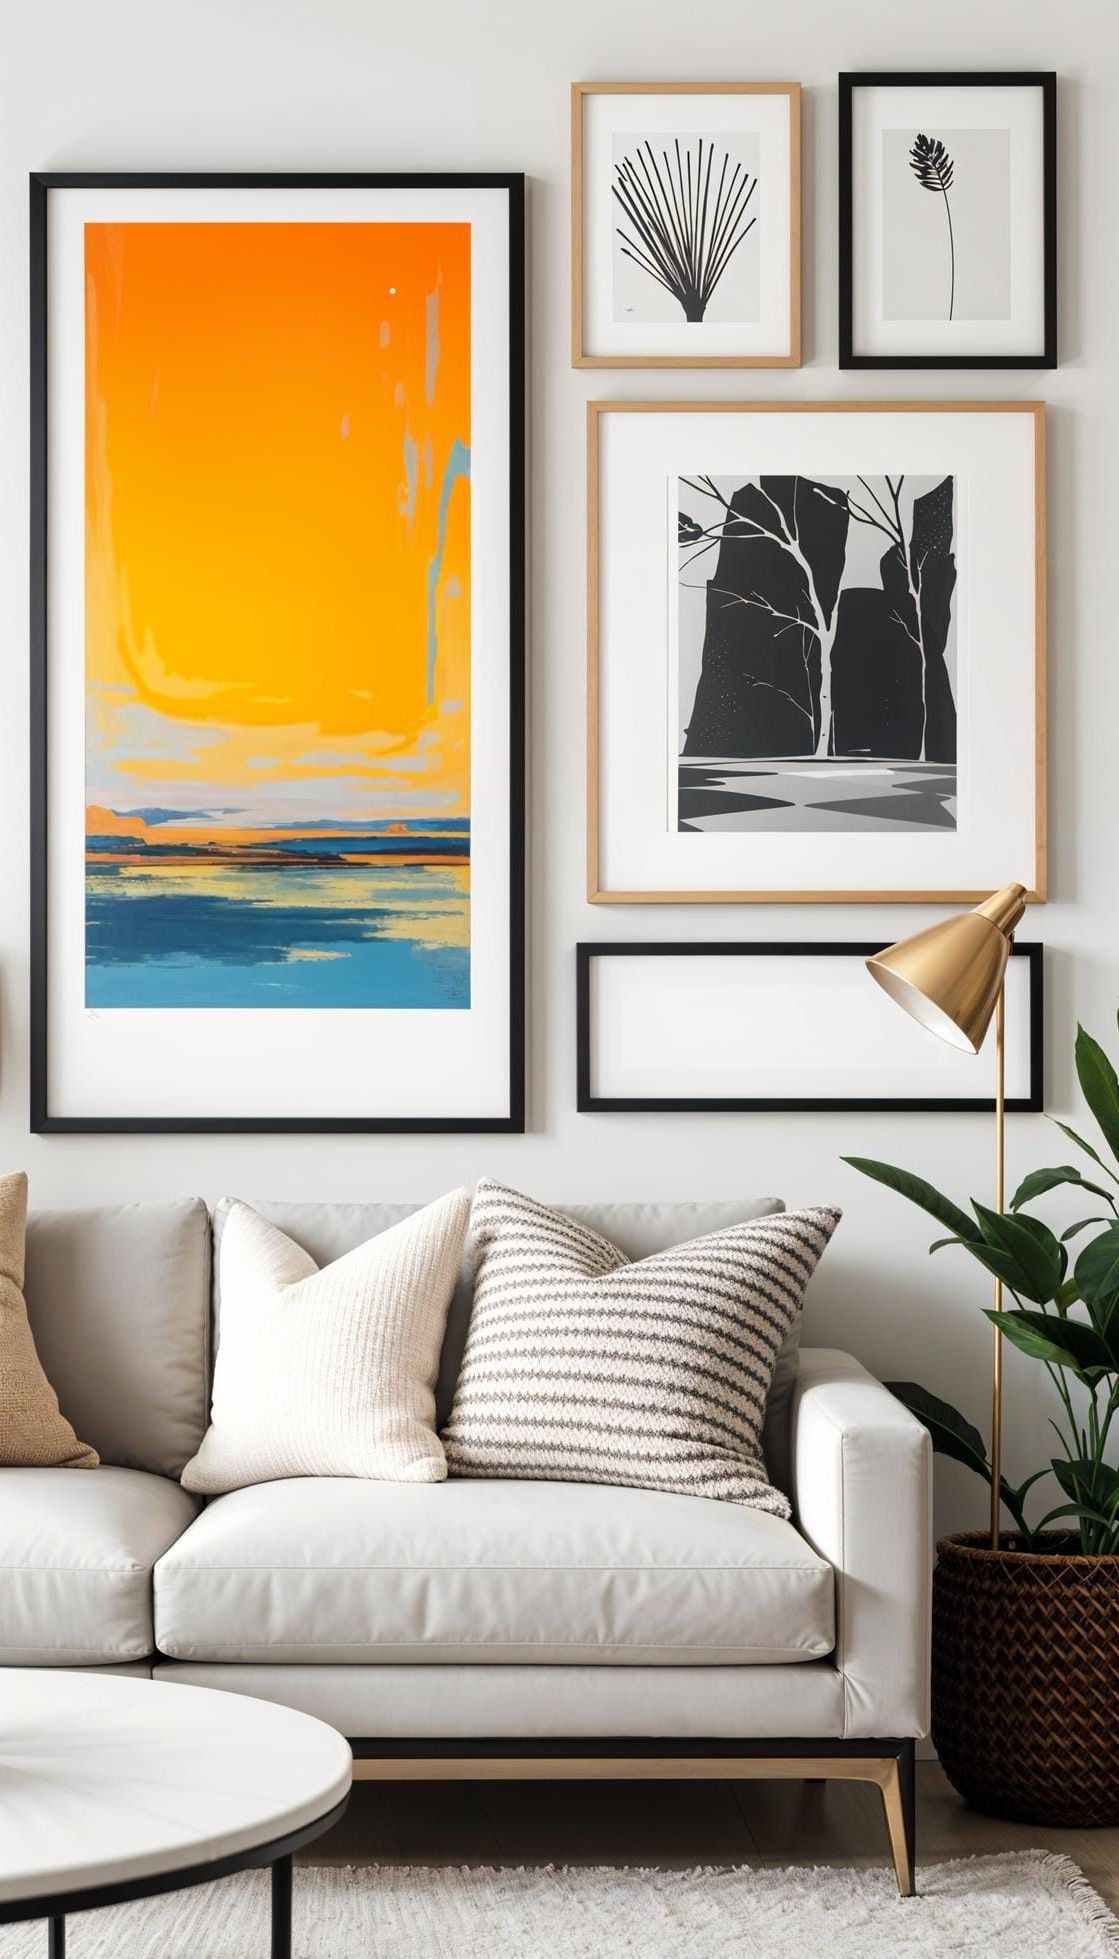
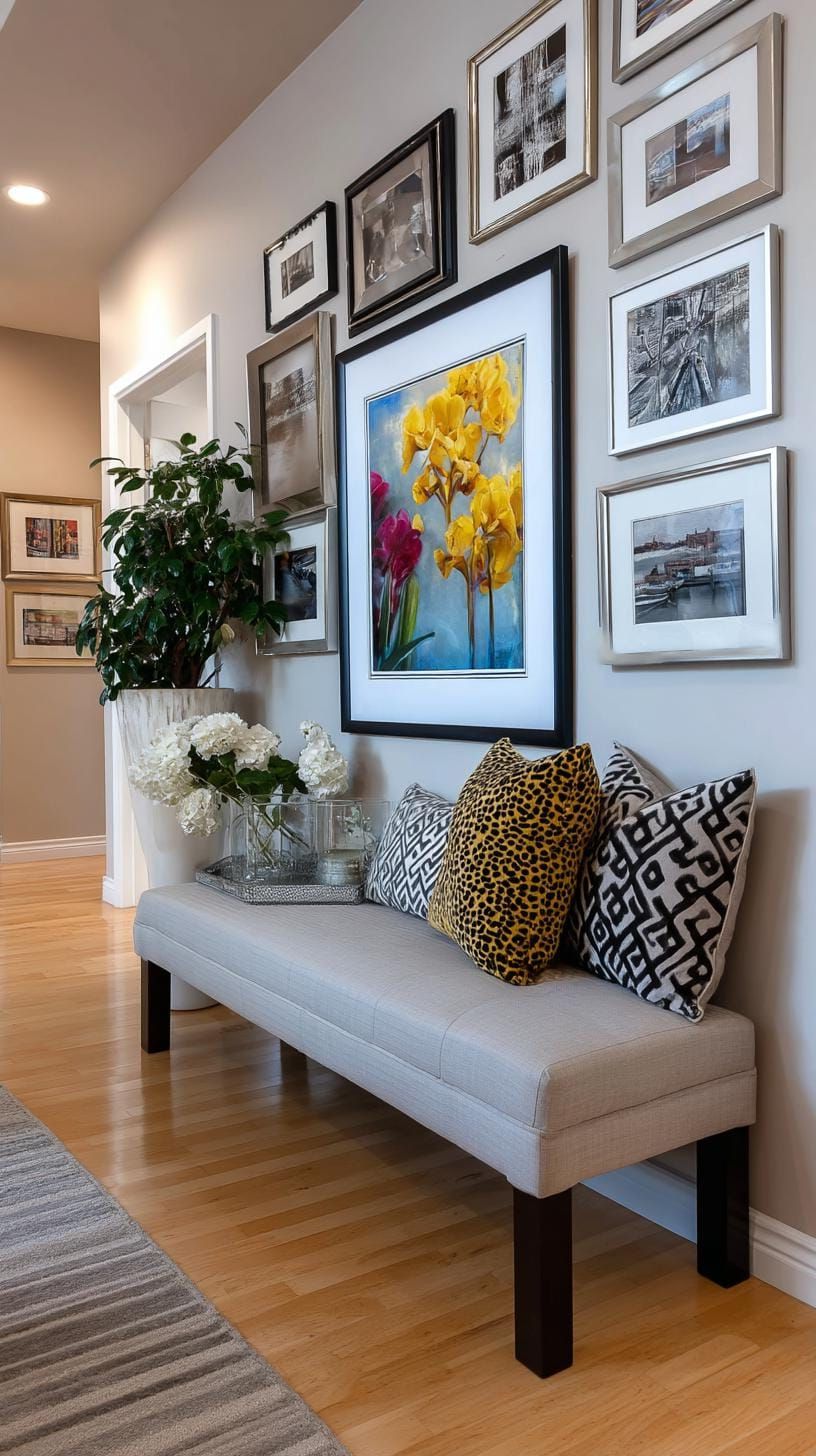
SavePicture this room, filled with calming shades of gray and white, when suddenly your eyes are caught by a vibrant electric blue painting. It’s like a pop of color that just grabs your attention right away, don’t you think?
 Save
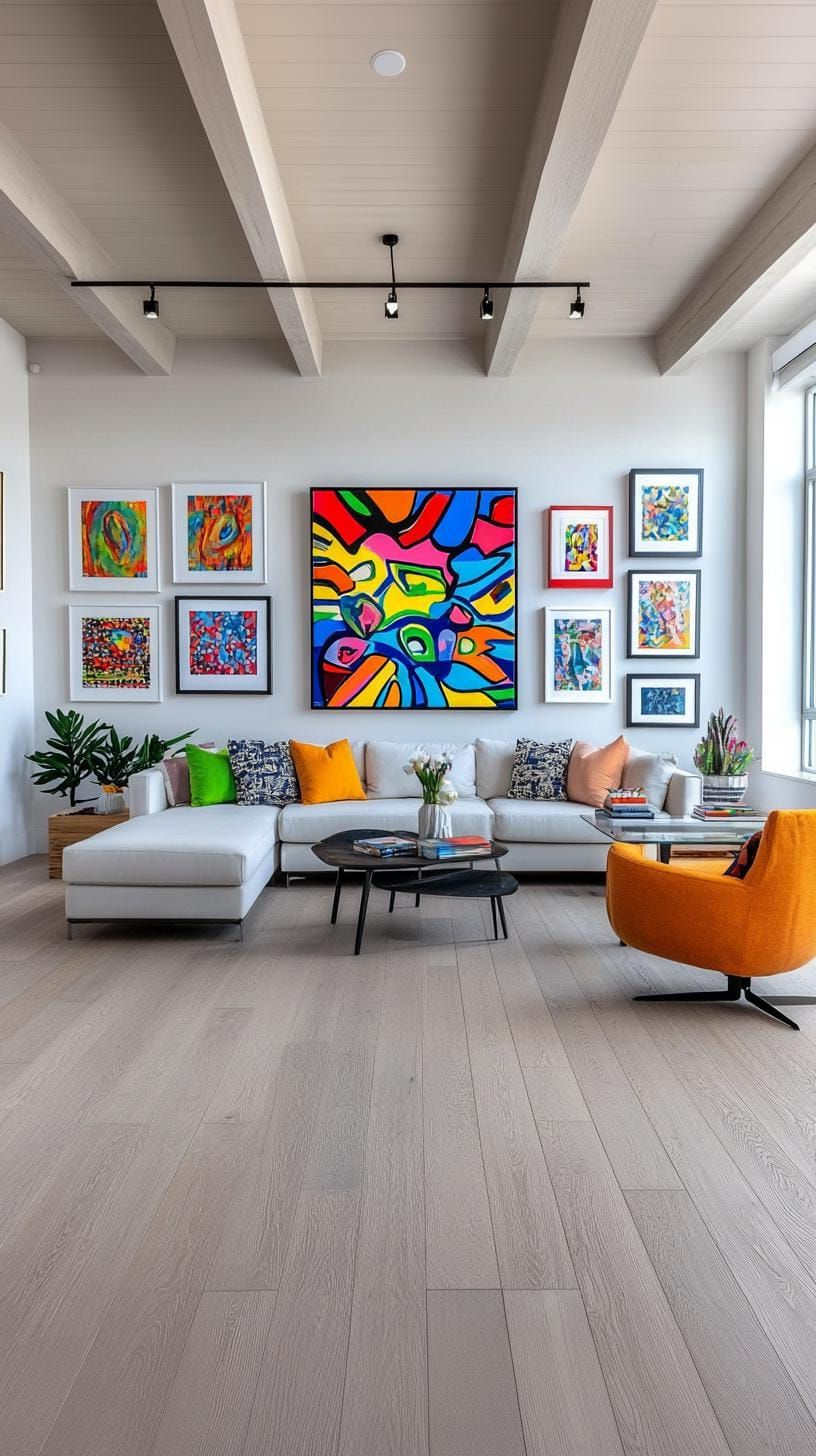
SaveIt’s kind of like adding that perfect little cherry on top of a sundae – it may be simple, but it’s what really sets it apart and makes it memorable. Creating a neutral background allows the artwork to really stand out and show off its personality without any distractions or clutter getting in the way.
 Save
SaveWhen you’re picking a statement piece, go for something that really speaks to you – like a vibrant red or fresh green. Just remember to balance it out with more neutral tones to keep the overall look calm and cohesive.
This setup is great for even small apartments or packed living rooms. One awesome thing about it is that you can easily change things up. Just swap out the main artwork, and the whole vibe of the space changes completely.
16. Art Arranged Around a Mounted Television
 Save
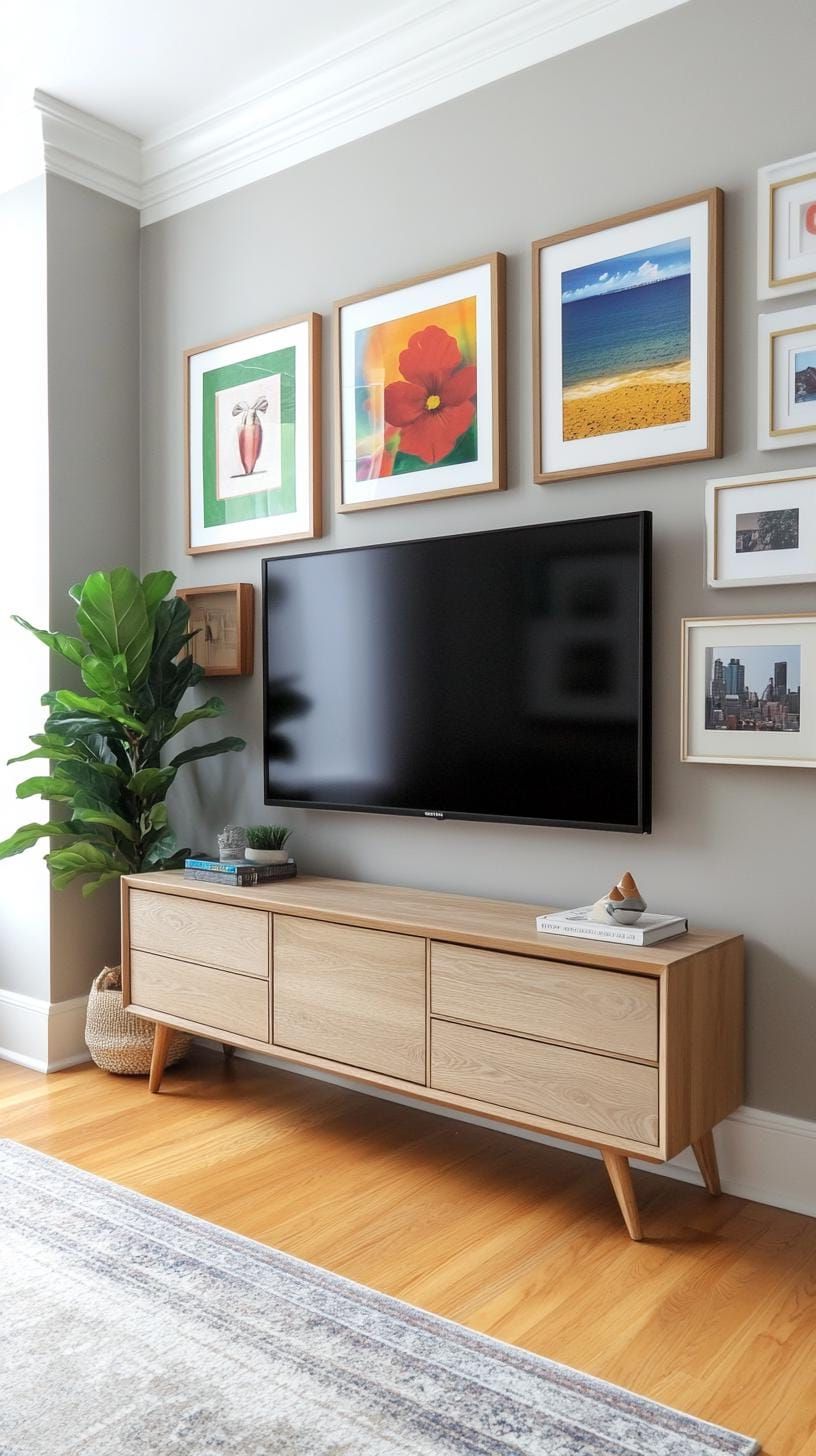
SaveDo you ever feel like your TV wall is just a lost cause? Well, guess what – it’s not! You can actually transform it into something special by surrounding your mounted television with some art. It’s like giving your screen a whole new look and turning it into a curated gallery. Pretty cool, right?
 Save
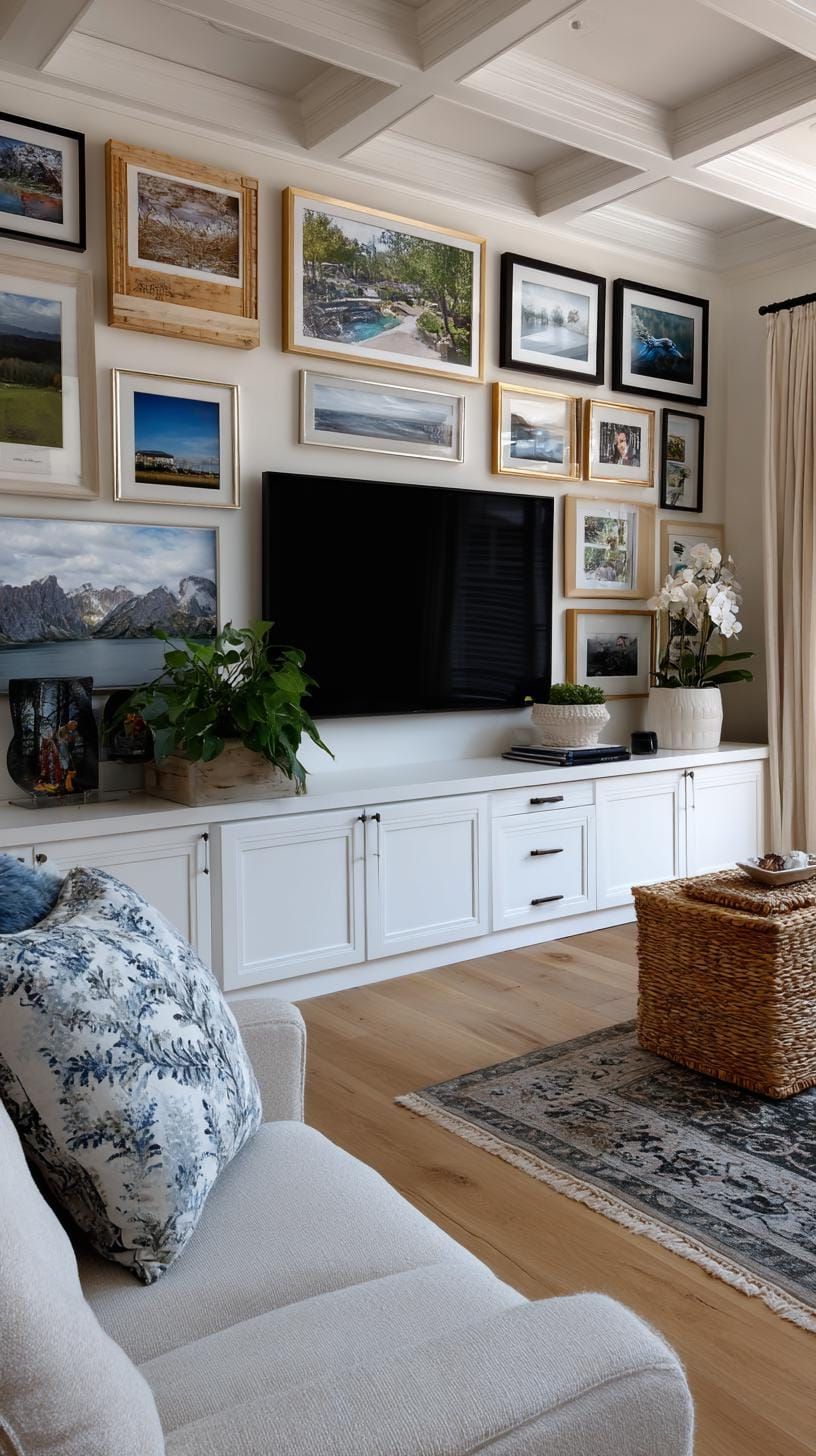
SaveWhy not experiment with different sizes and art themes for a more eclectic look? Mix abstract pieces with landscapes to create a vibrant and unique space that doesn’t feel like a typical home theater. Give it a try and see how it transforms the room!
 Save
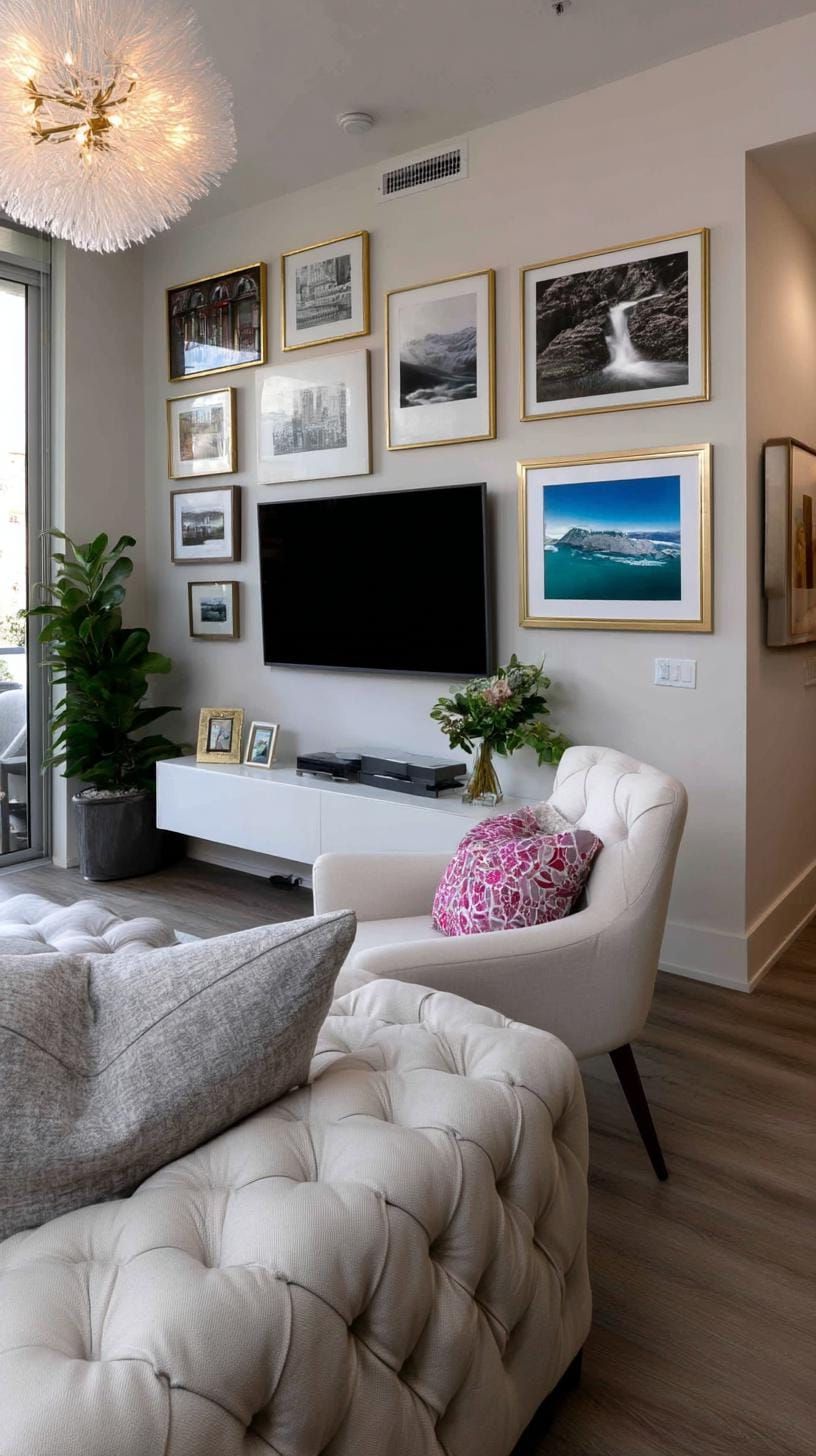
SaveSome people choose not to have perfect symmetry in their decor for a reason. A slightly more random arrangement can be visually interesting and keep you from constantly staring at the TV like it’s the main event. Just be careful not to cram too much stuff in there, or it might start to feel small and claustrophobic.
Make sure to give each piece some space in your living room. It’ll make the whole space feel more welcoming and cozy. Your living room will really appreciate it!
17. Grid Display Built Around a Statement Centerpiece
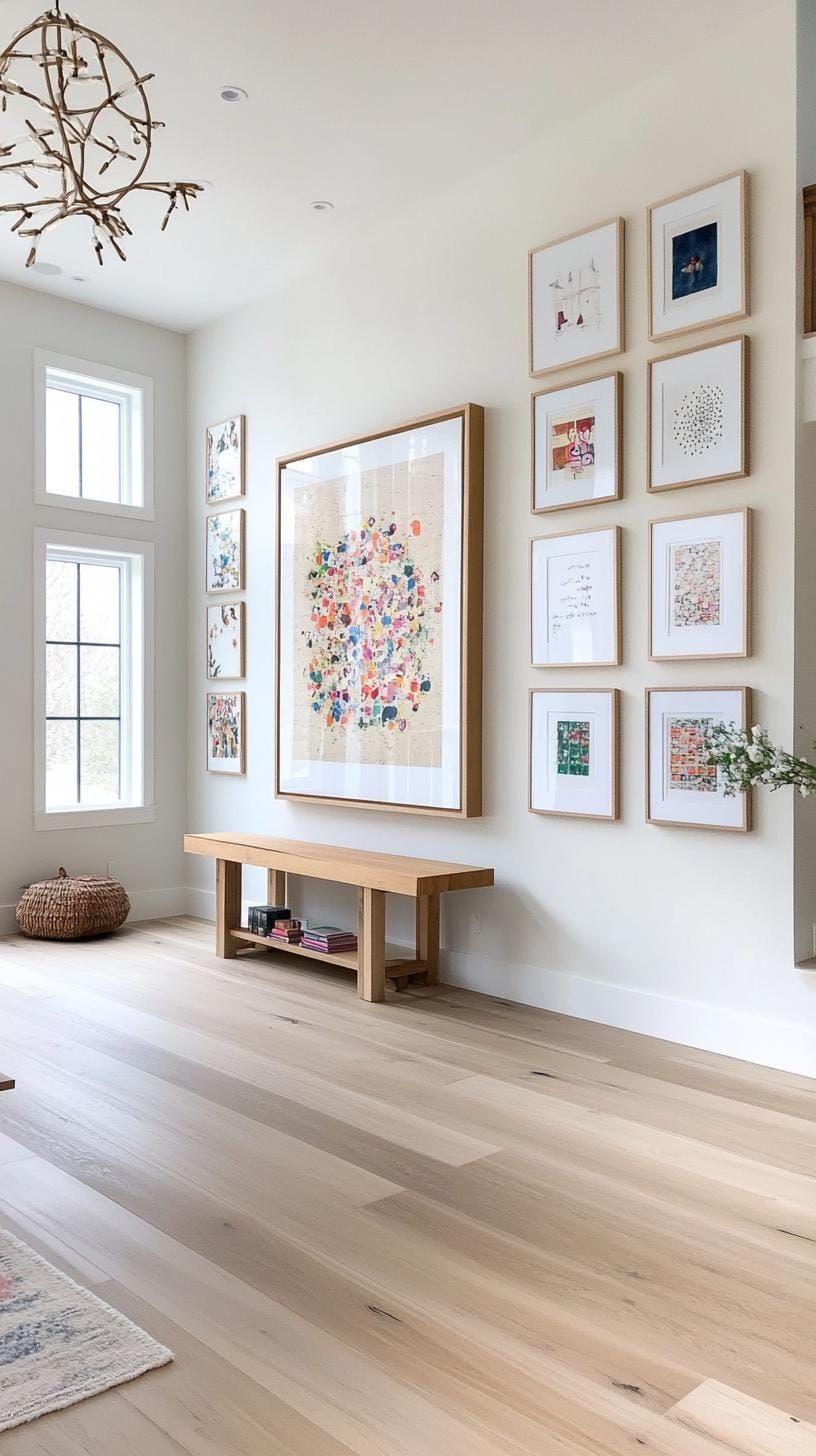 Save
SavePicture this: picture frames neatly lined up in rows, all leading your gaze to a striking, big piece of artwork right in the middle. It’s a mix of structure and excitement, thanks to this stylish grid layout.
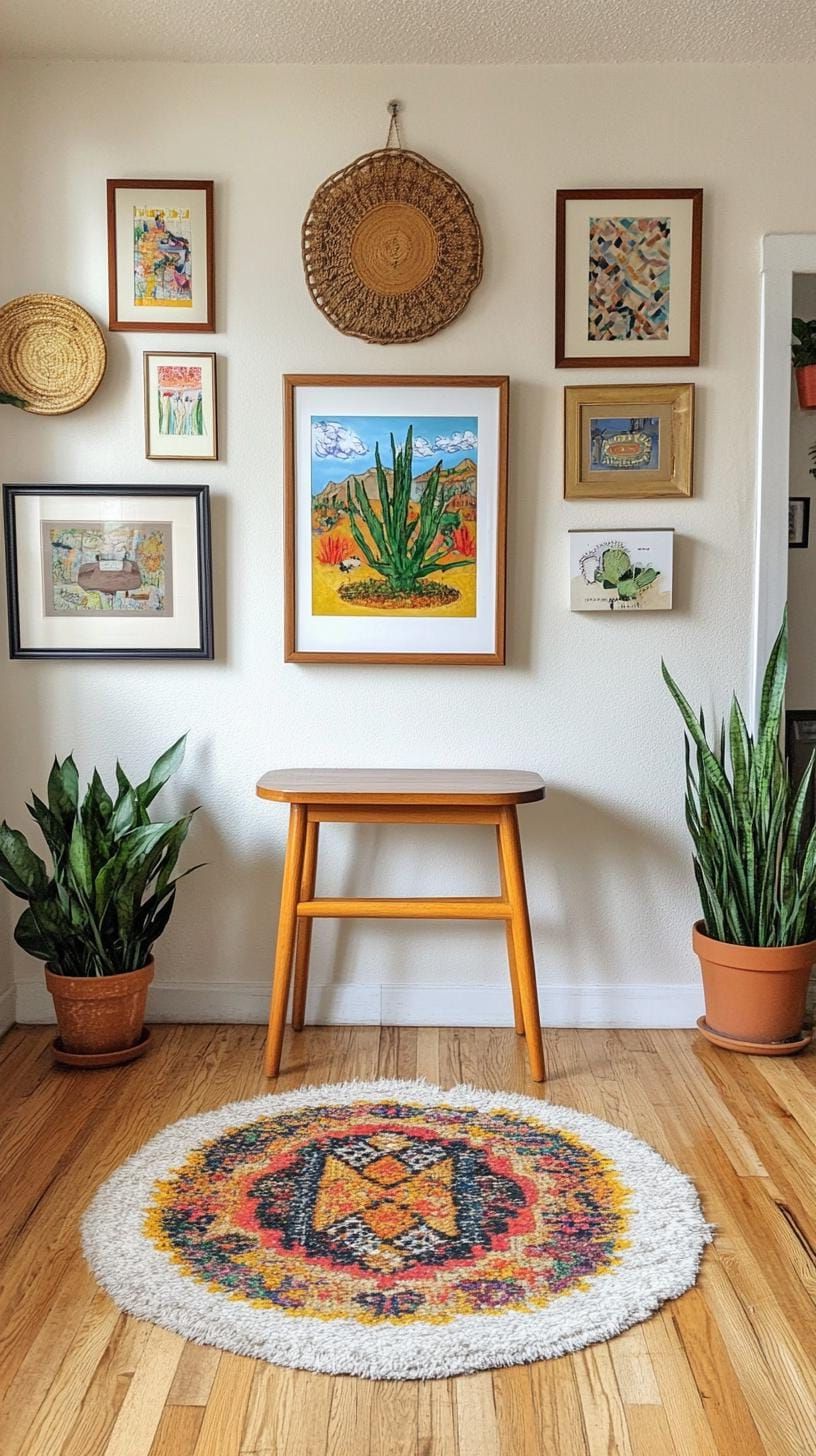 Save
SaveI love using simple black or white frames because they really help me focus and stay on track without any distractions. The symmetry of it all just feels so calming, you know? And when you add in a big piece right in the middle, it really gives the room that extra pop of energy and personality. It’s such a great way to make a space feel put together and lively at the same time.
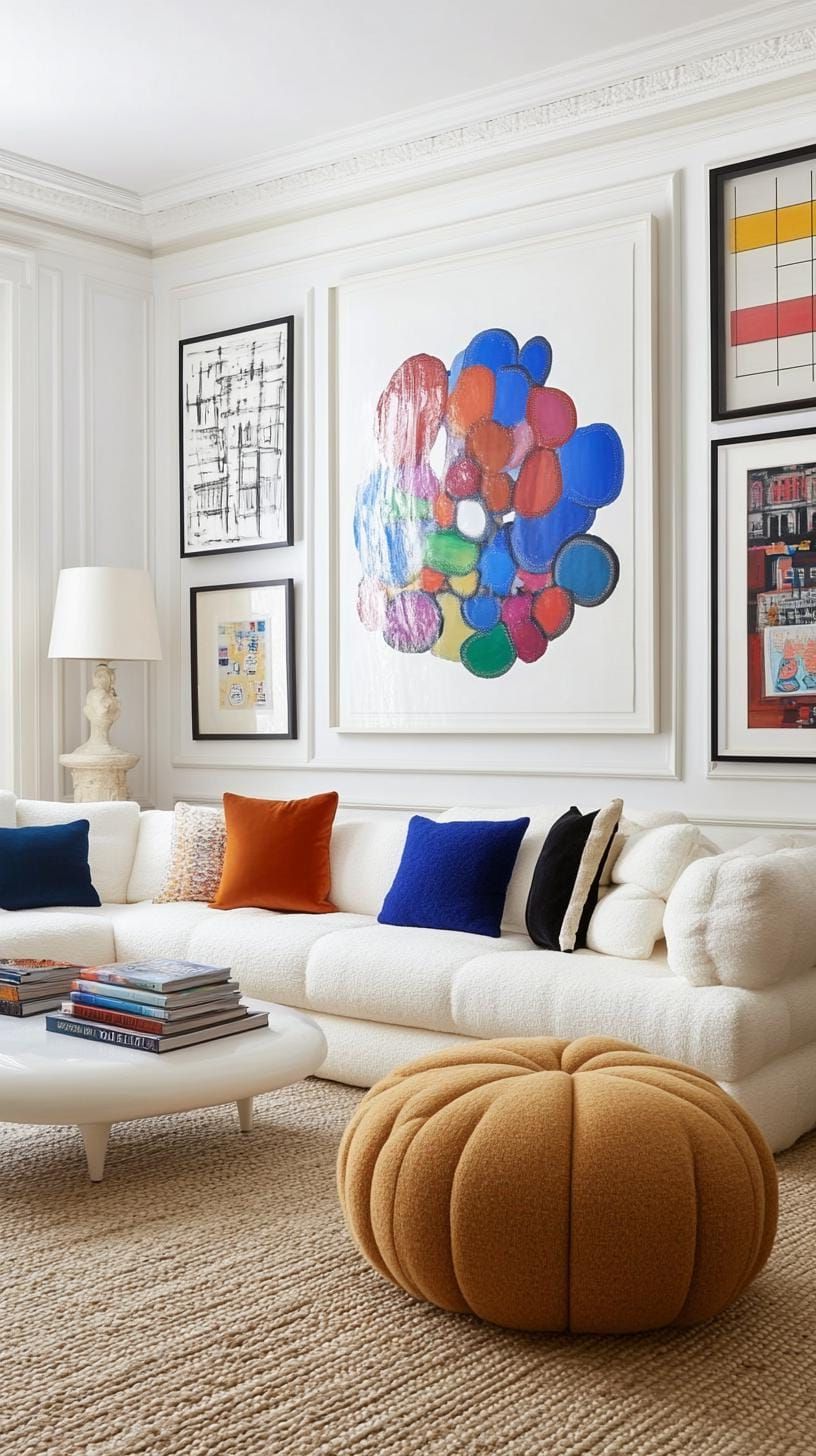 Save
SaveThere are some people out there who might think this style seems a bit cold or like it’s repeating itself over and over. However, that’s not the case at all if you switch things up a bit! Just imagine mixing in some family photos around a vibrant painting, or having some simple prints next to a bold abstract piece. It’s all about finding a balance and making the space feel unique and inviting.
You know, the key is to make sure the frame size and spacing are just right, and then bam! The big anchor just brings everything into focus.
18. Botanical Art Paired with Wood and Gold Frames
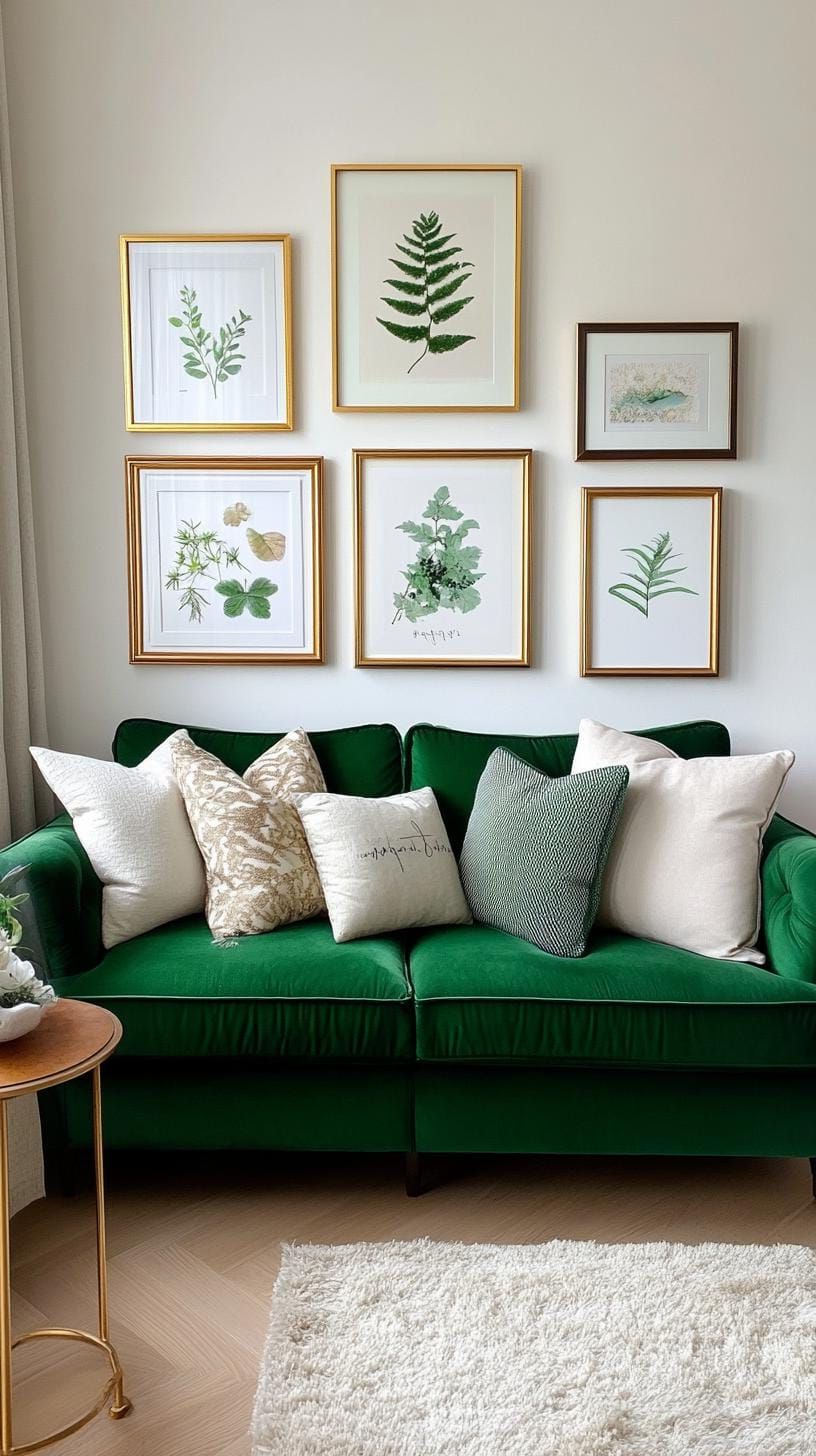 Save
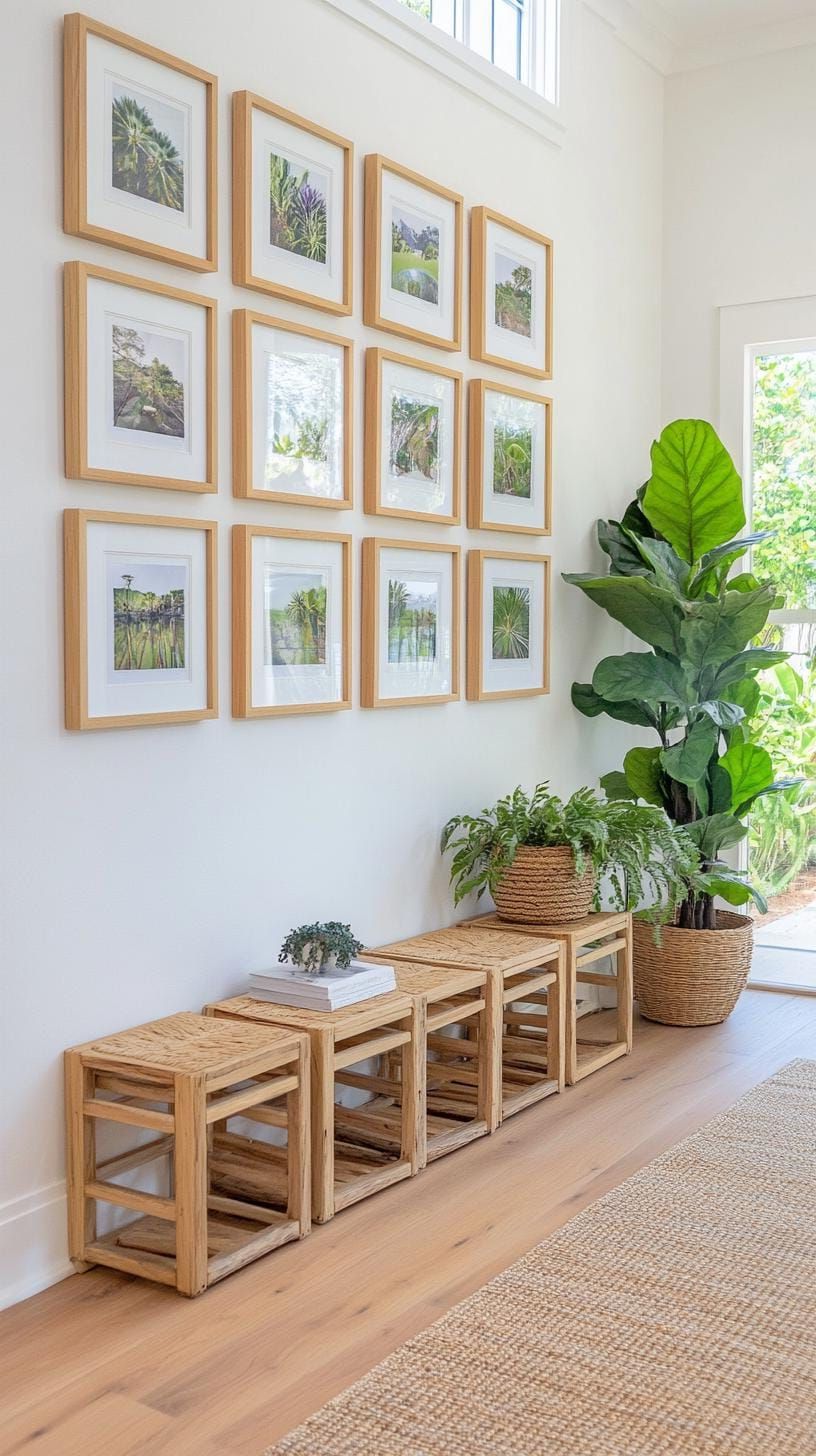
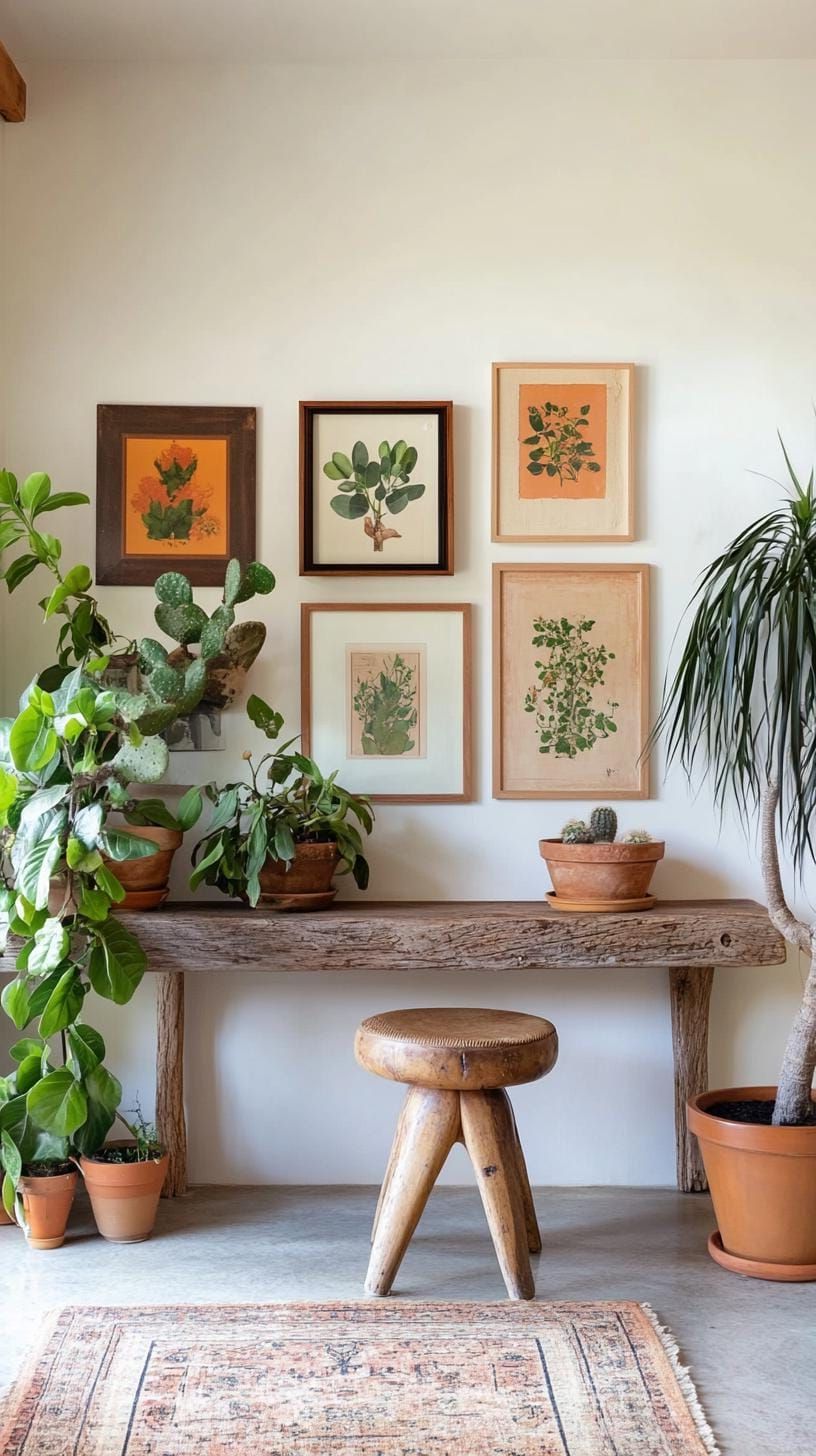
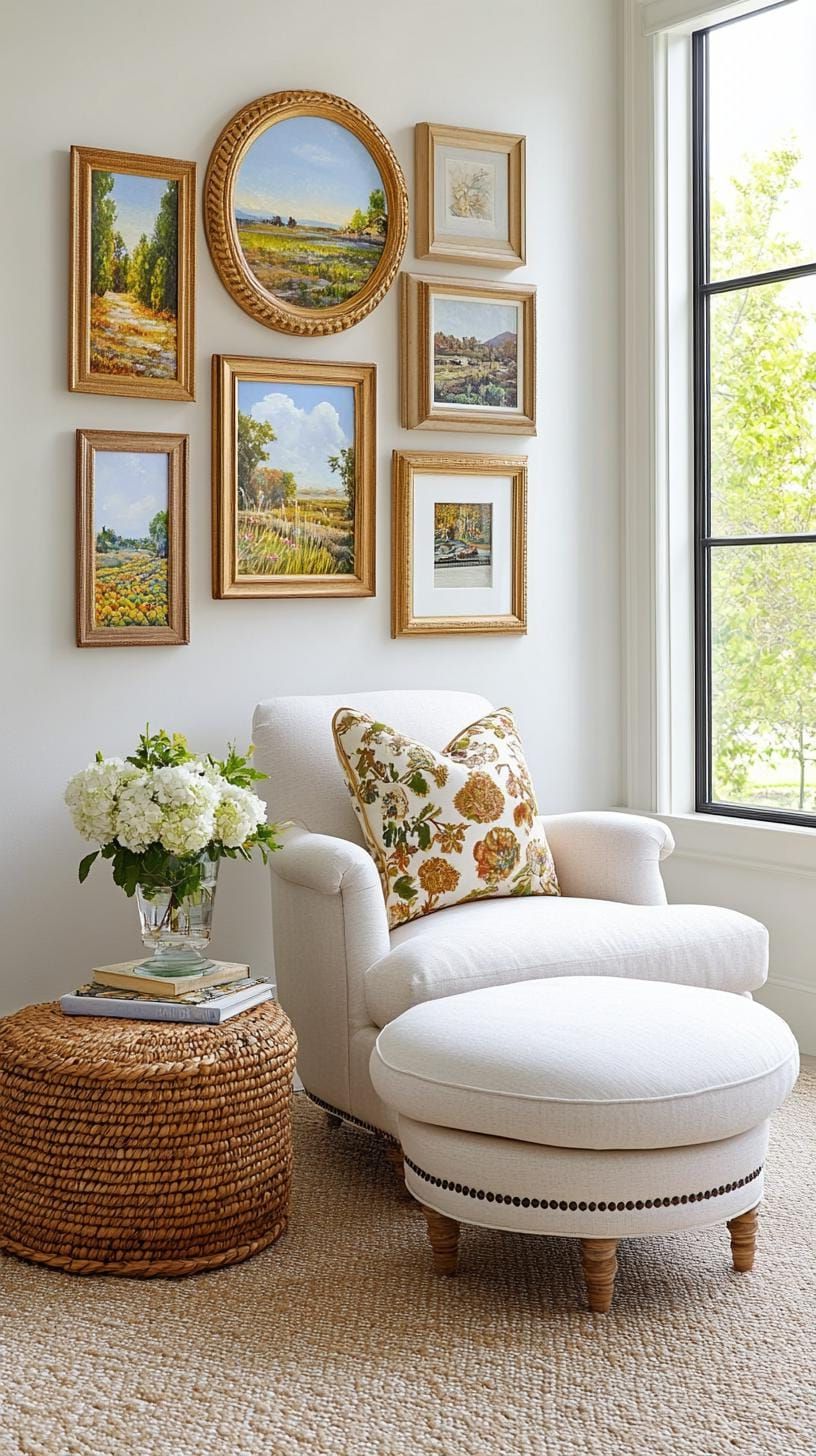
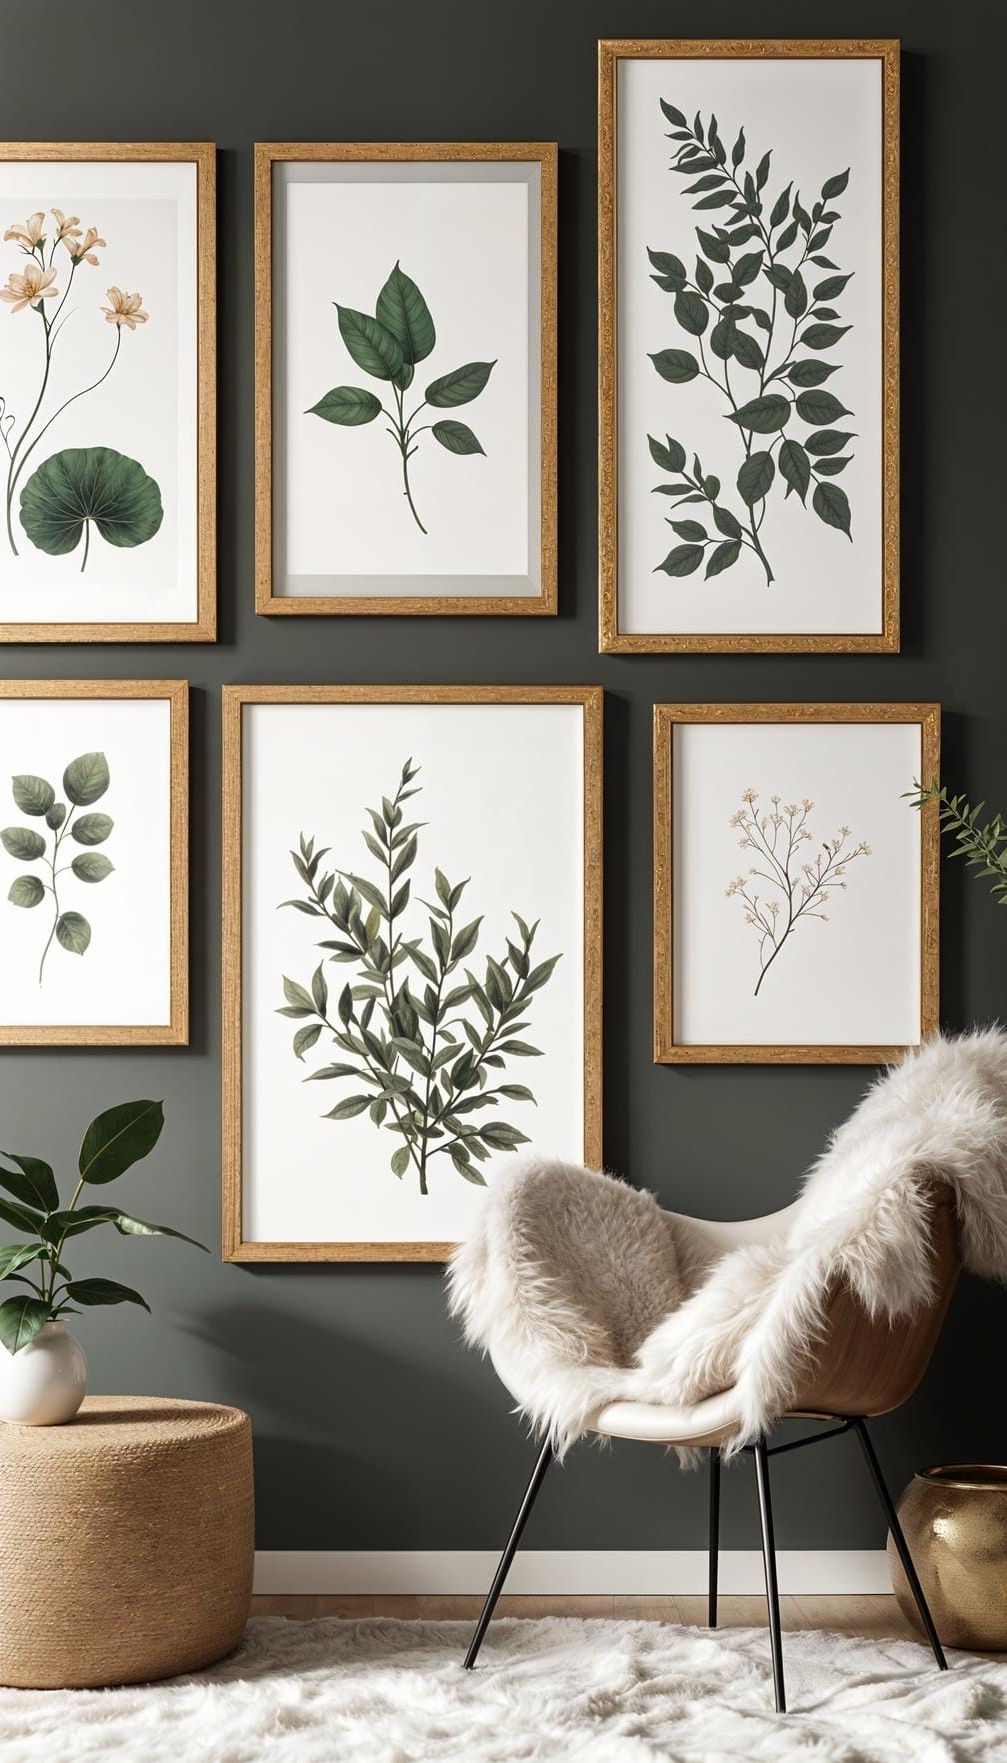
SavePicture this wall that comes to life with beautiful botanical prints framed in either earthy wood or shimmering gold. This style really brightens up any room and brings a sense of calmness to the space.
 Save
SaveWhen you look at that beautiful botanical art next to the cozy textured wood, doesn’t it just make you feel like saying, “Ah, I’m finally home”? It’s the perfect touch for your entryway or a cozy reading nook.
 Save
SaveHere’s a handy tip for hanging prints: why not try grouping four or six of them together in a grid pattern? Mix things up by using different frame materials for a more interesting look. Make sure to keep the spacing between each print consistent, just like how you would space out plants in a garden. The only downside? Running the risk of them looking too crowded on the wall.
 Save
SaveIf you want to make a statement, keep it to just three to six pieces. And for a cozy touch, throw in a leafy houseplant close by to really set the natural vibe!
19. Soft Look with Oval and Round Frames
 Save
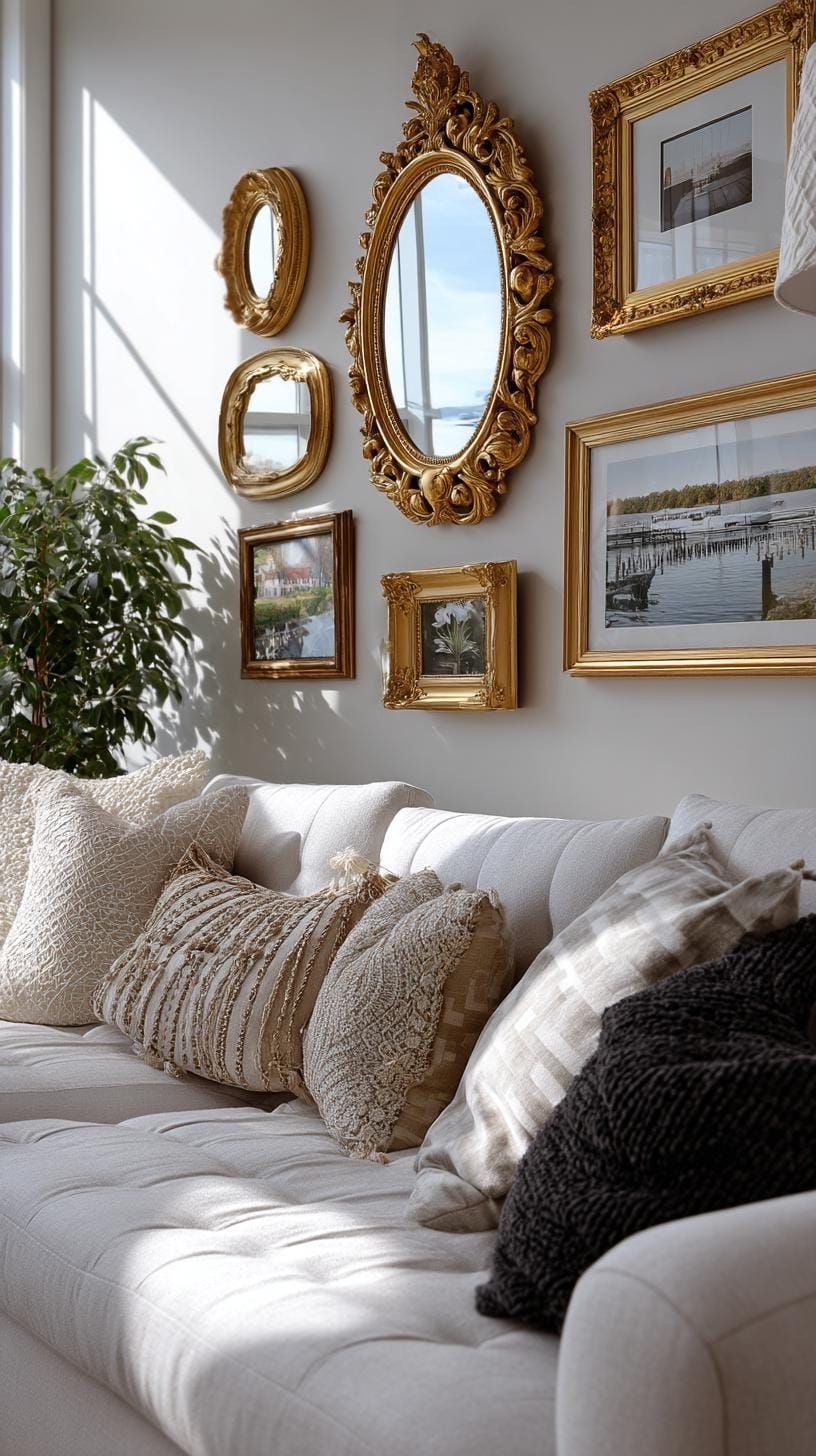
SaveWhen you mix oval and round frames on a gallery wall, it adds a nice touch of charm. Circles have a way of calming the eye, as opposed to harsh rectangular shapes. Why not give it a go and play around with arranging frames of different sizes in casual clusters? It’s a fun way to create a pleasing visual display!
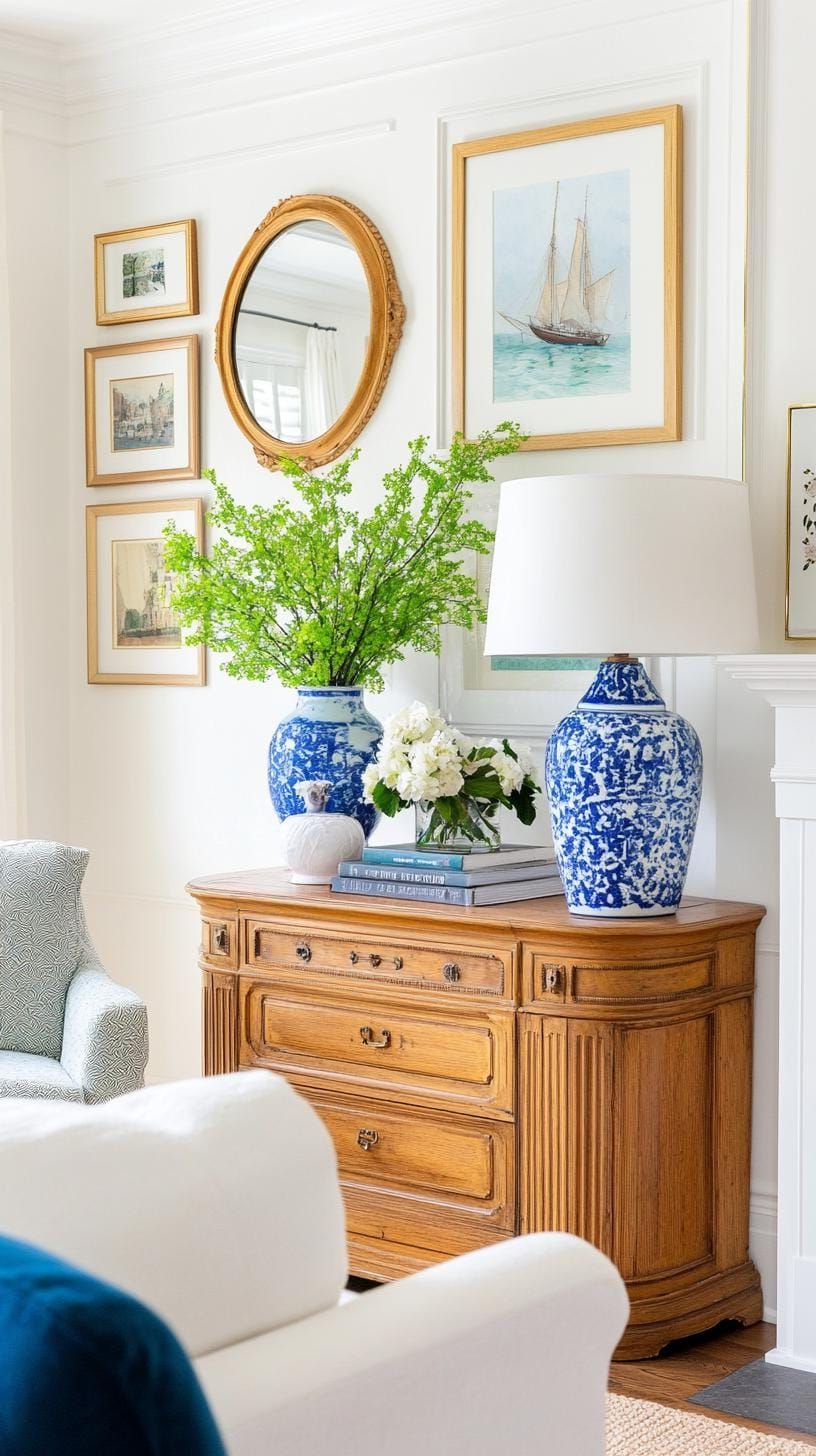 Save
SaveHey, why not try adding some circular mirrors or embroidery hoops to the room? It might make the space feel softer and cozier, don’t you think?
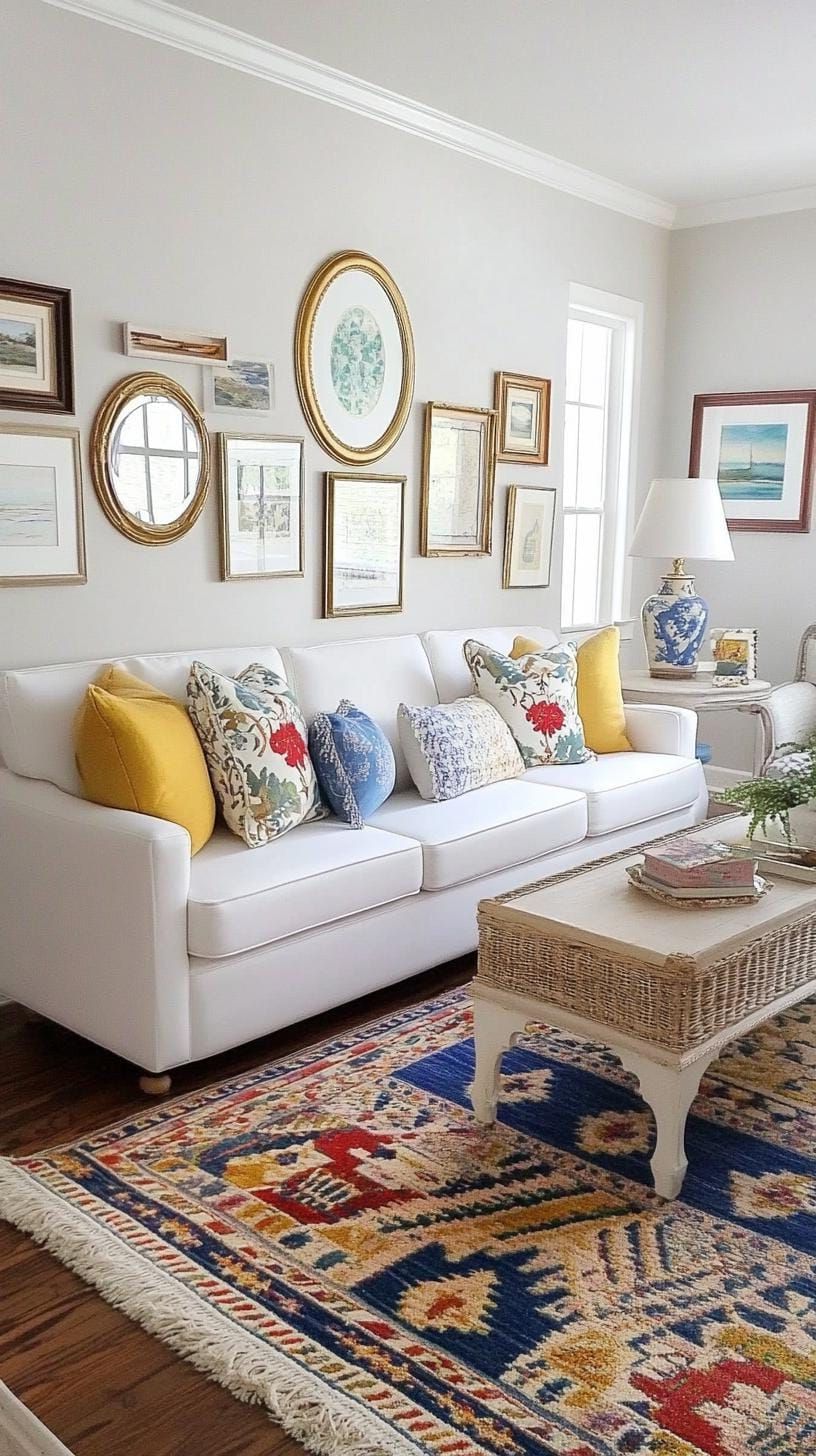 Save
SaveSo, here’s a neat little trick that artists and homeowners love: try layering two or three smaller circular prints on top of larger ovals. It really helps to jazz up those boring grid-style layouts. Give it a shot and see how it freshens up your space!
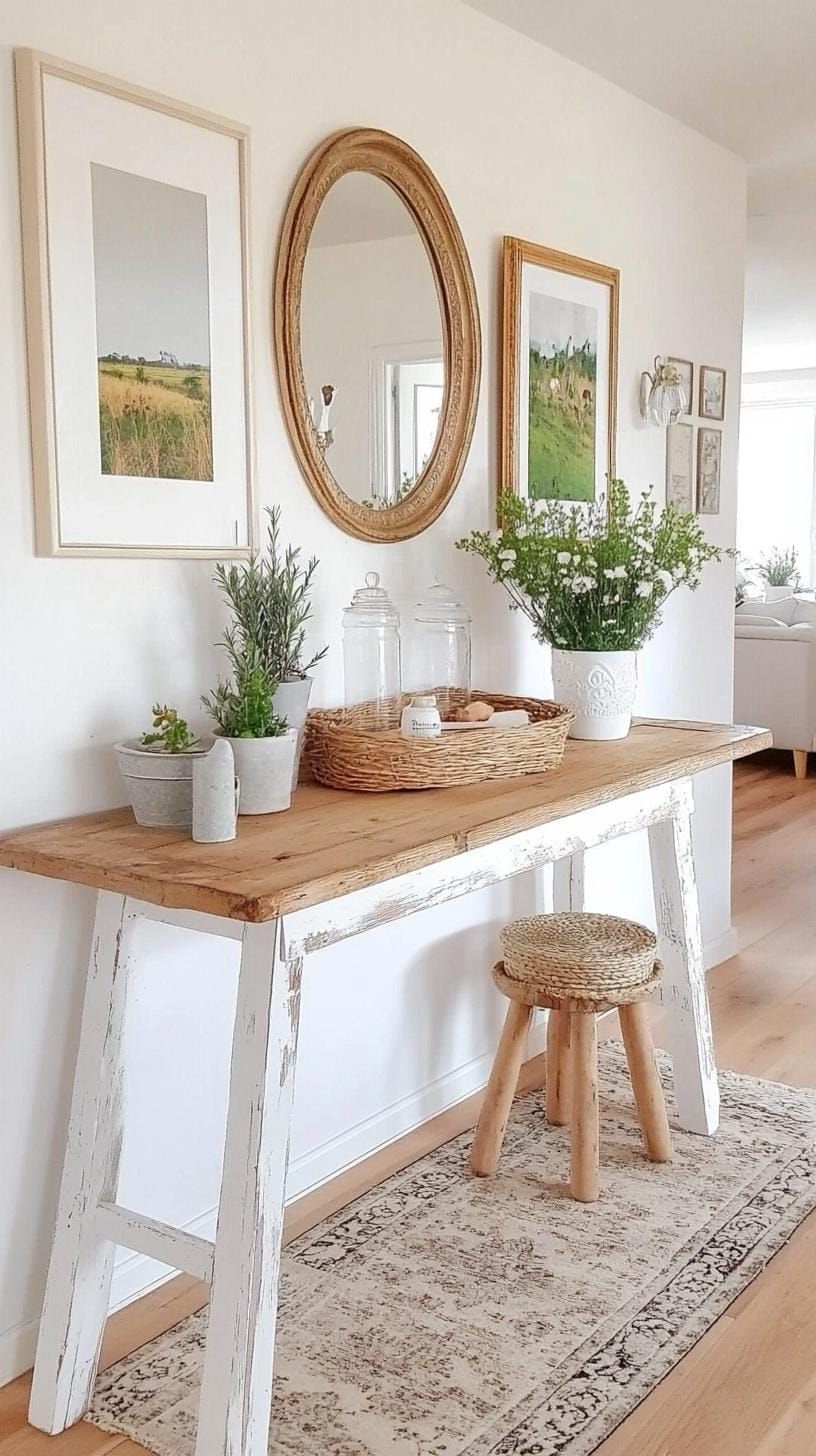 Save
SaveThe only thing is, it’s pretty easy to go overboard and throw off the balance. So just make sure to leave a gap of about the width of your hand between each frame to keep everything looking nice and balanced.
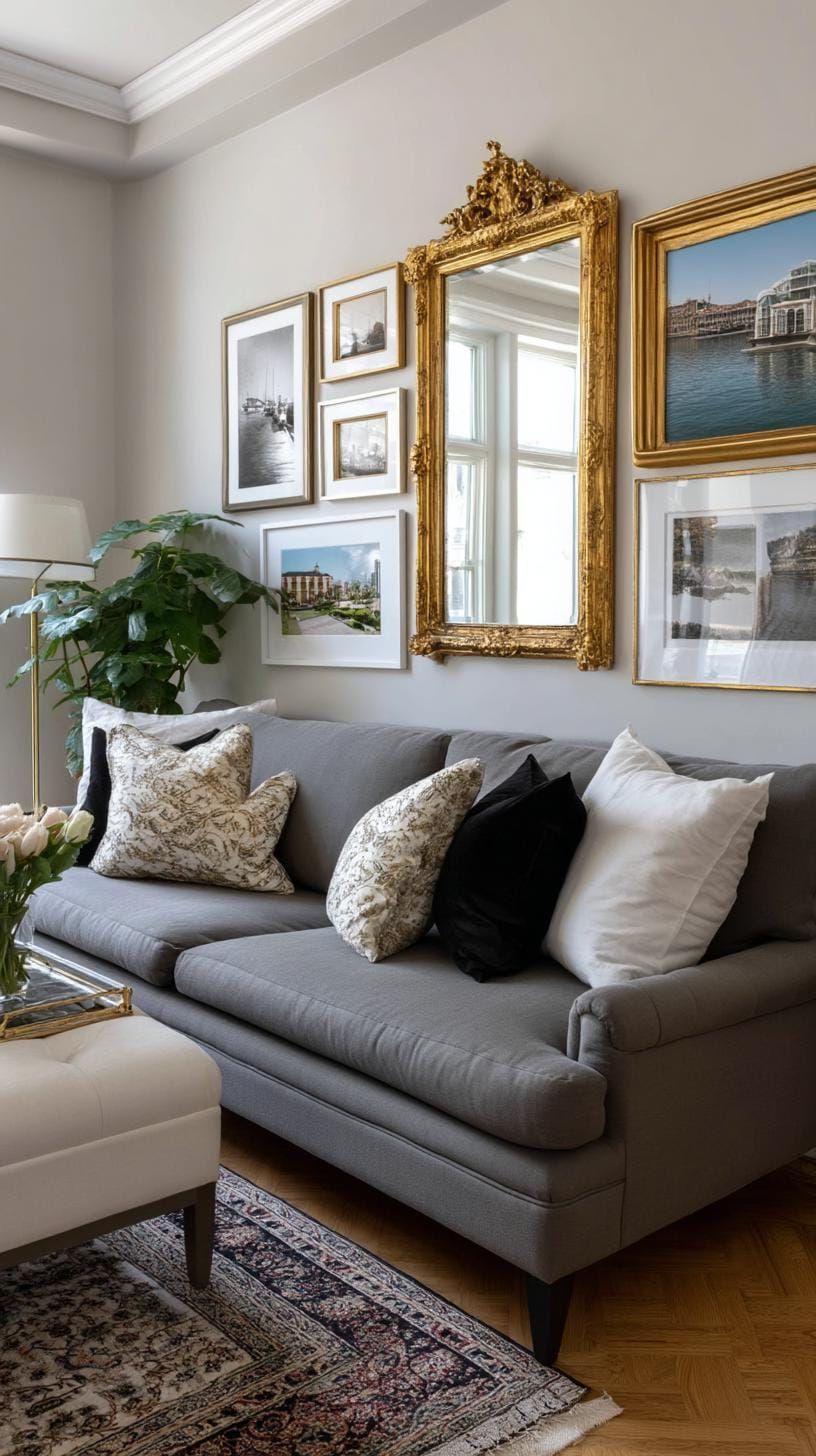
20. Antique Mirrors Paired with Vintage Art Prints
 Save
SaveWhen you mix vintage mirrors with antique art prints, it really adds a lot of visual interest to a room right away. You can experiment with different shapes like round, oval, or intricate mirrors paired with small, older paintings. To keep things interesting, try placing the mirrors and prints in a pattern like mirror, print, mirror, instead of just lining them up in a row. It helps to break up any potential dullness and adds a unique touch to your space.
Have you ever had guests come over and ask if you hired a designer for your space? It’s always a nice compliment! Just remember, it’s important to strike a balance – too many shiny surfaces in a small area can make it feel a bit overwhelming.
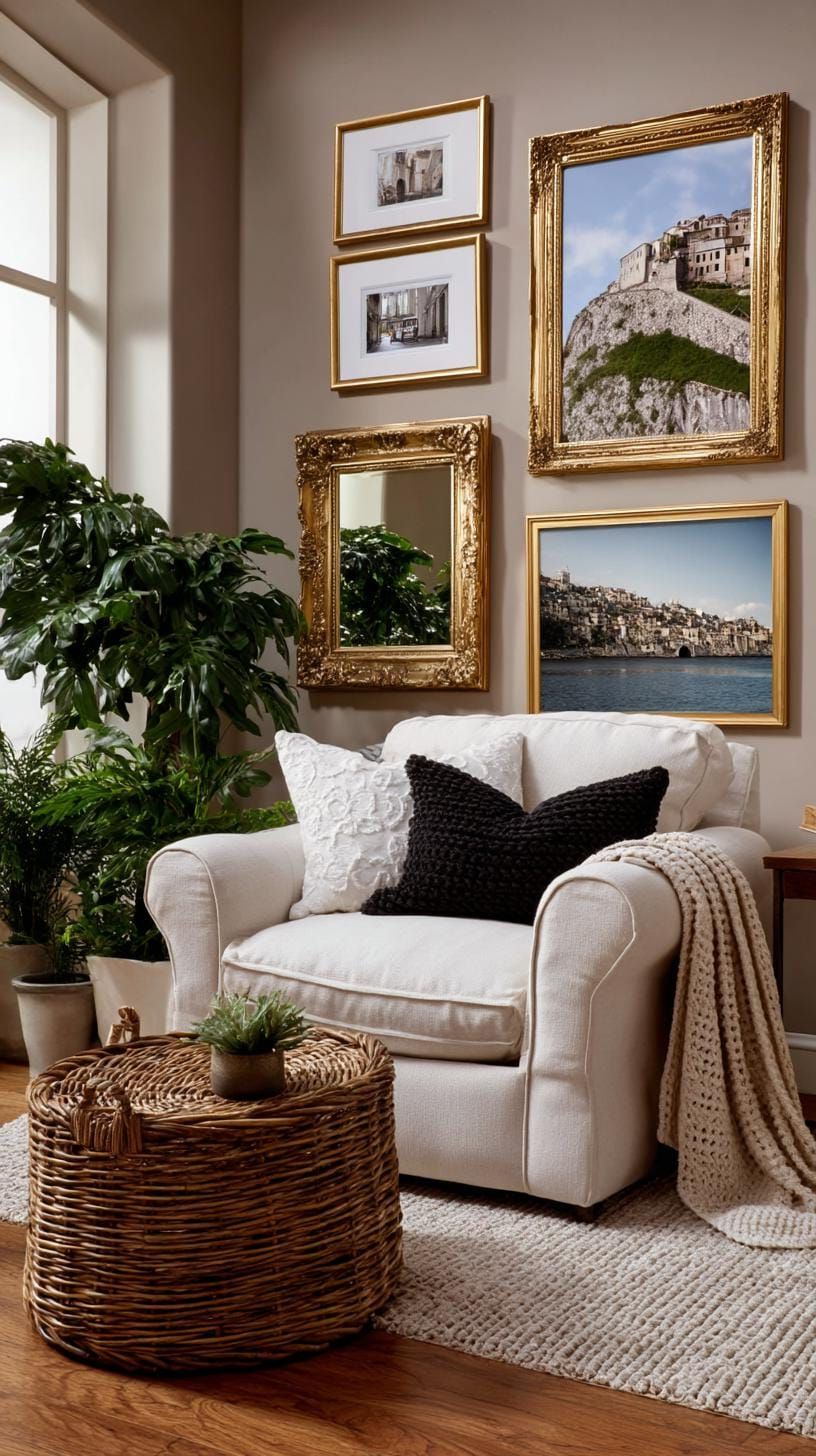 Save
SaveIt’s all about finding that perfect balance. So, lay out some arrangements on the floor and see what resonates with you. Look for a pattern that feels just right, not too overwhelming. One idea could be to place a bold floral print with a lot of frame detail between two elegant, gilded mirrors. Just play around and see what looks and feels good to you!
This style really stands out in entryways or dining rooms, it just catches the light so beautifully and always gets people talking!
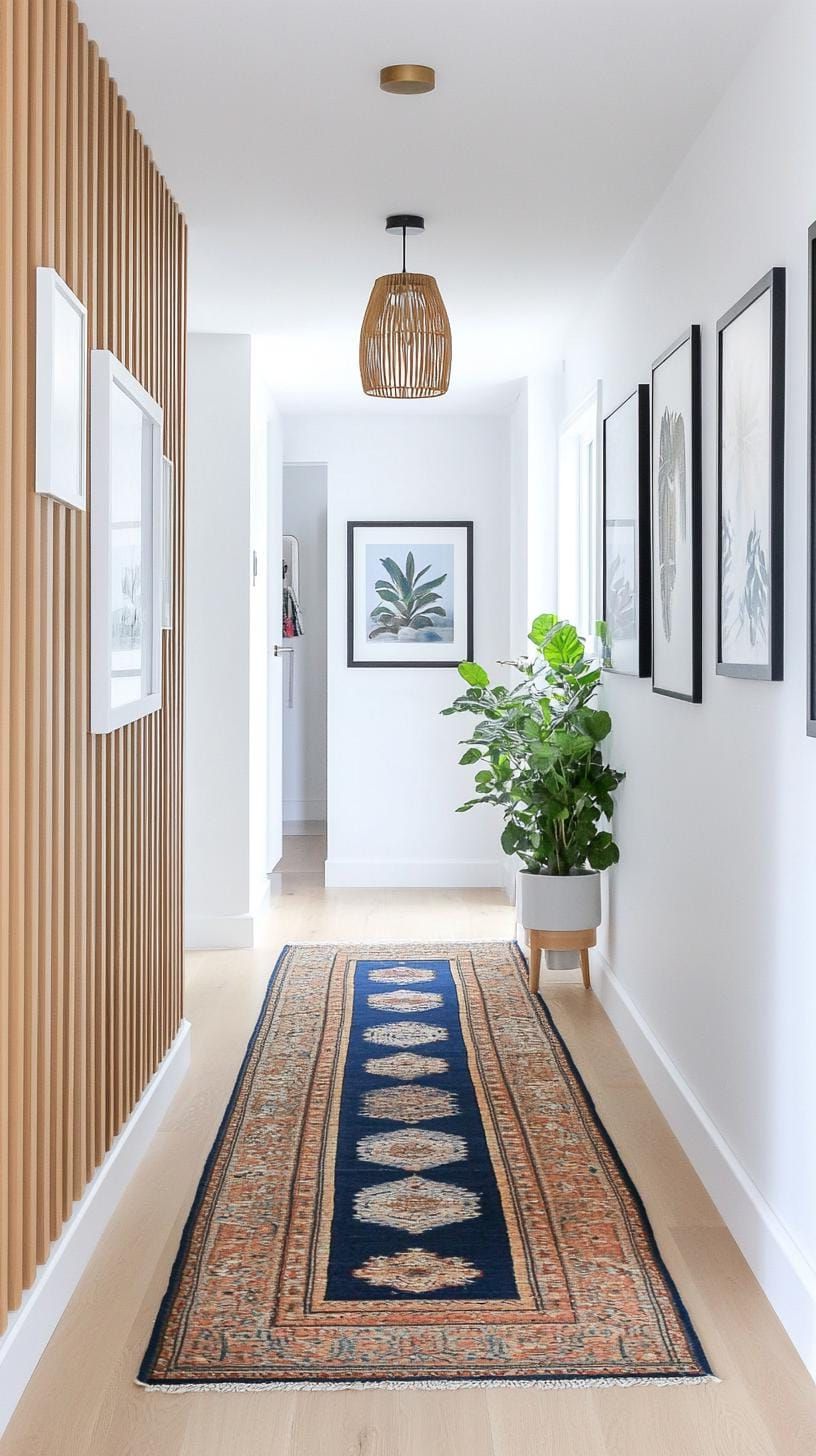
21. Vertical Frame Rows for a Striped Hallway
 Save
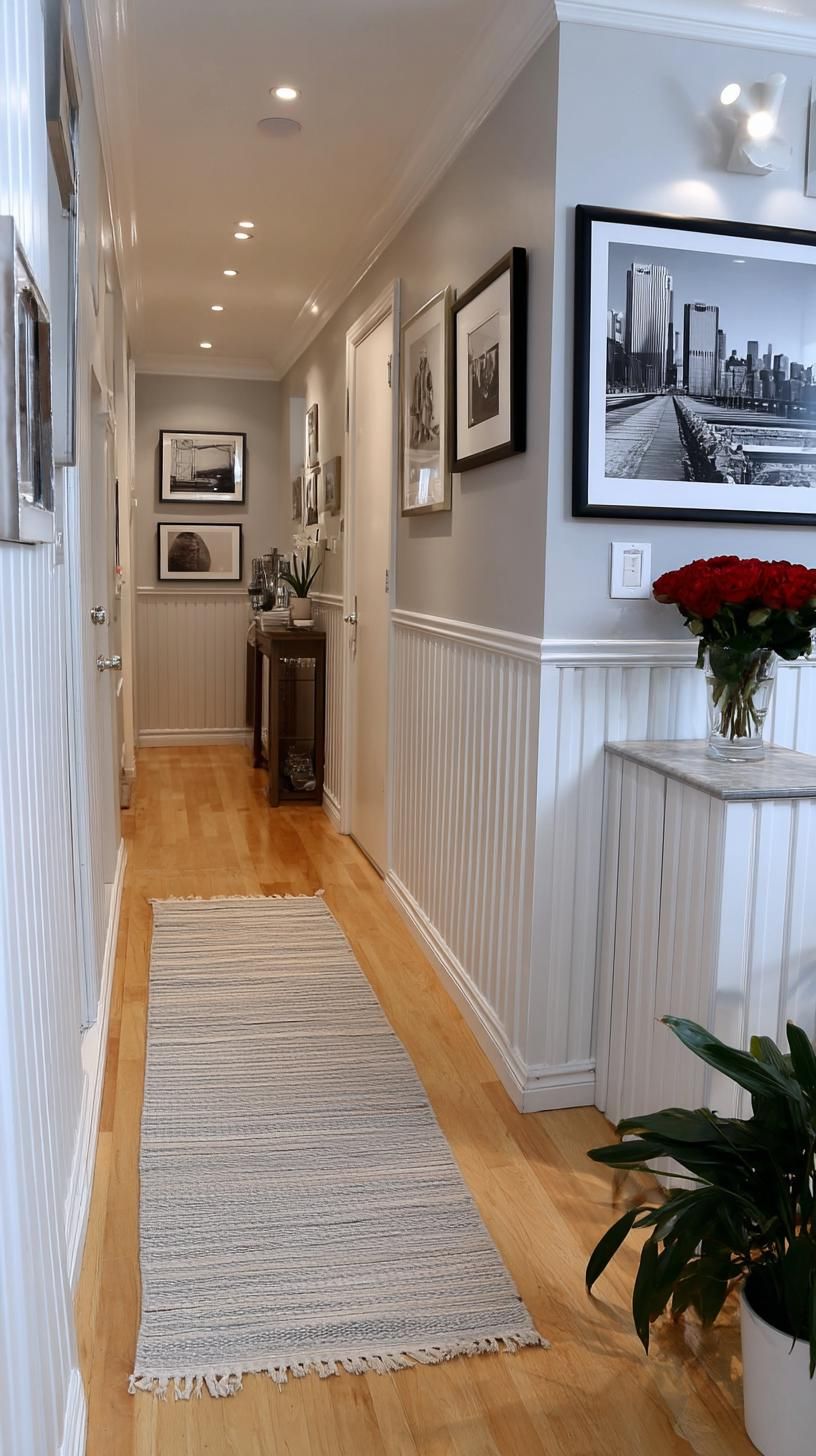
SaveAs you walk down a narrow hallway, it can sometimes feel like you’re just moving through a little shoebox! To give the space some life and make it feel more dynamic, try hanging a neat row of small, vertical frames in a single line. It’ll add a nice touch of energy and direction to the space.
As you look down the hallway, your eyes can’t help but follow the line, making the space feel even longer and more exciting, all without breaking the bank.
 Save
SaveWhen picking out frames, you can go for ones that have the same finish for a nice, organized feel. But, if you want to add some personality, mix it up with different styles! Keep things simple by choosing images like black-and-white photos or botanical sketches to keep the space looking neat and tidy.
So, this trick helps keep the room feeling open and airy, but just keep in mind that large or busy artwork might make narrow hallways feel crowded. Just a little tip!
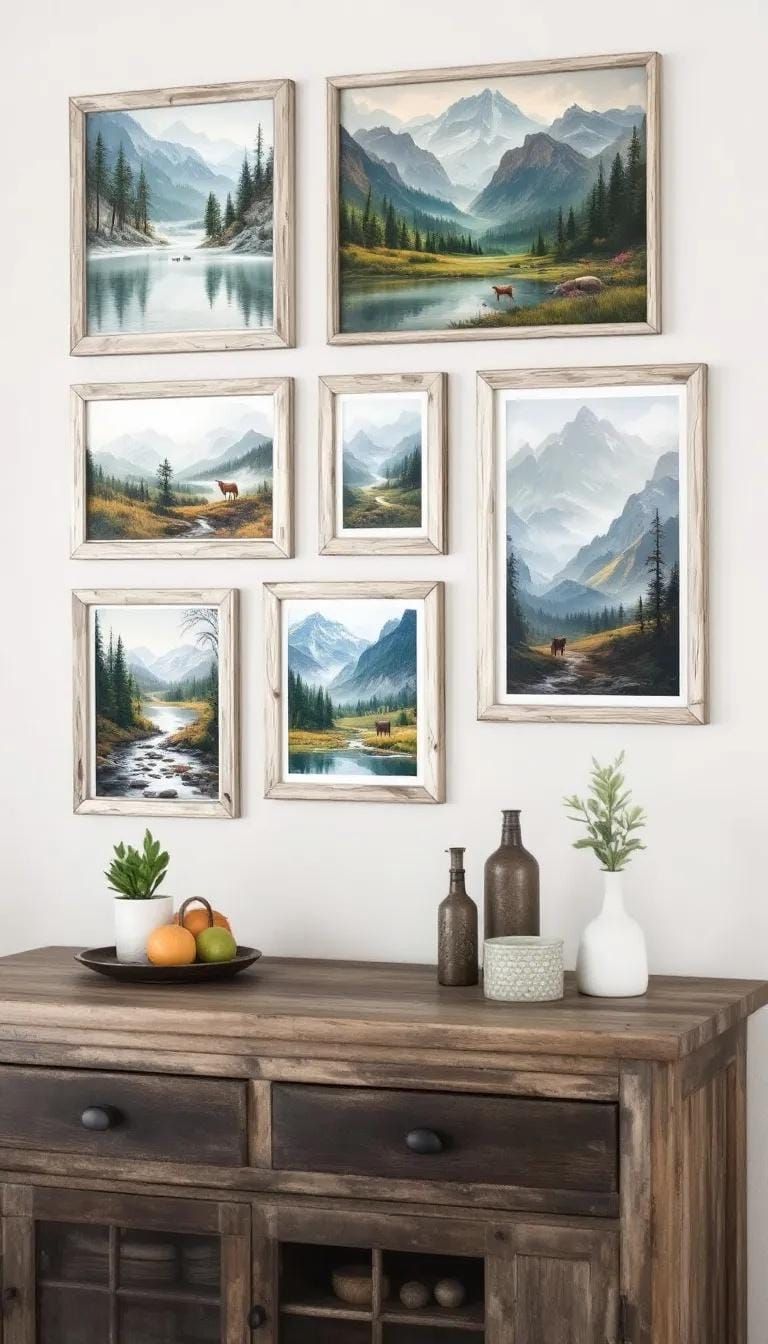
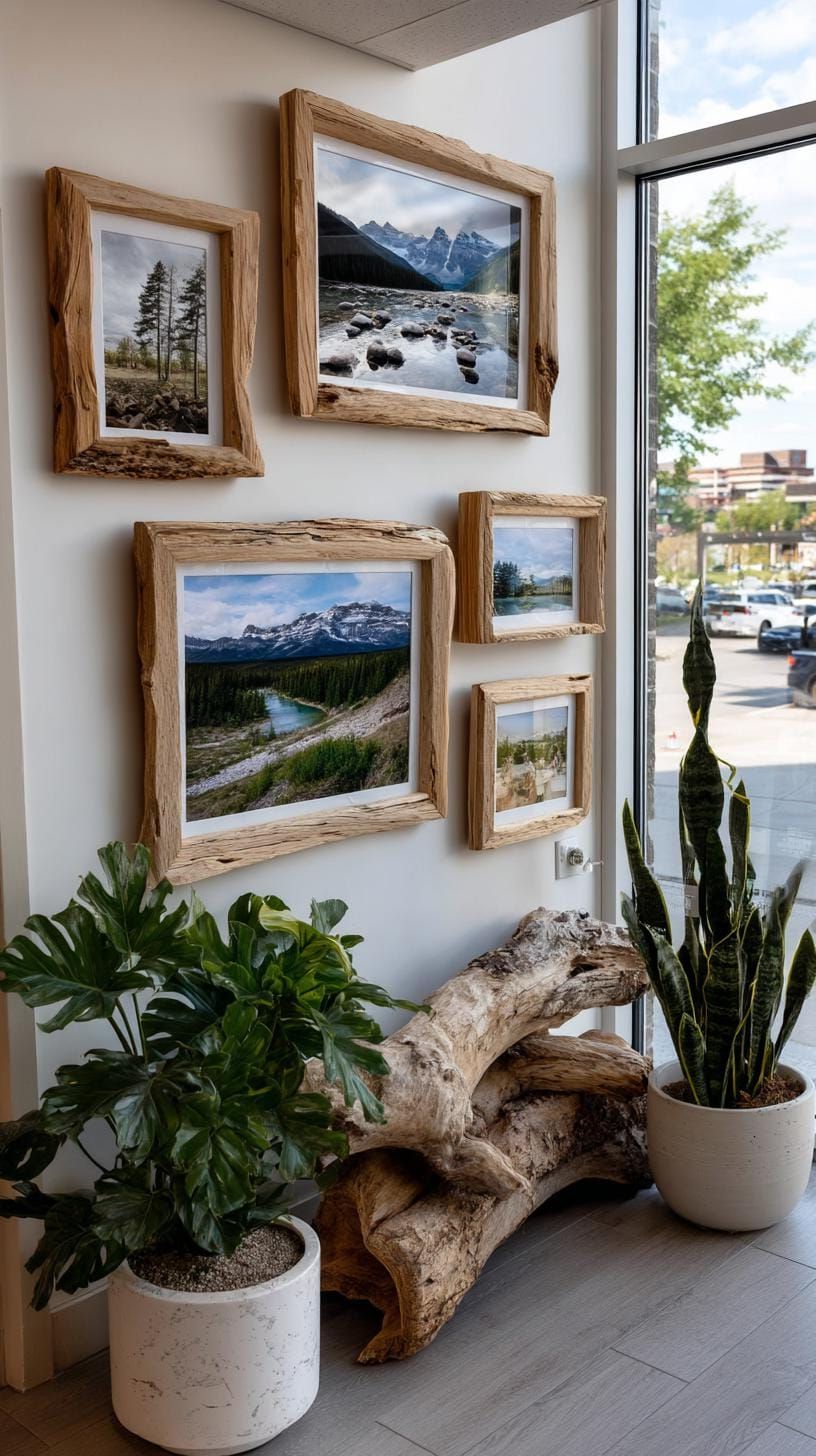
22. Rustic Wooden Frames with a Nature Theme
 Save
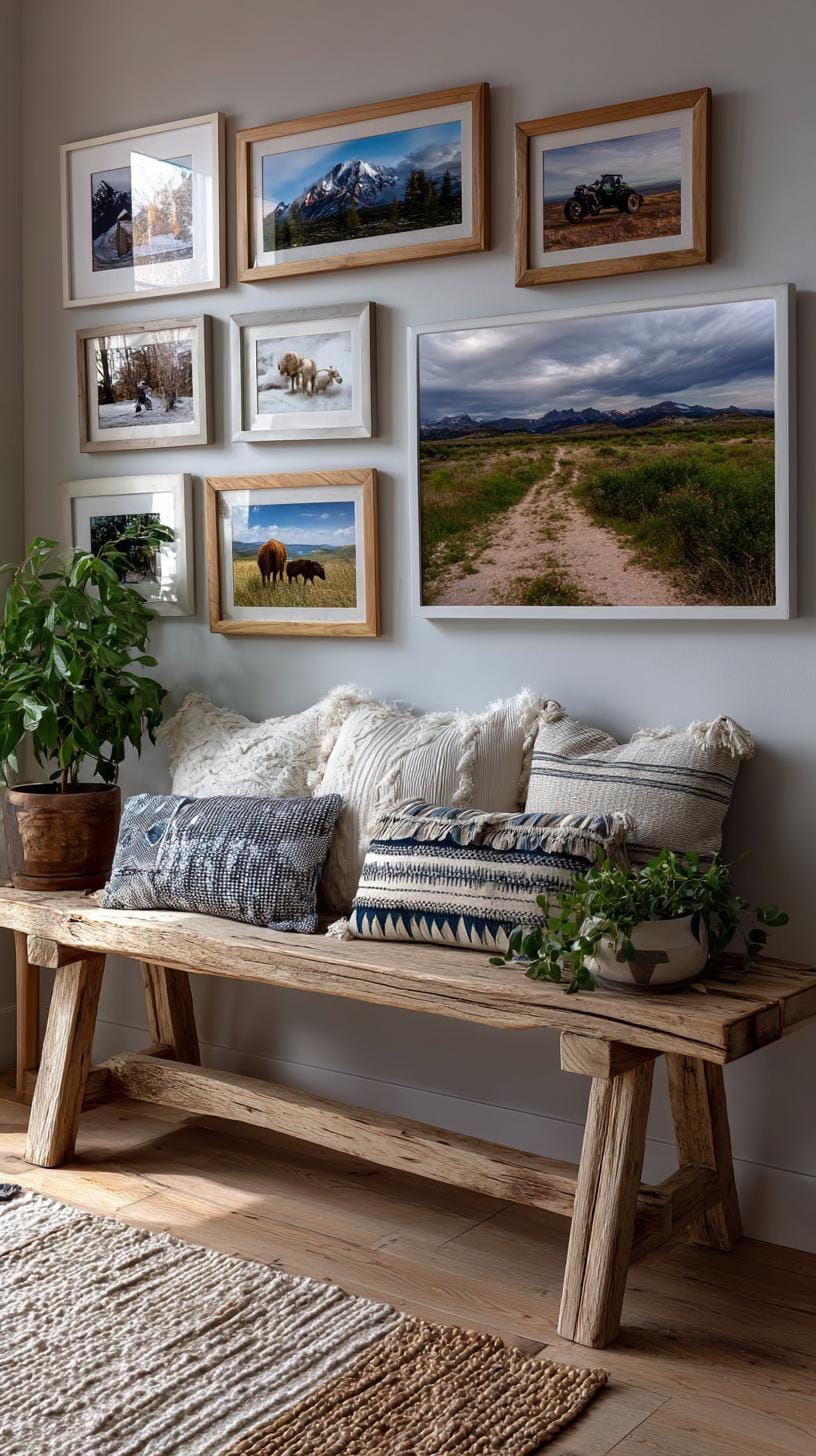
SaveHave you ever thought about mixing and matching different wooden frames with knots and unique grain patterns? It can give your room a cozy, charming, and nature-inspired vibe. Try arranging the frames in a tight or loose cluster for a more relaxed and inviting look.
 Save
SaveHow about incorporating some nature prints, pressed leaves, or even photos from your hiking adventures? Imagine a little cabin vibe mixed with an art gallery feel – cozy yet not too formal. Just a thought!
 Save
SaveWhy not try mixing up different frame sizes and colors like walnut, pine, and reclaimed wood to give your decor more dimension? And don’t forget to keep things interesting by switching out your photos with ones from your most recent adventure!
So here’s the thing – if you have too many similar tones, it can all start to look the same and get a bit boring. Mix things up by adding some pops of greenery or metallic accents to break up the wood and keep things interesting!
23. Tightly Spaced Mini Grid of Polaroid Photos
 Save
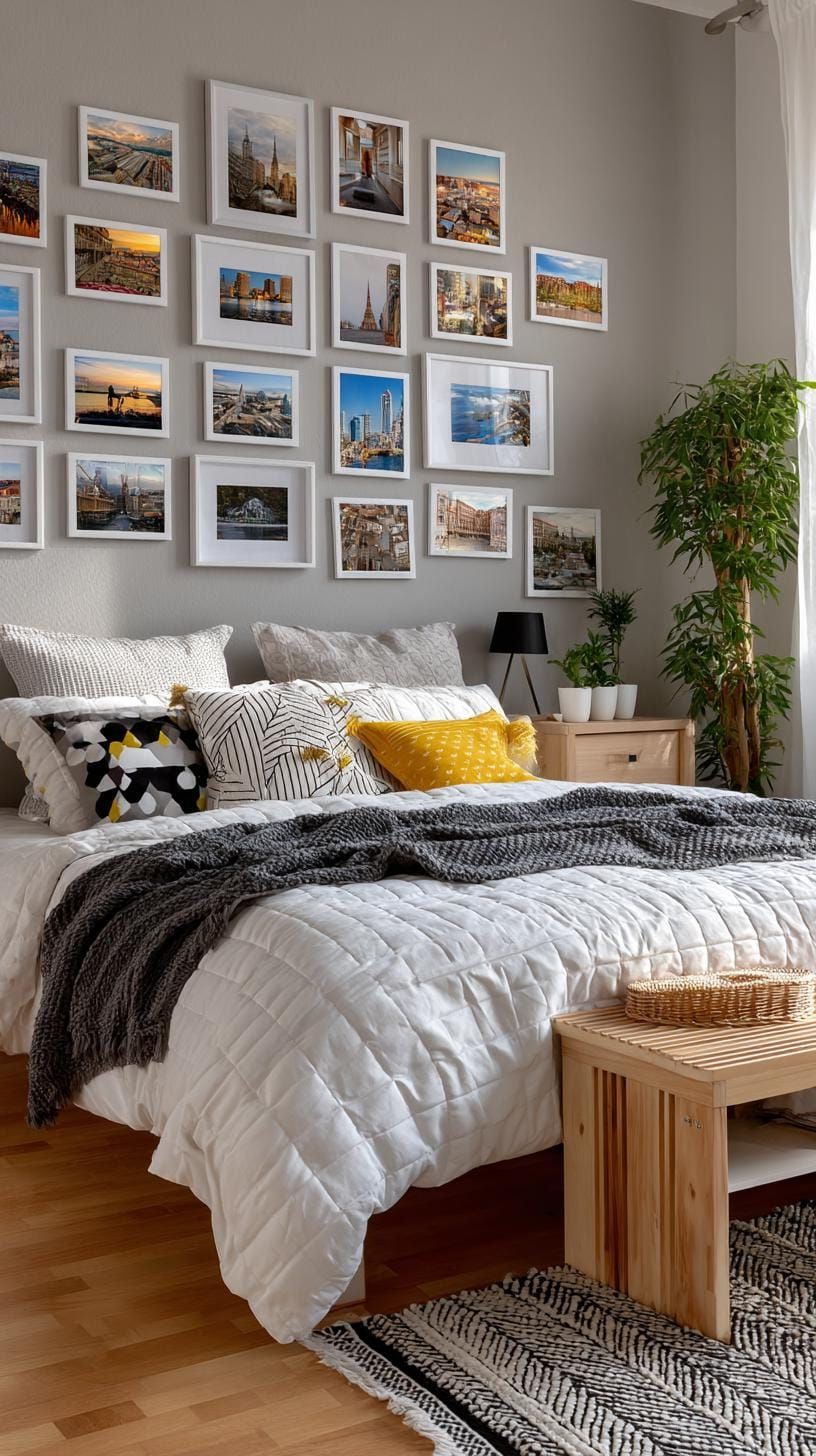
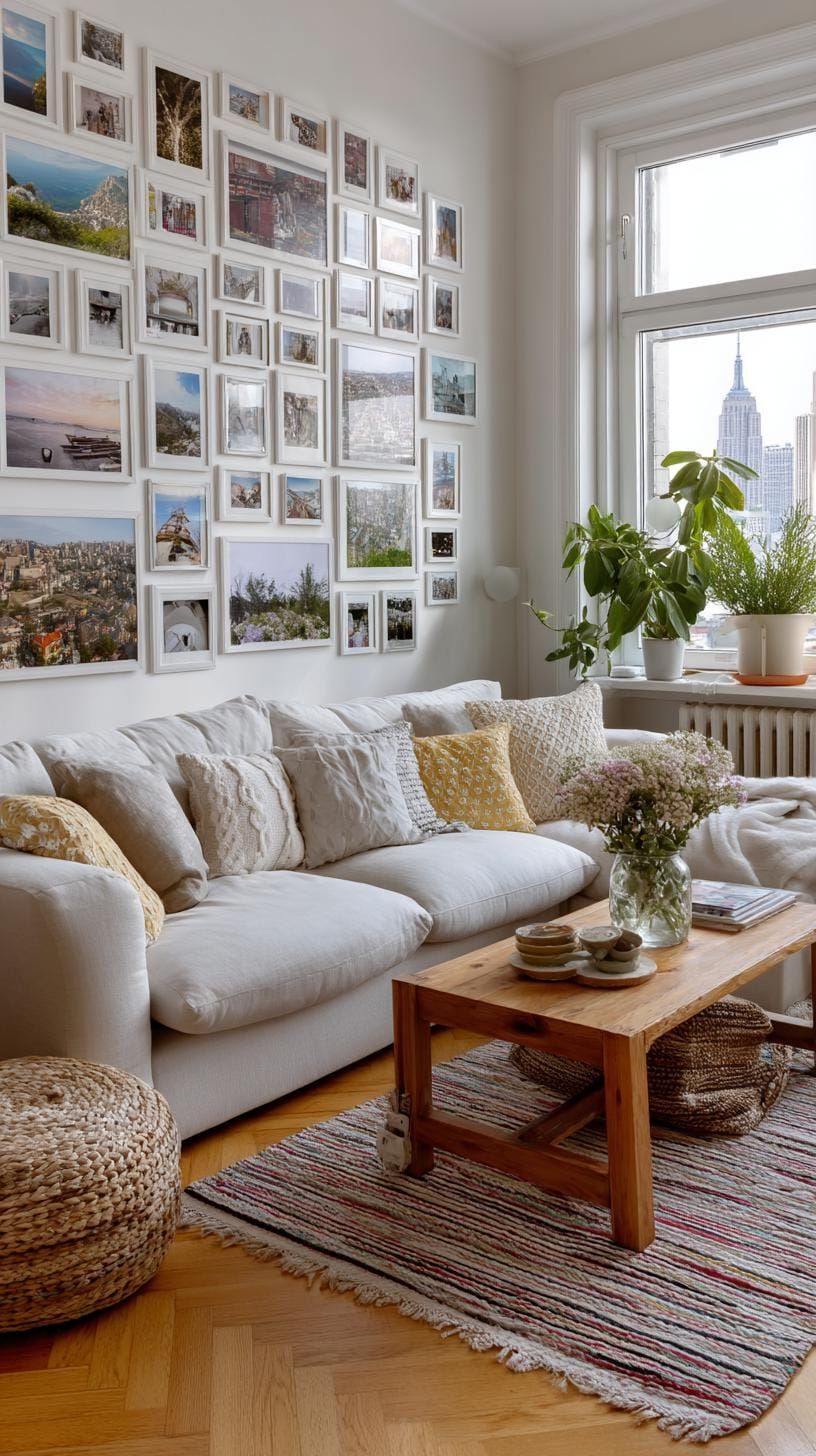
SaveYou know, some folks like to hang up big fancy art to make things look posh. But there’s something special about having a bunch of small Polaroid pictures all packed together in a grid. It’s like a fun trip down memory lane, with all its imperfections and nostalgia.
 Save
SaveOrganizing those little prints in straight rows is super easy – just grab some double-sided tape or removable putty. Then you can switch up your photos whenever you feel like it!
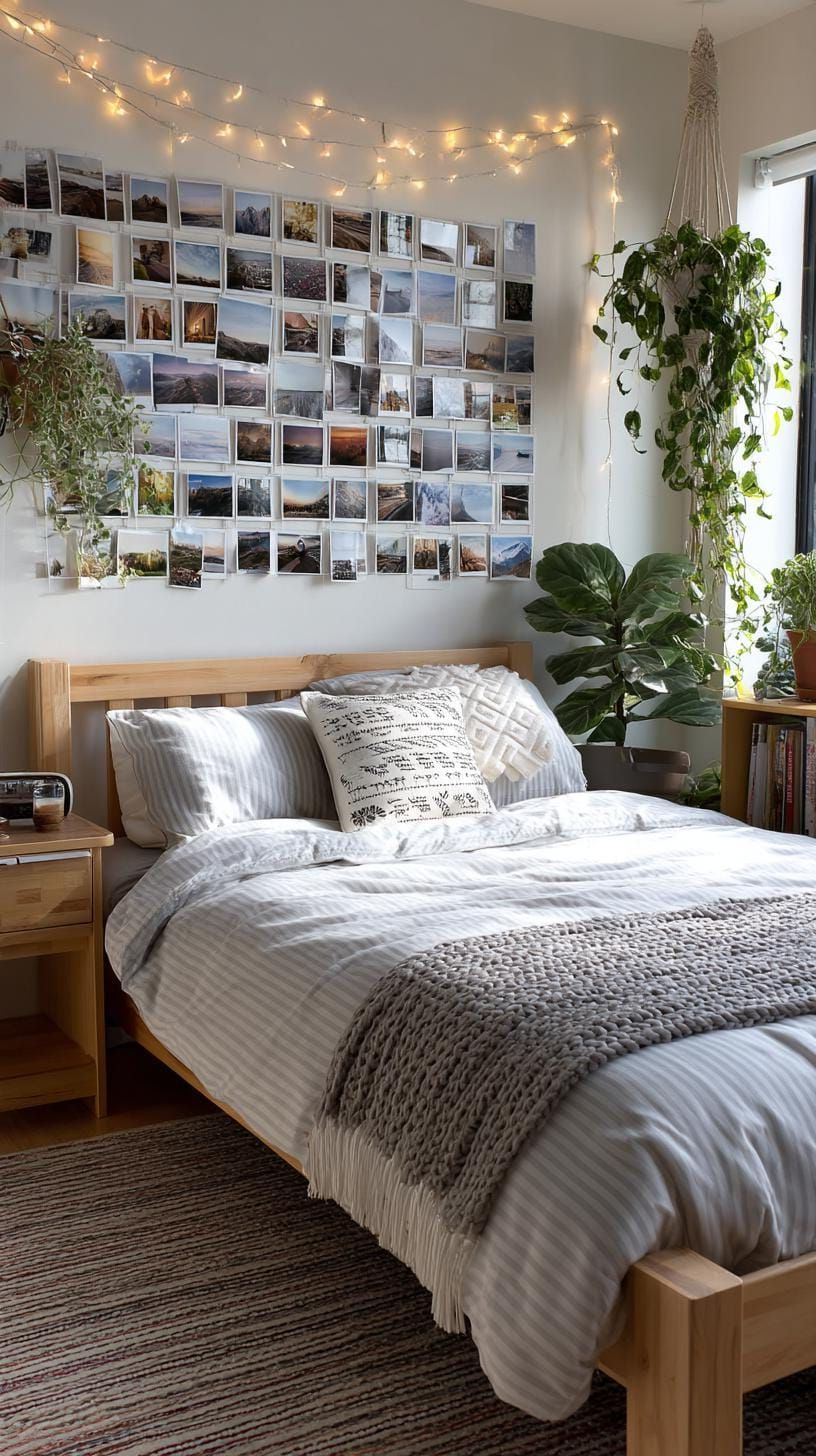 Save
SaveWhen you have a wall full of these little memories, it’s like having a built-in conversation piece. Your friends will see themselves in those old party pictures or casual selfies and it will bring back fun stories. Plus, you don’t have to worry about waiting for custom frames or finding matching mats. It’s all about sharing those special moments in a unique and personal way.
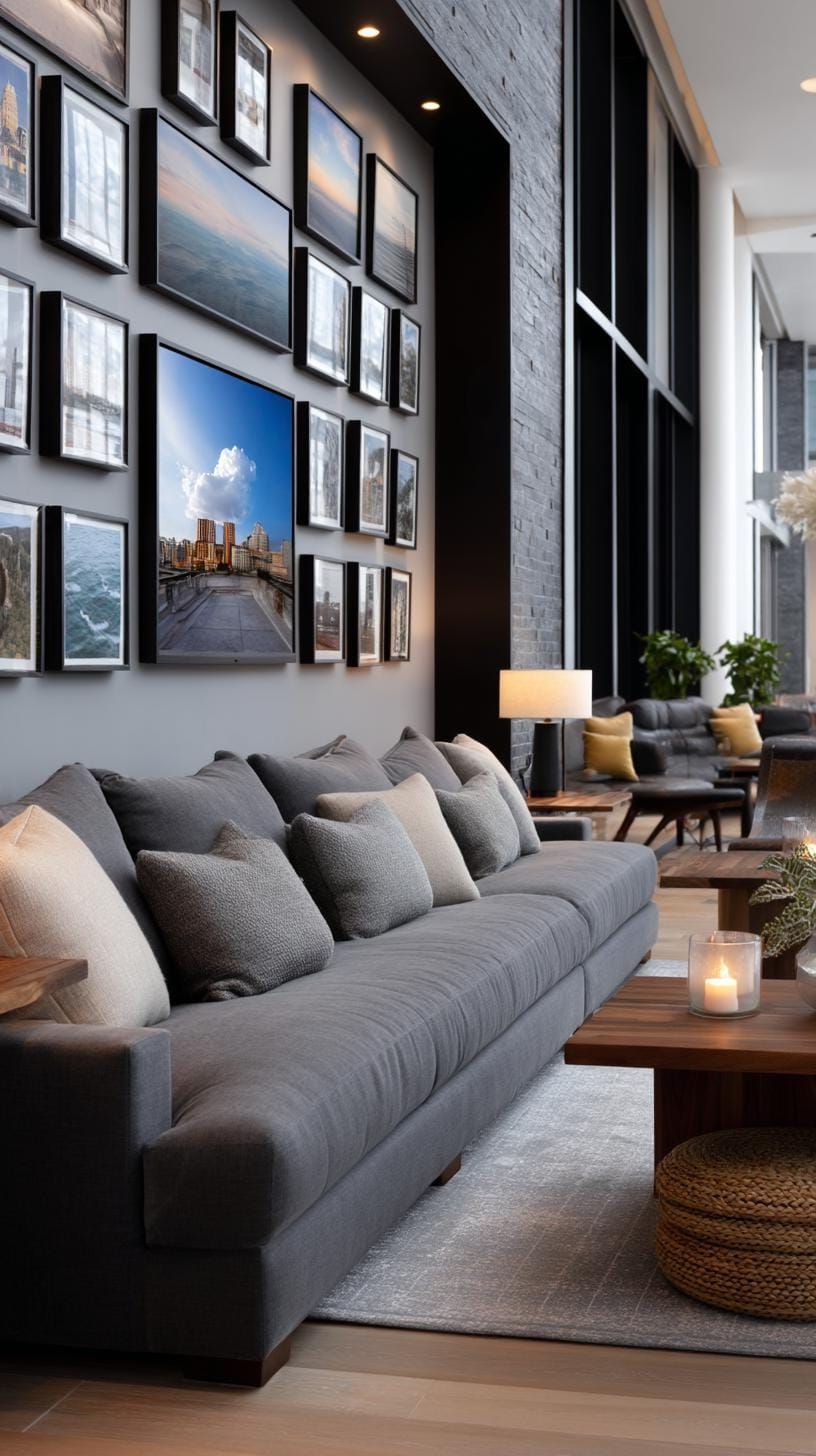 Save
SaveThe only drawback is that dust tends to build up in those small spaces, so just give it a quick dusting every now and then to keep everything feeling clean.
24. Floating Frames with Room to Breathe
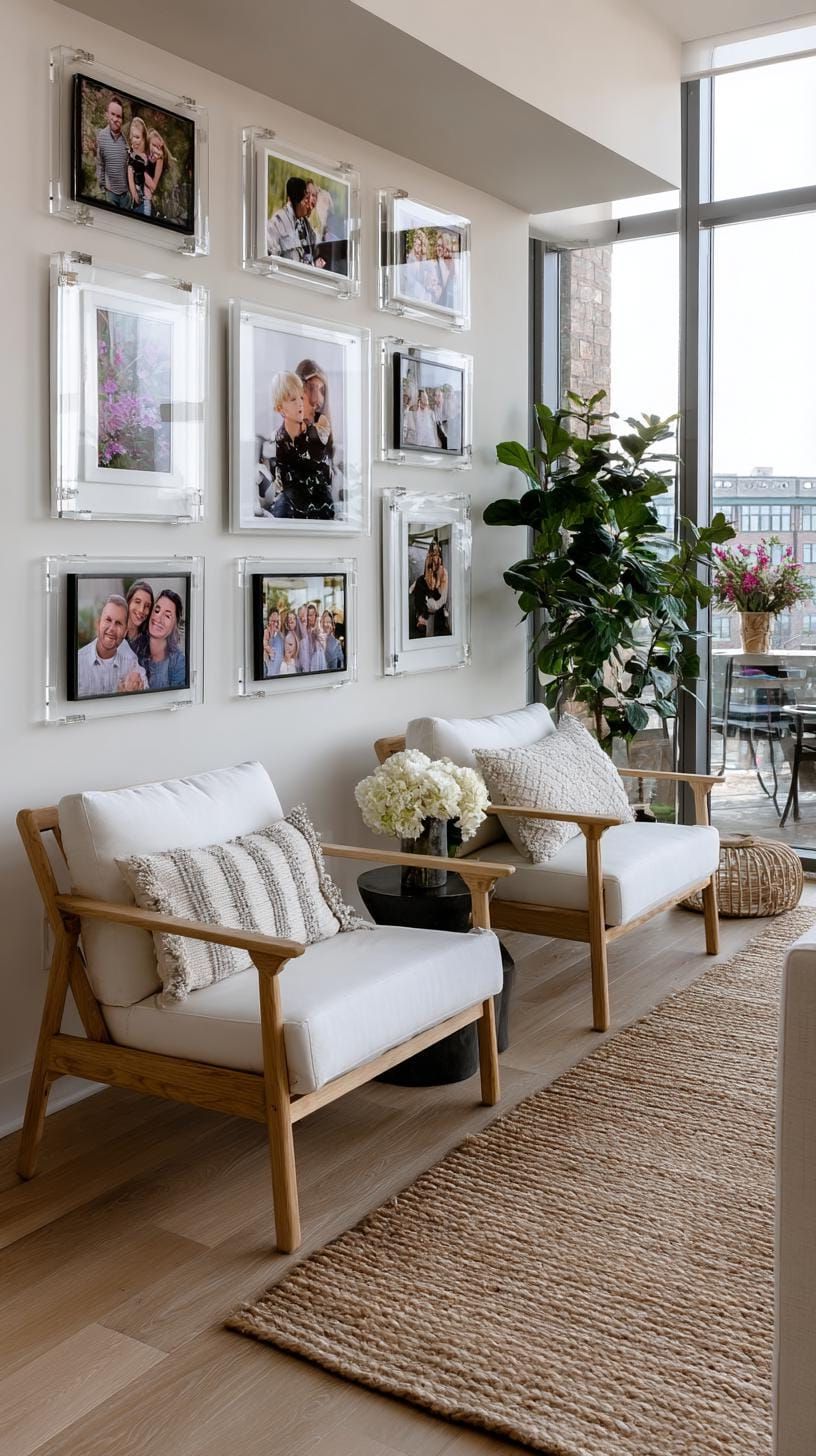 Save
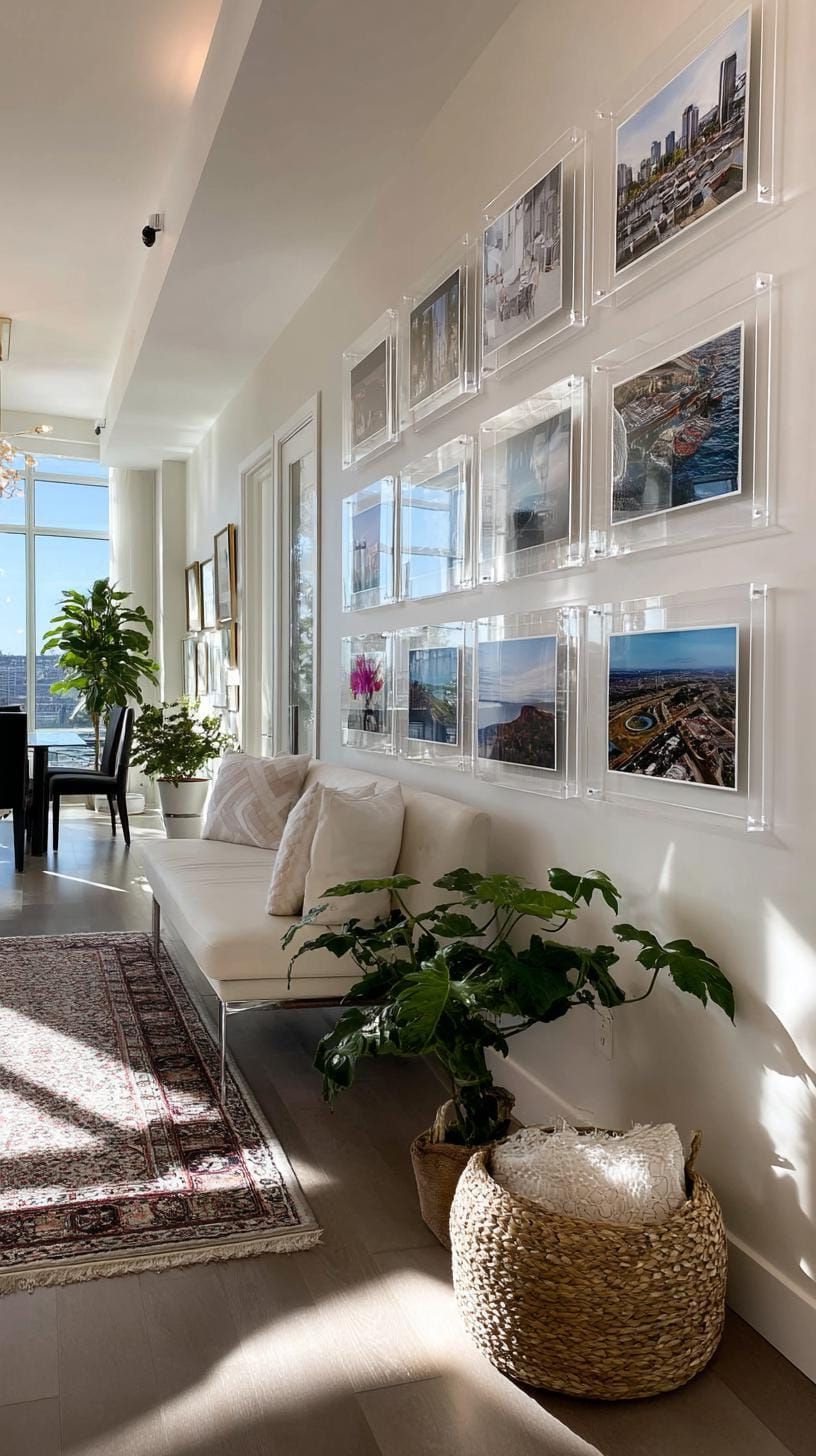
SavePicture a display of beautiful clear acrylic frames that seem to hover off the wall. It really gives your treasured memories some space to shine.
Have you ever considered how transparent borders can add a touch of visual lightness to your photos? They are just perfect for modern or tight spaces, providing your images with their own stage without overwhelming the scene. Give it a try and see how it transforms your pictures!
 Save
Save“What’s the catch with these acrylic pieces? Well, fingerprints tend to show up pretty fast and they can scratch easily if you’re not careful. But hey, the end result is really impressive.”
If you want your display to look nice and put-together, try picking photos that have similar colors. And when you’re hanging them up, space the frames out evenly – about three inches apart usually looks great on most walls!
25. Rainbow Gradient Layout Across the Wall
 Save
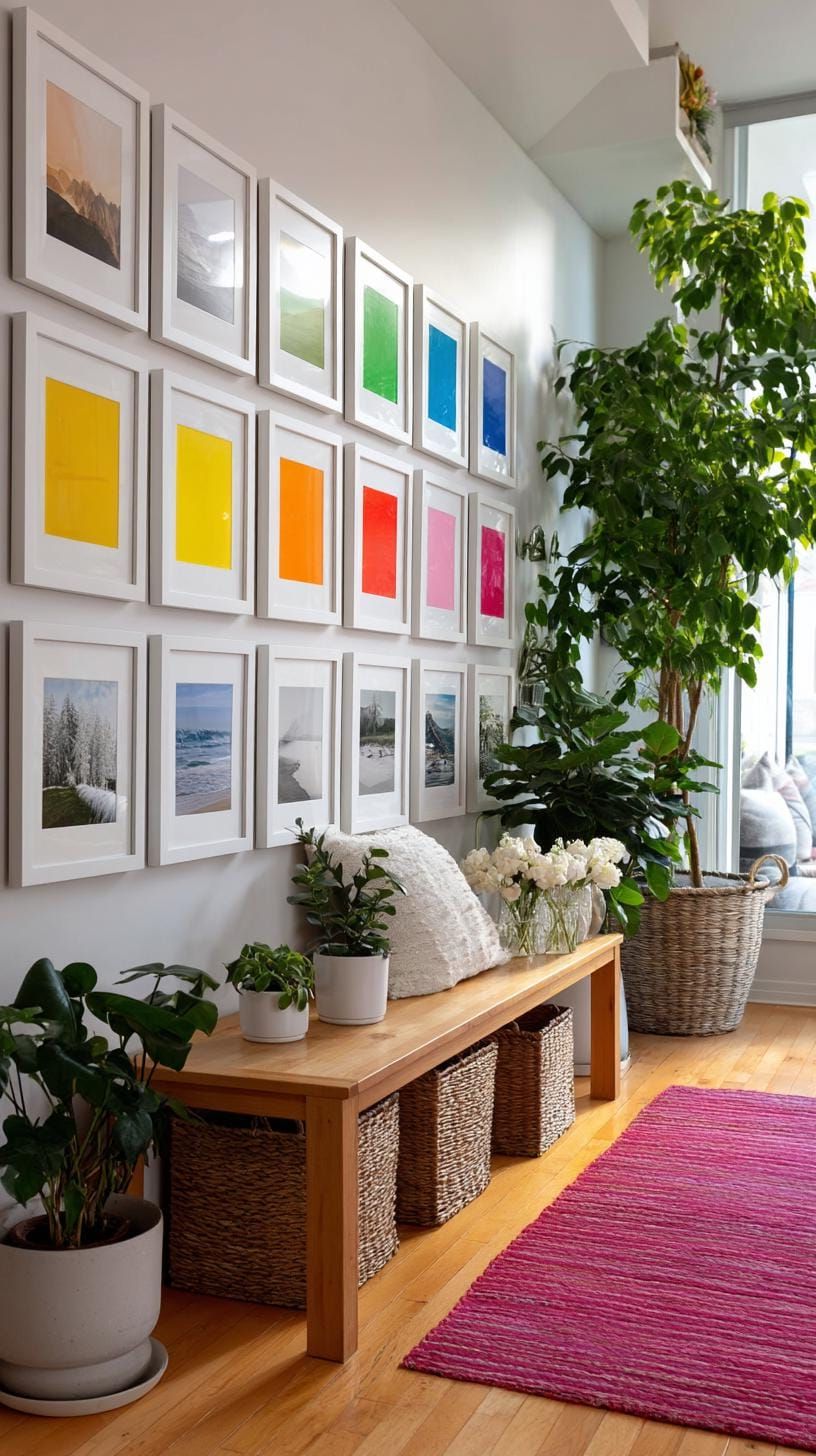
SaveI love how grouping artwork in a rainbow color gradient makes it look so fun and organized! Just picture a bunch of art prints smoothly transitioning from bright reds on one side to calming purples on the other. It’s like a little rainbow on your wall!
 Save
SaveThis technique really catches your attention, bringing together all sorts of styles and frame shapes effortlessly.
 Save
SaveDo you feel like your walls need more color? You can begin by adding some colored mats, smaller prints, or fabric swatches to bring in different hues. Just keep in mind, it might take a bit of time and effort to find art in all the colors you’re looking for.
Visitors will definitely remember your wall! It always seems to spark lively conversations whenever people take a glance at it.
26. Art Displayed Within Open Shelving Units
 Save
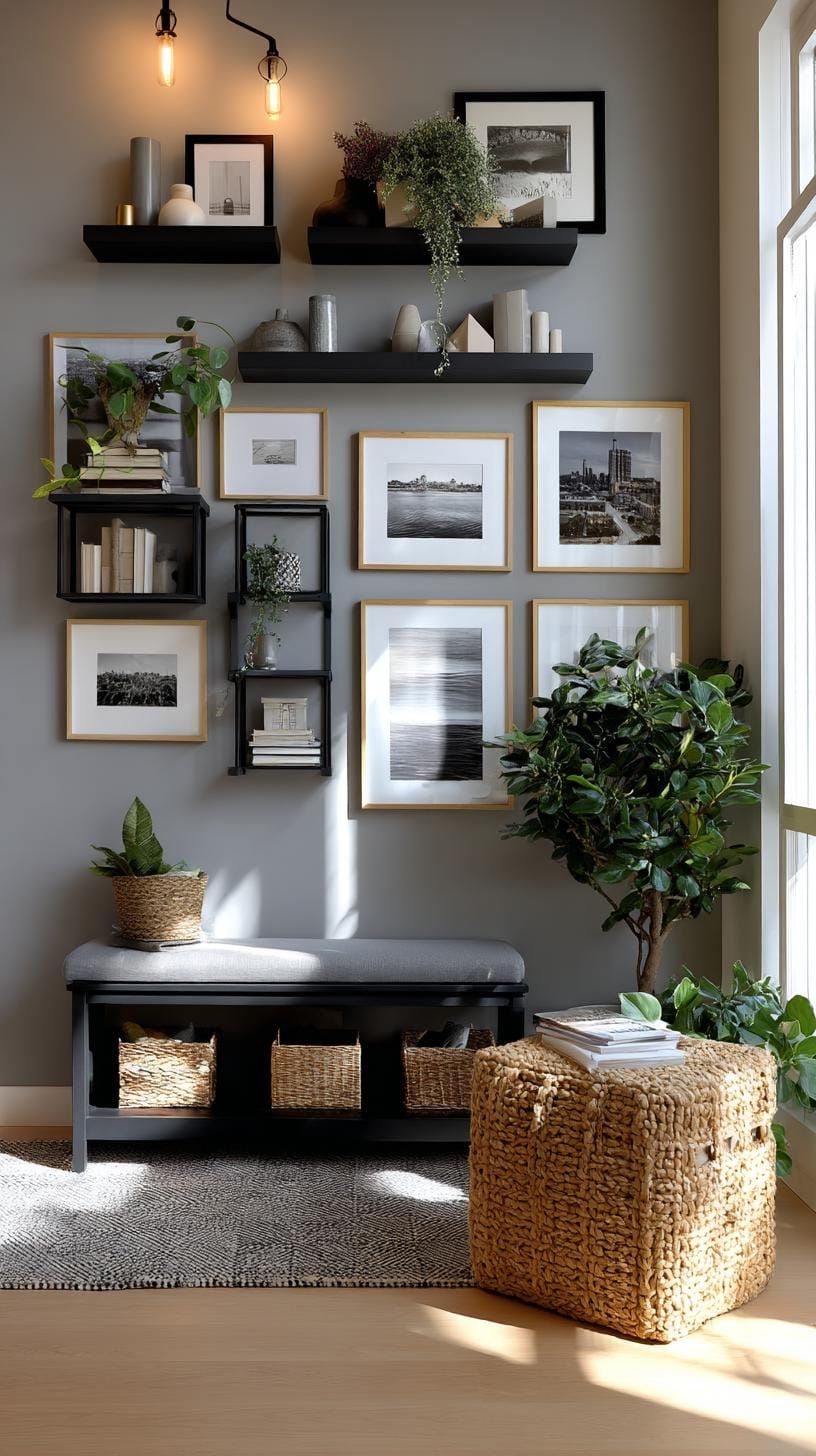
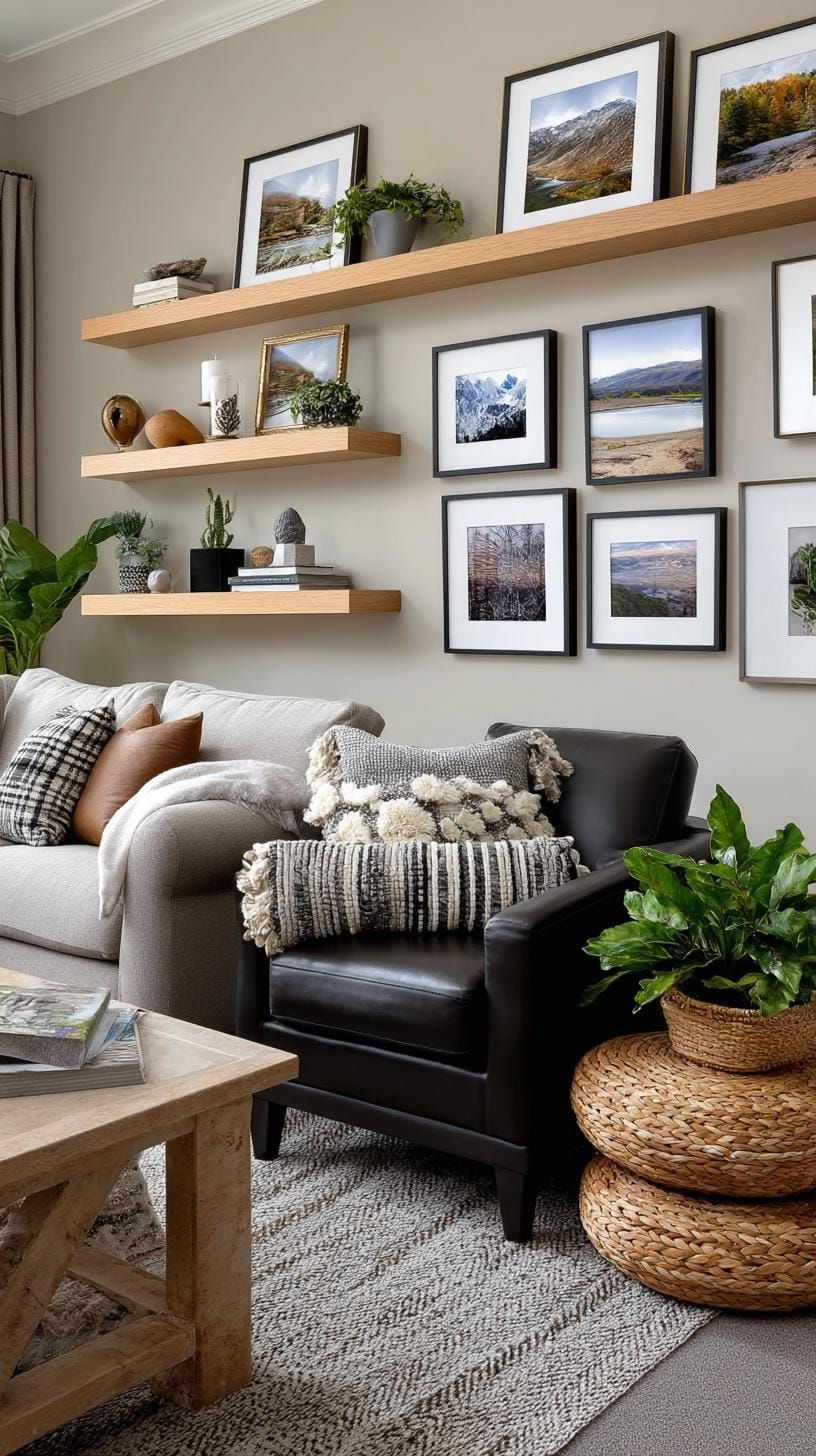
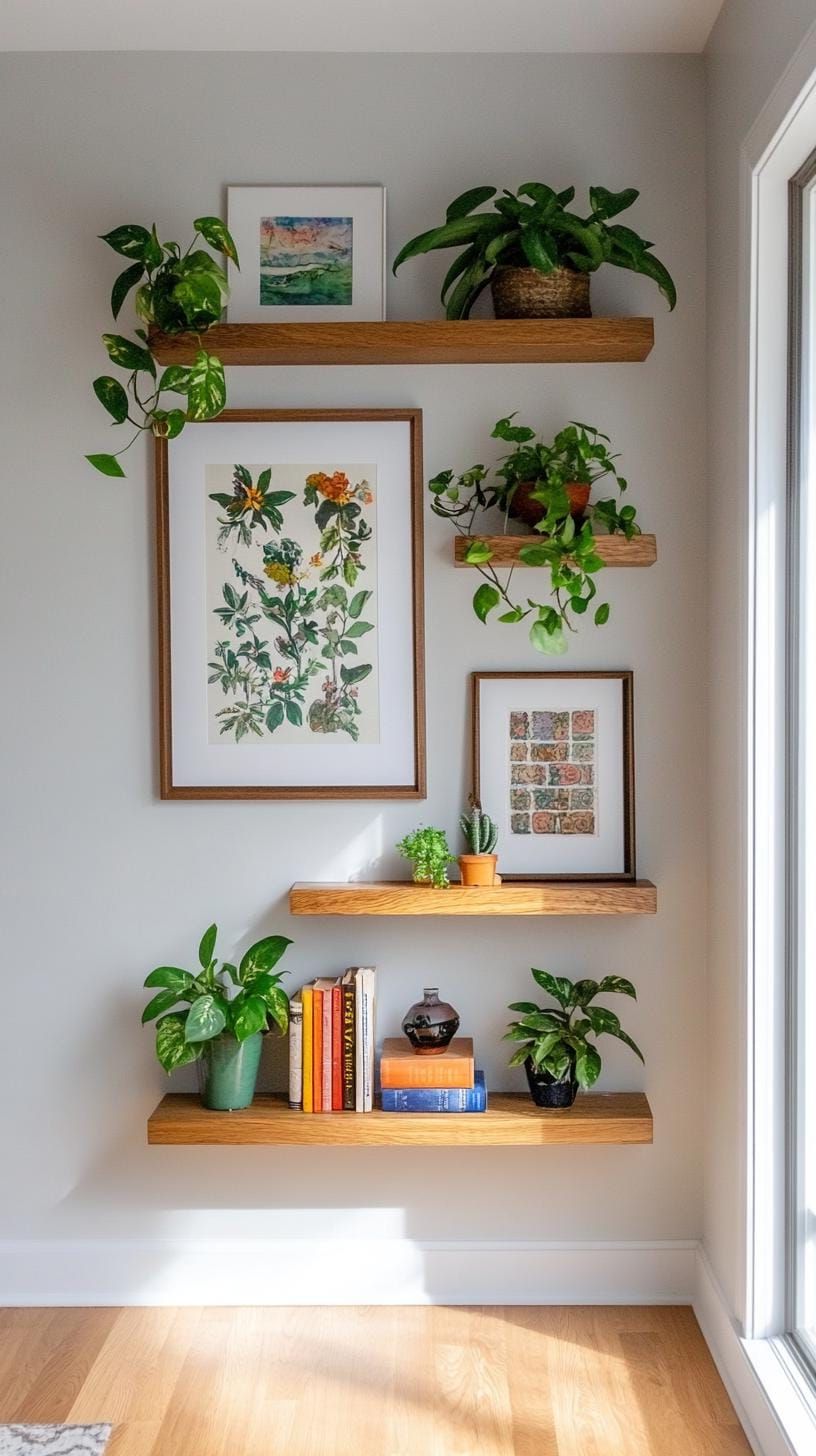
SaveShelves aren’t just for storing books – they can also be a great way to show off your artwork! You can mix things up by displaying bold prints directly on a shelf, or mix and match small sculptures with vases and plants for a more eclectic look.
 Save
SaveEven something as simple as postcards can have their time to shine! I think it’s fun to mix different objects and art together because it keeps your eyes busy, like going on a little visual adventure or scavenger hunt.
 Save
SaveHere it’s all about finding the right balance and having a bit of fun. Don’t overcrowd the shelves; leave some space for a more open and airy feel. Experiment by placing a picture slightly off to the side or playing with different heights to create a more dynamic look. Just have some fun and see what works best for you!
This style is great for renters because you don’t have to use a ton of nails to hang things up. The only downside is that dusting can be a bit of a pain, but having a cool and always-changing display usually makes it worth it.
27. Framed Vintage Vinyl Record Cover Display
 Save
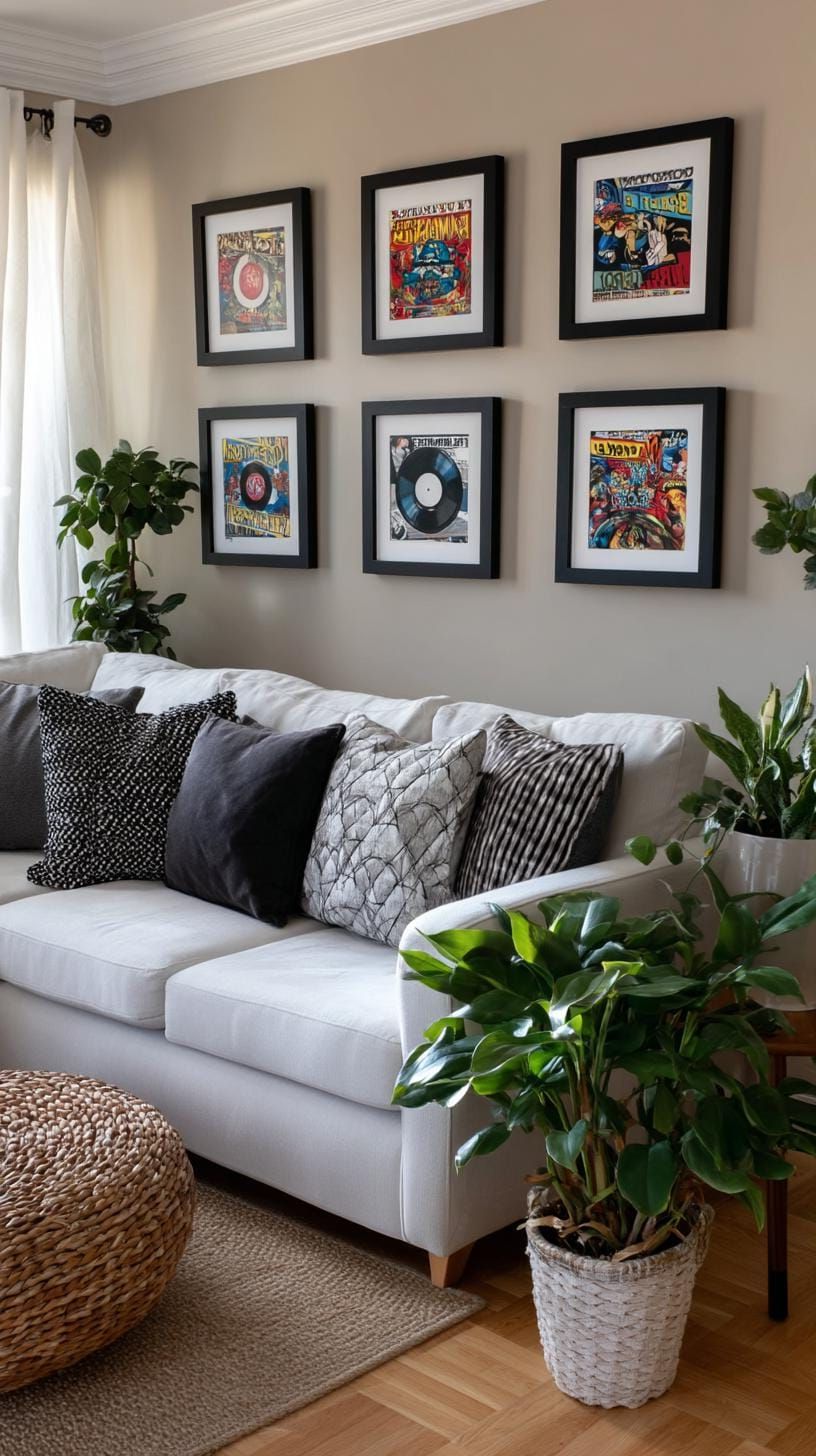
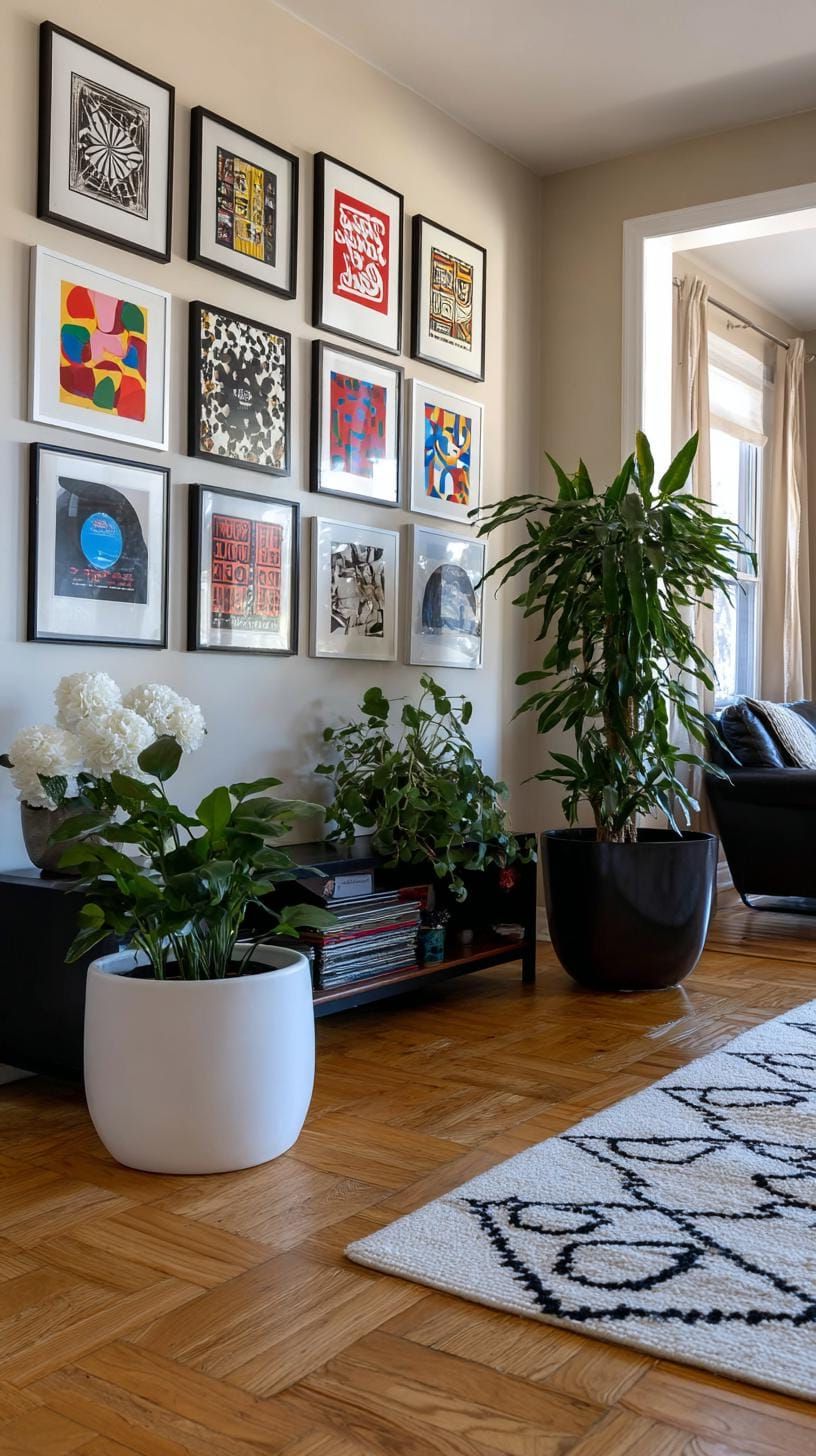
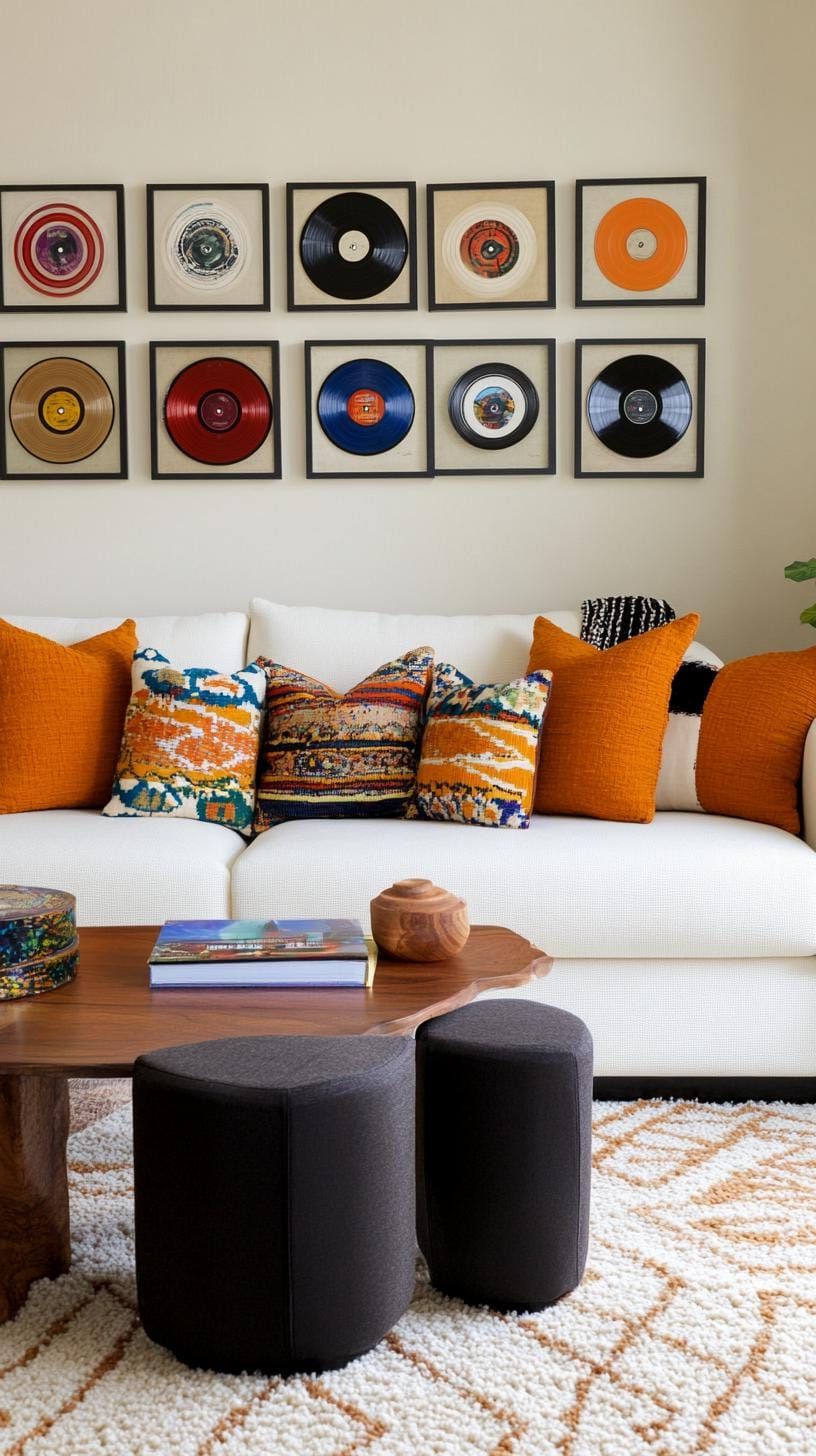
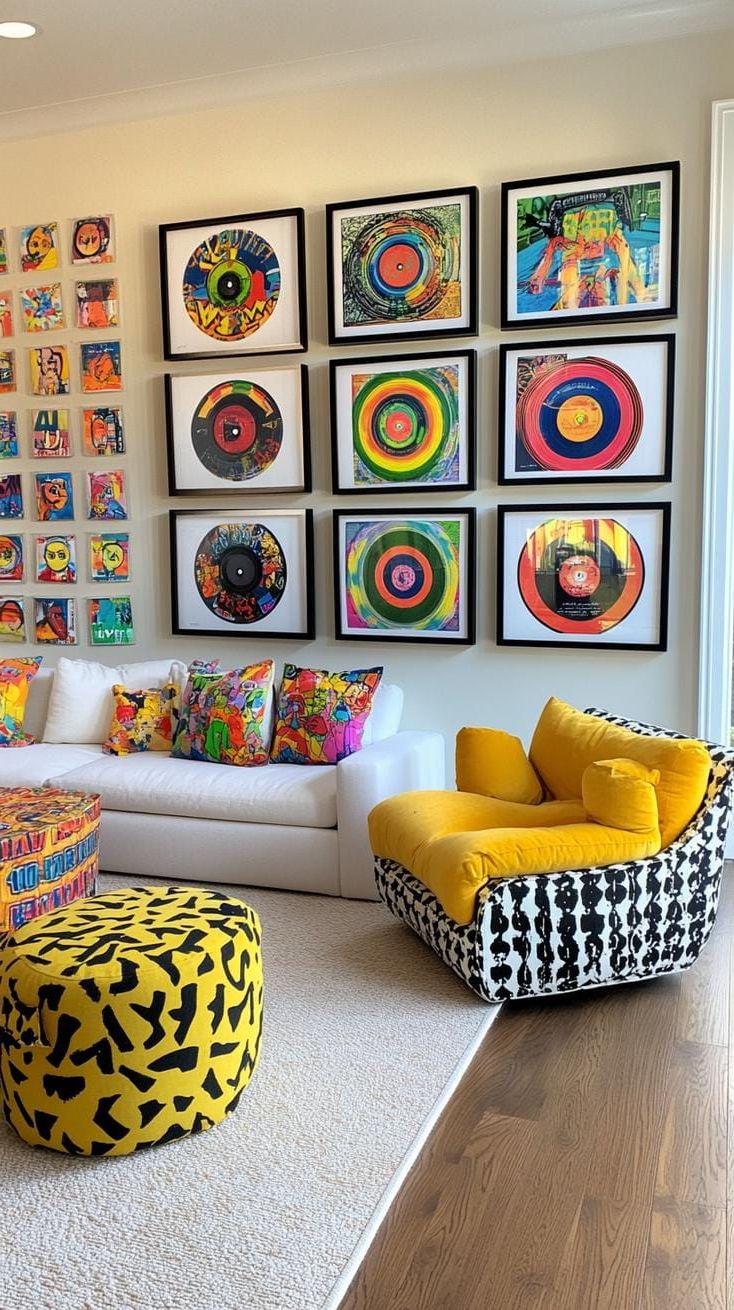
SaveWhy not try organizing some cool old record covers in frames in a grid on your wall? It’s a great way to add some bold visual interest and give your space a unique touch. Plus, it’s a fun way to showcase your favorite albums and start some cool conversations with guests!
 Save
SaveTake your time when matching frames, a little imperfection can actually add some character. Have an old Hendrix or Beatles record? Display it proudly, scratches and all!
 Save
SaveIf you’re someone who enjoys a little surprise, go ahead and mix genres in your music collection. But if you prefer a more cohesive look, sticking to just jazz or rock might be the way to go. Just a heads up though – sunlight can be a bit of a downer. Those vintage album covers tend to fade if they’re exposed to direct light, so be mindful of where you display them.
 Save
SaveYou know how your friends always tease you about being stuck in the ’70s? Well, imagine having a wall that bumps even harder than your favorite playlist. How awesome would that be?
28. Graphic Quotes Paired with Artistic Visuals
 Save
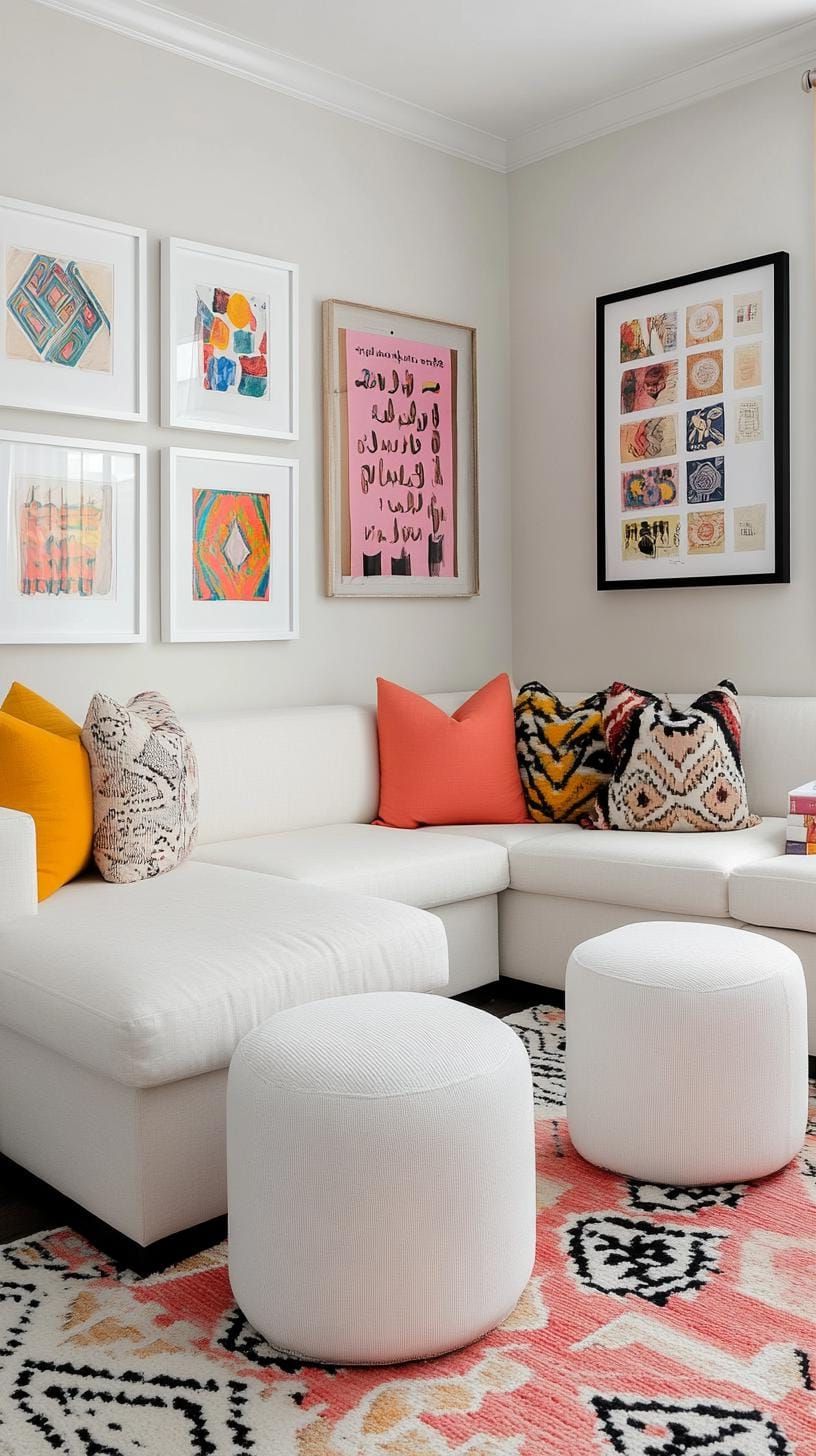
SaveI love how combining art and quotes on a gallery wall can really liven up a room! Imagine a cool black-and-white quote print next to a funky neon abstract piece – it’s such a bold and unique way to decorate. It definitely adds a pop of excitement and breaks up any boredom in a room.
Looking for some inspiration? Try matching a cool vintage travel poster with a fun “Stay Curious” quote – guaranteed to get people talking!
 Save
SaveHere’s a more conversational version of the text:
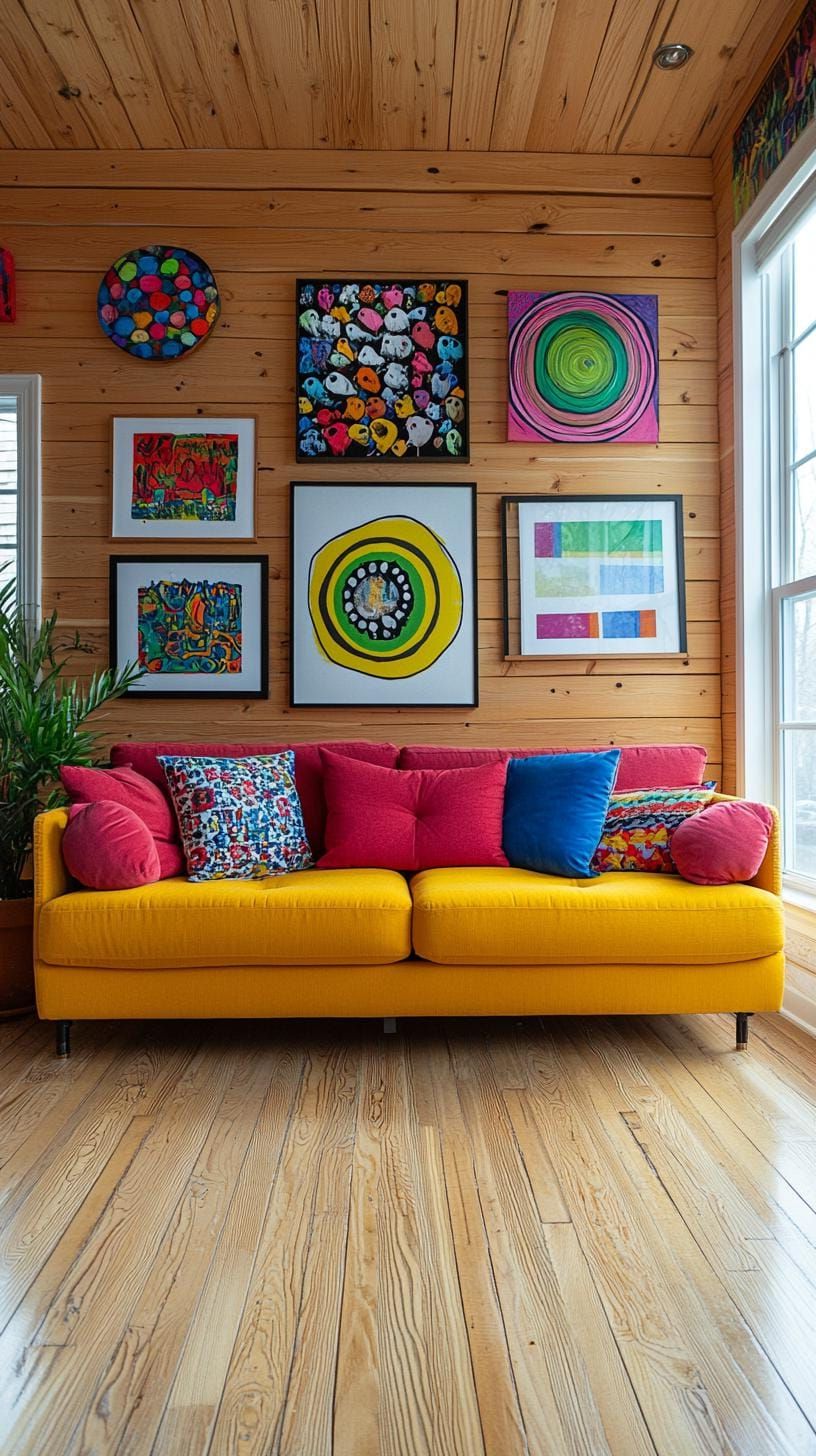
“Hey there! When you’re putting together your arrangement, try not to cram too much in. Let those bold words and cool visuals have some space to shine. For instance, you could hang up a simple “Dream Bigger” print next to a vibrant landscape painting. The contrast will really make the room pop and draw your eye in. Just go with whatever feels right and creates a cool vibe.”
Hey there! Just a quick tip – using too many different fonts can make things look a bit chaotic. Try picking two that complement each other nicely, rather than competing for attention. It’ll make your design look more cohesive and polished!
29. Playful Display of Kids’ Drawings and Art
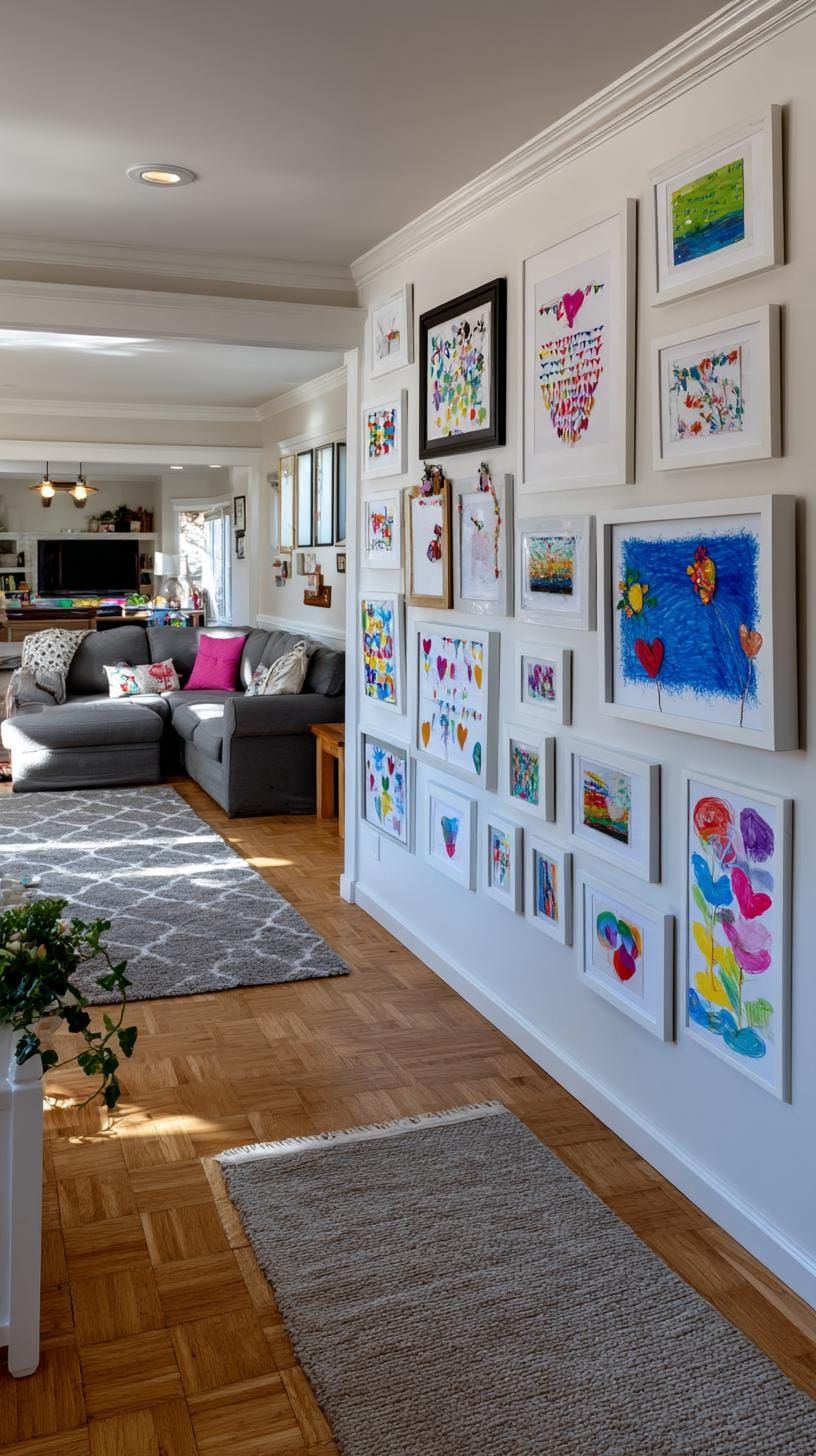 Save
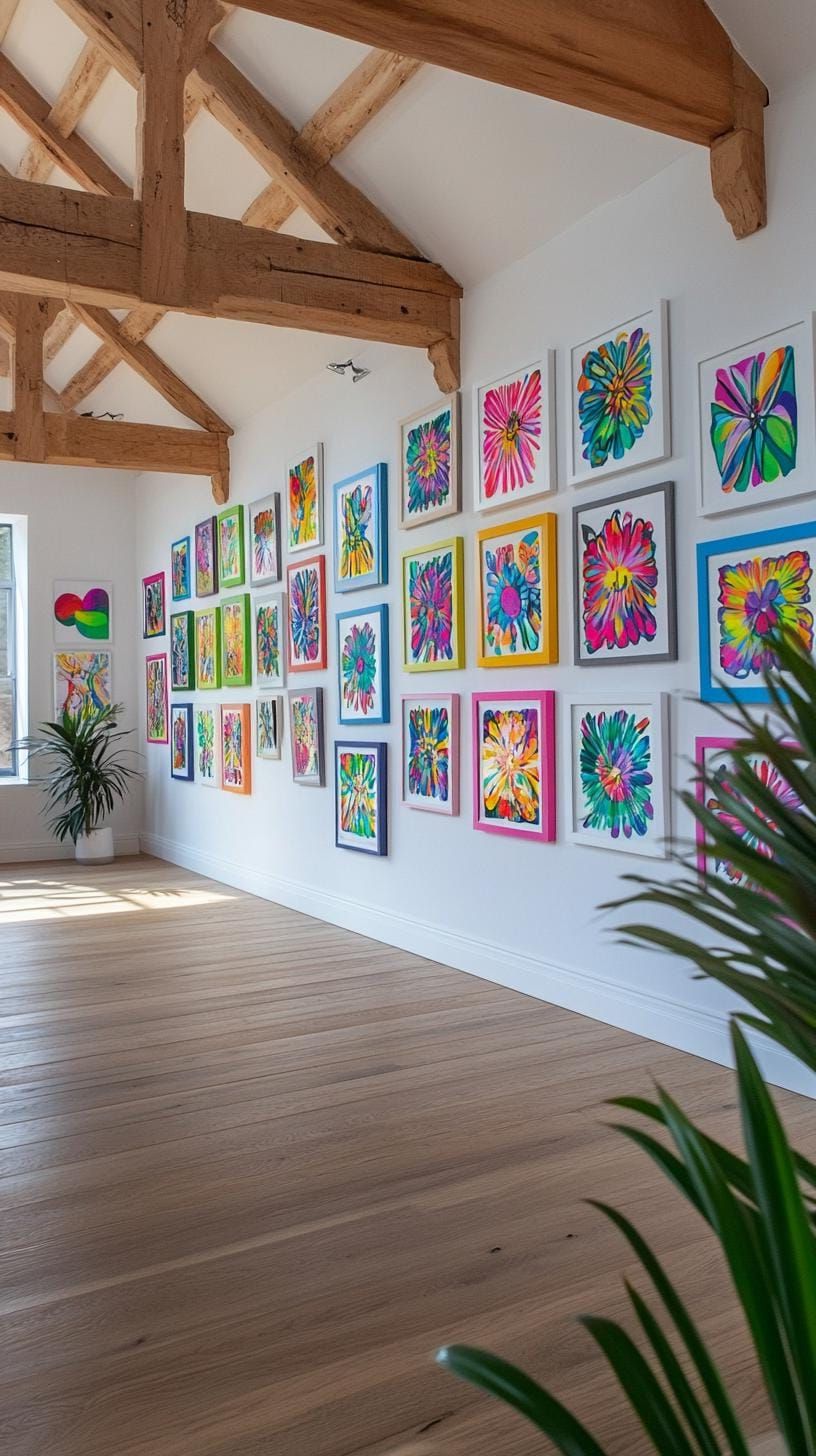
SavePicture this – a cozy living room wall filled with vibrant frames, each showcasing whimsical crayon drawings created by children. You can group similar themes together, like having all the dinosaur drawings on one line and all the flower drawings on another. It’s a fun and creative way to display kids’ artwork!
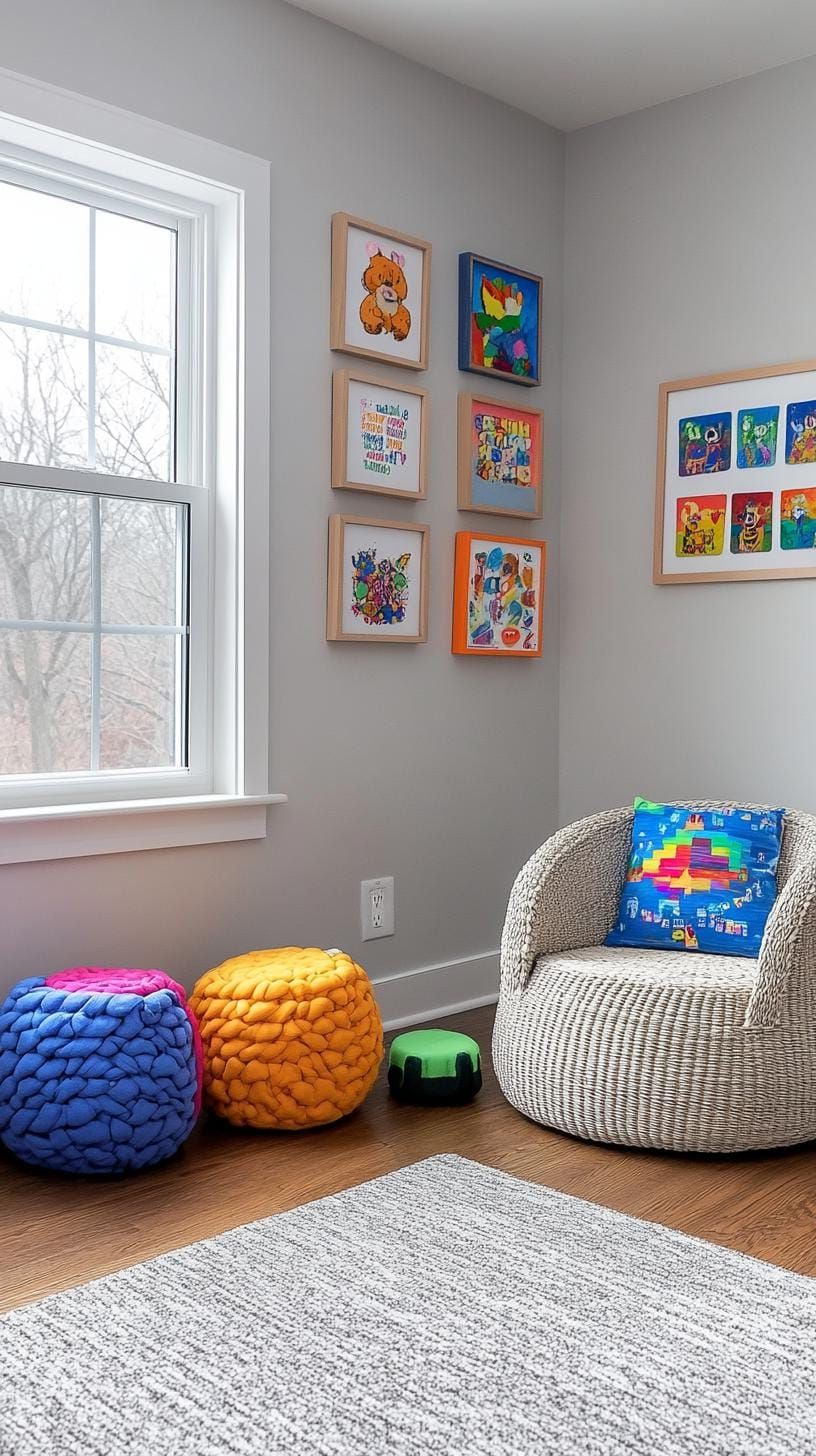 Save
SaveThis fun order is perfect for sparking conversations and treating each doodle like the masterpiece it truly is. Feel free to let them help arrange it!
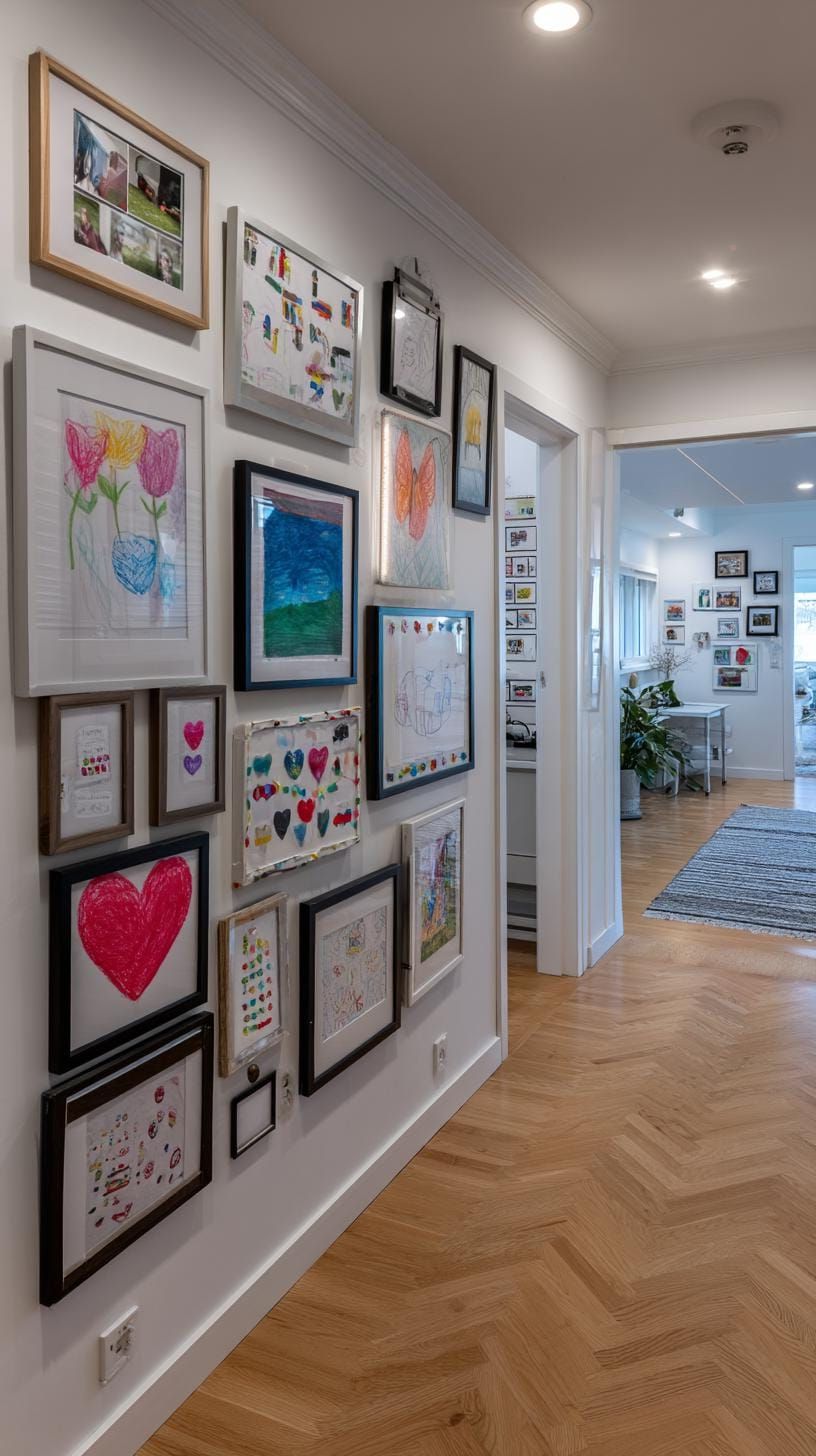 Save
SaveI know some parents worry about getting everything to match perfectly or be perfectly even, but honestly, it’s all about being flexible. Have fun mixing and matching different clips, washi tapes, and funky frames to add some variety and your own personal touch!
When you hang up your child’s artwork, make sure it’s at their eye level so they can see it easily and feel proud of their work. Don’t be afraid to switch out the art from time to time as they create new pieces. This way, the display can evolve along with them.
30. Bold Contrast with Art on a Dark Wall
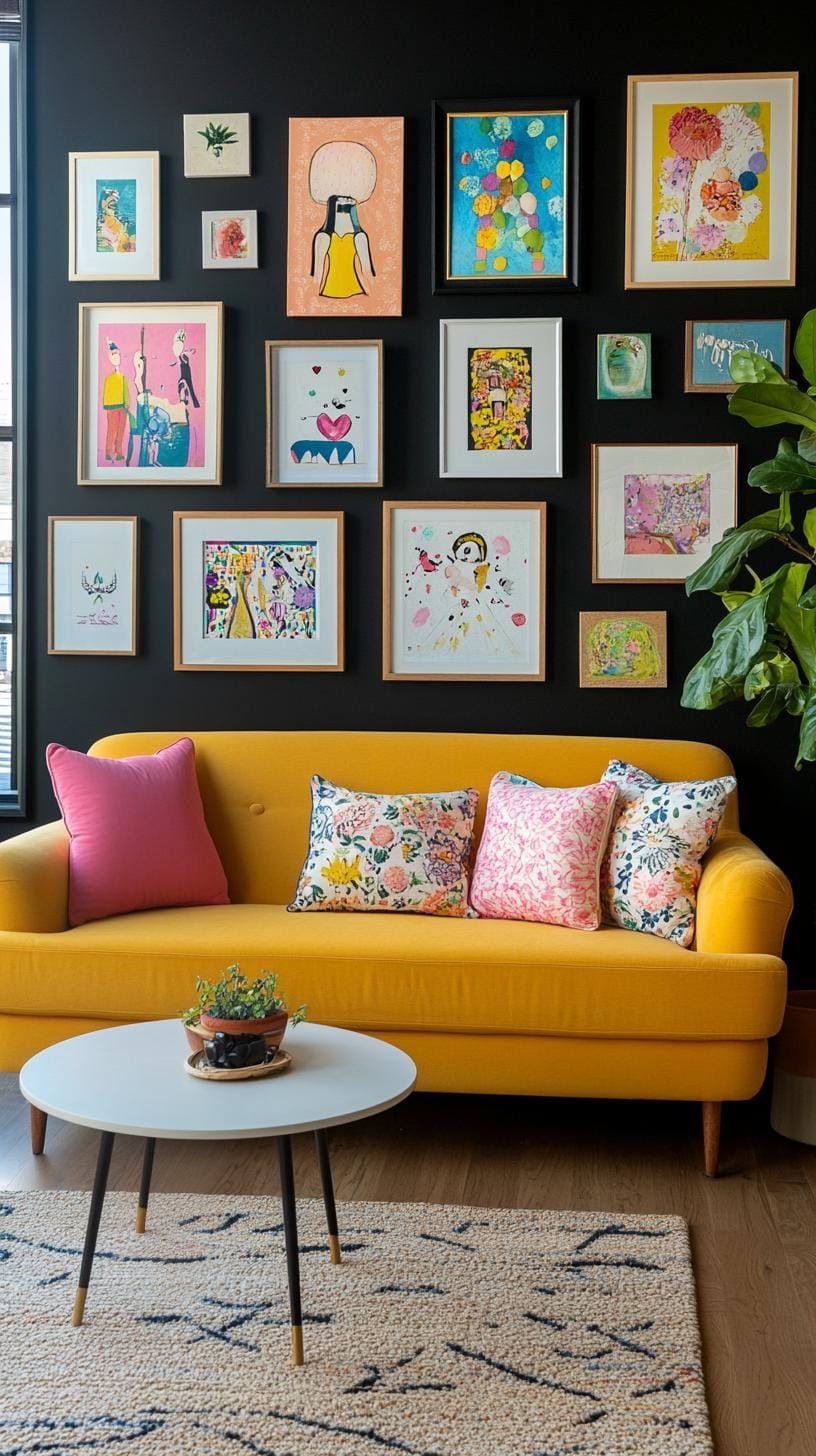 Save
SaveYou know, painting one wall black may seem a bit daring, but trust me, it really pays off if you do it right! Choosing light-colored frames like white, pale wood, or gold will really stand out and make a bold statement against that dark background. It’s all about finding that perfect balance!
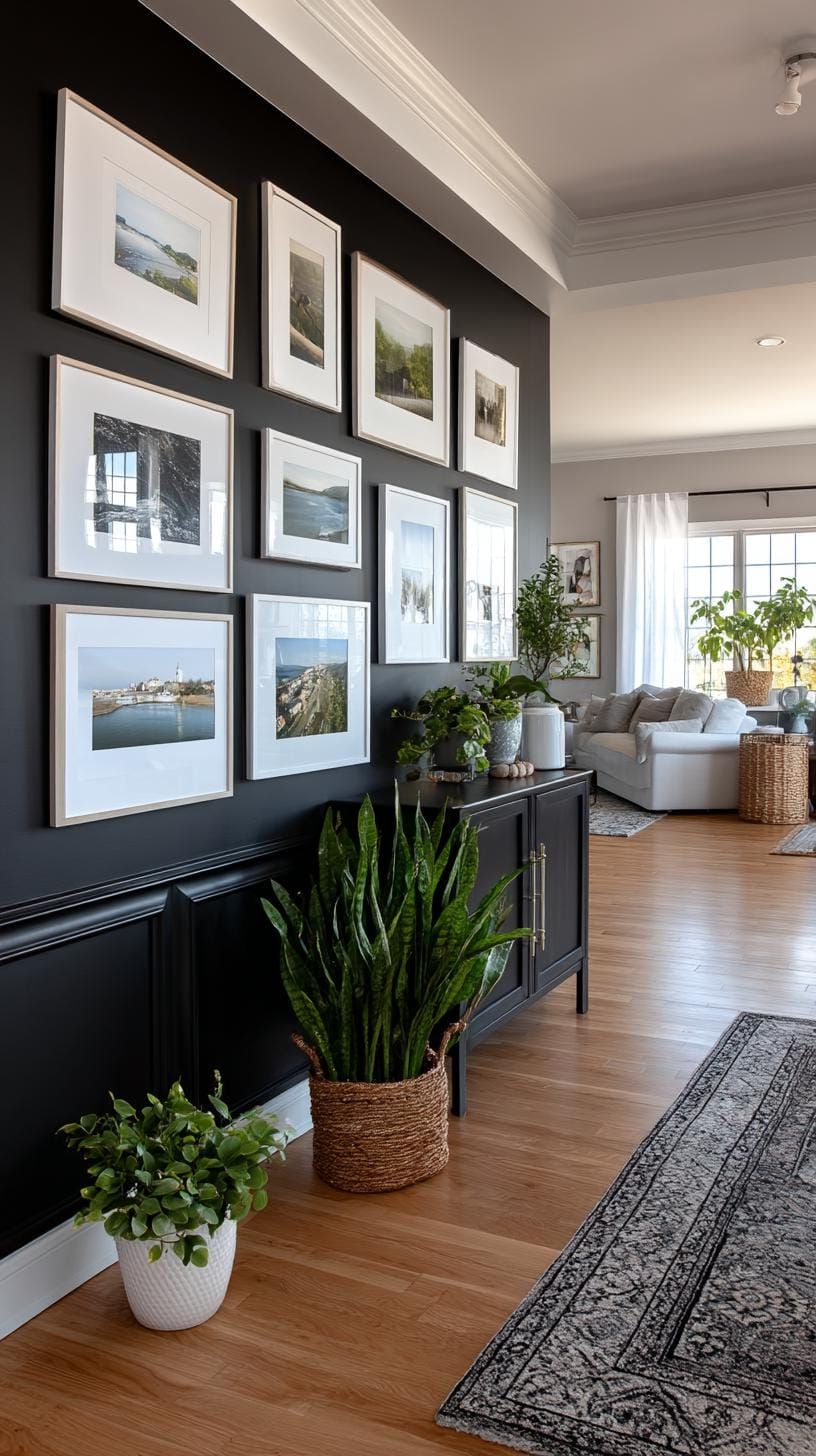 Save
SaveHow about trying some simple line drawings, pastel prints, or black-and-white photos on your walls? They can really make a big impact and give your space a modern touch without feeling too stark or impersonal.
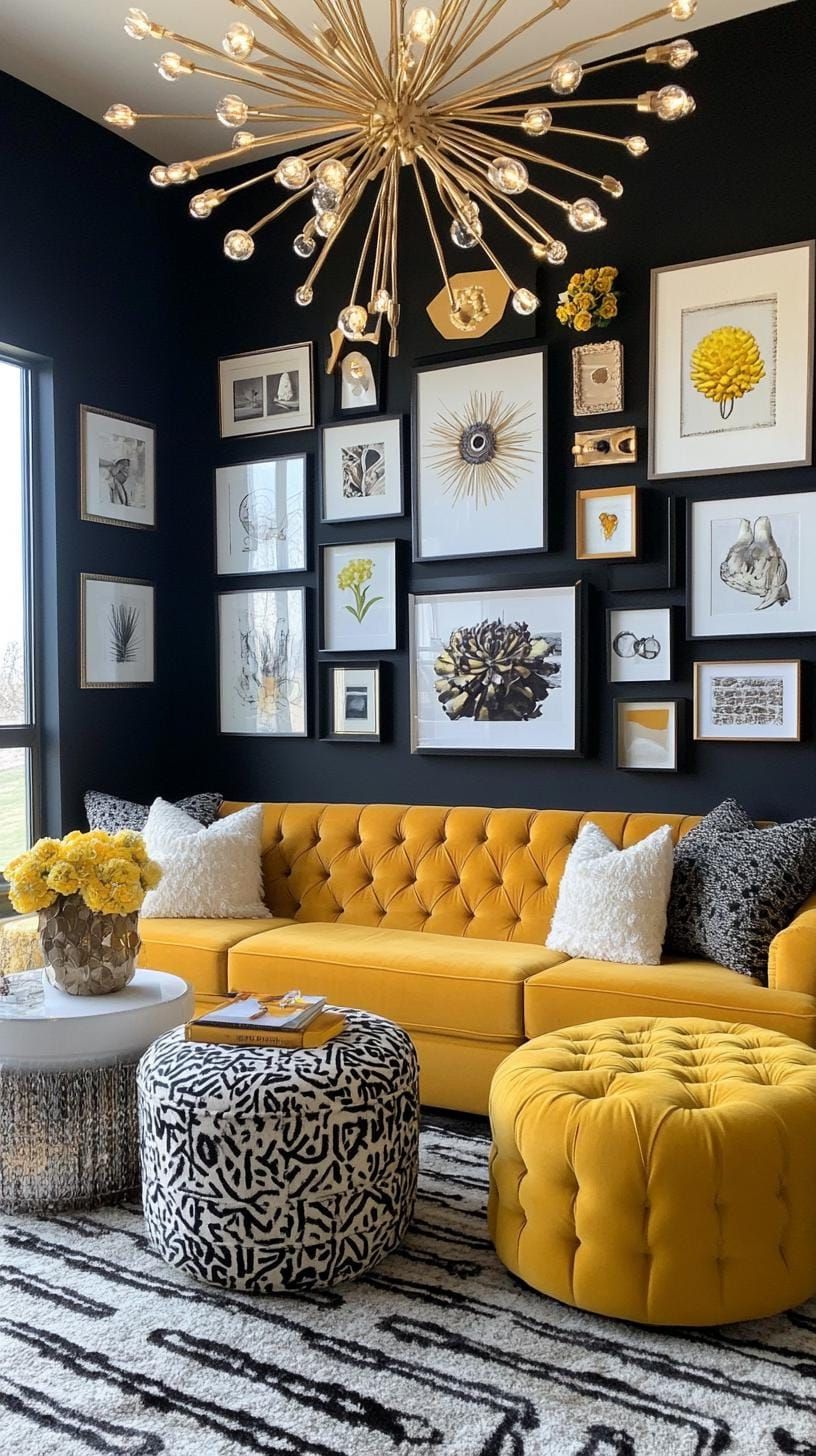 Save
SaveWhy not try using symmetry or more relaxed grids to give your space a more intentional feel? And for those renting, those removable picture-hanging strips are a win-win for both you and your landlord!
Just a heads up, black walls tend to show dust pretty easily, so you might want to keep a duster nearby. But trust me, the cool gallery vibe they give off is totally worth the extra little bit of cleaning.
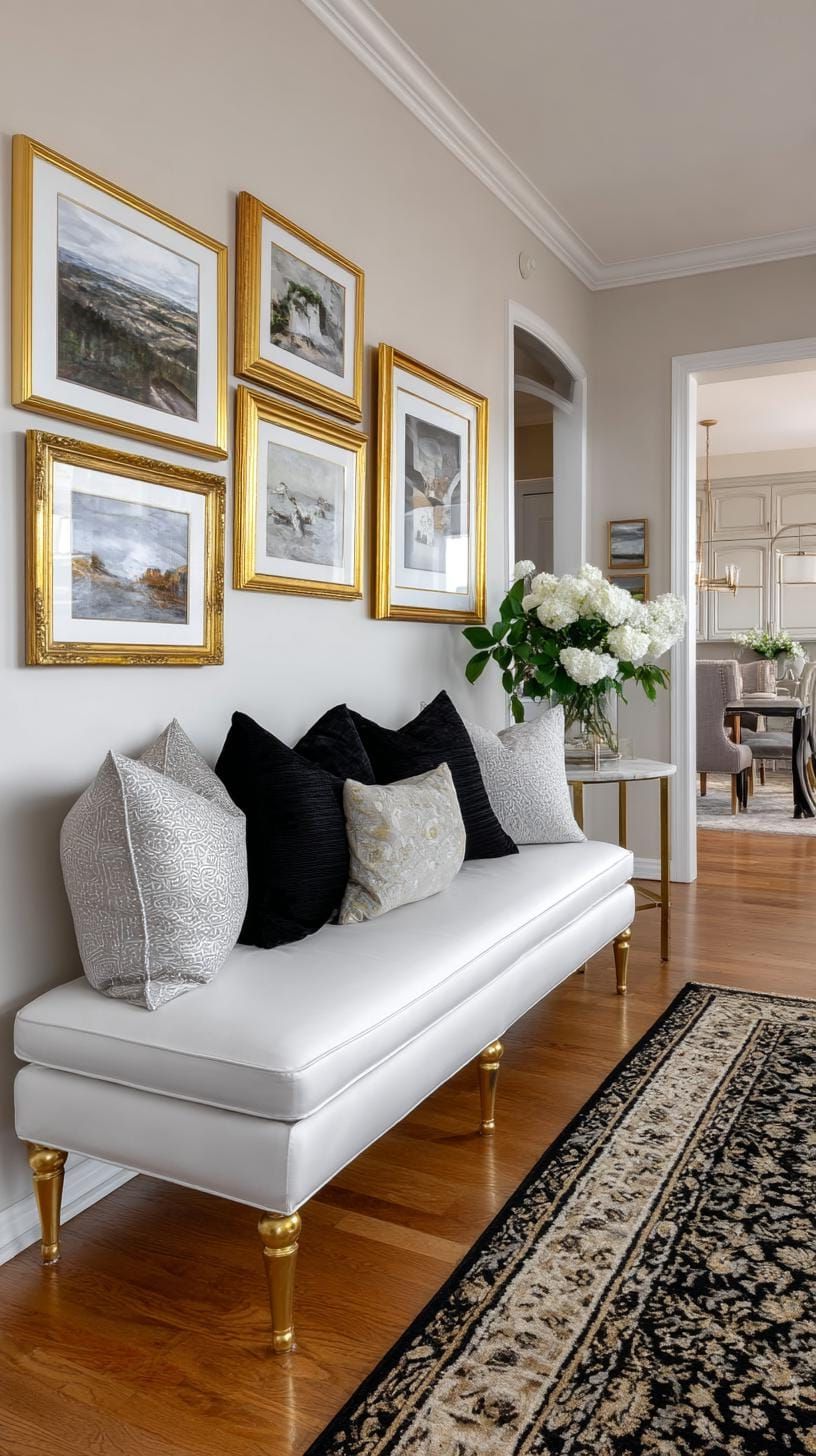
31. Gold-Trimmed Frames with Balanced Spacing
 Save
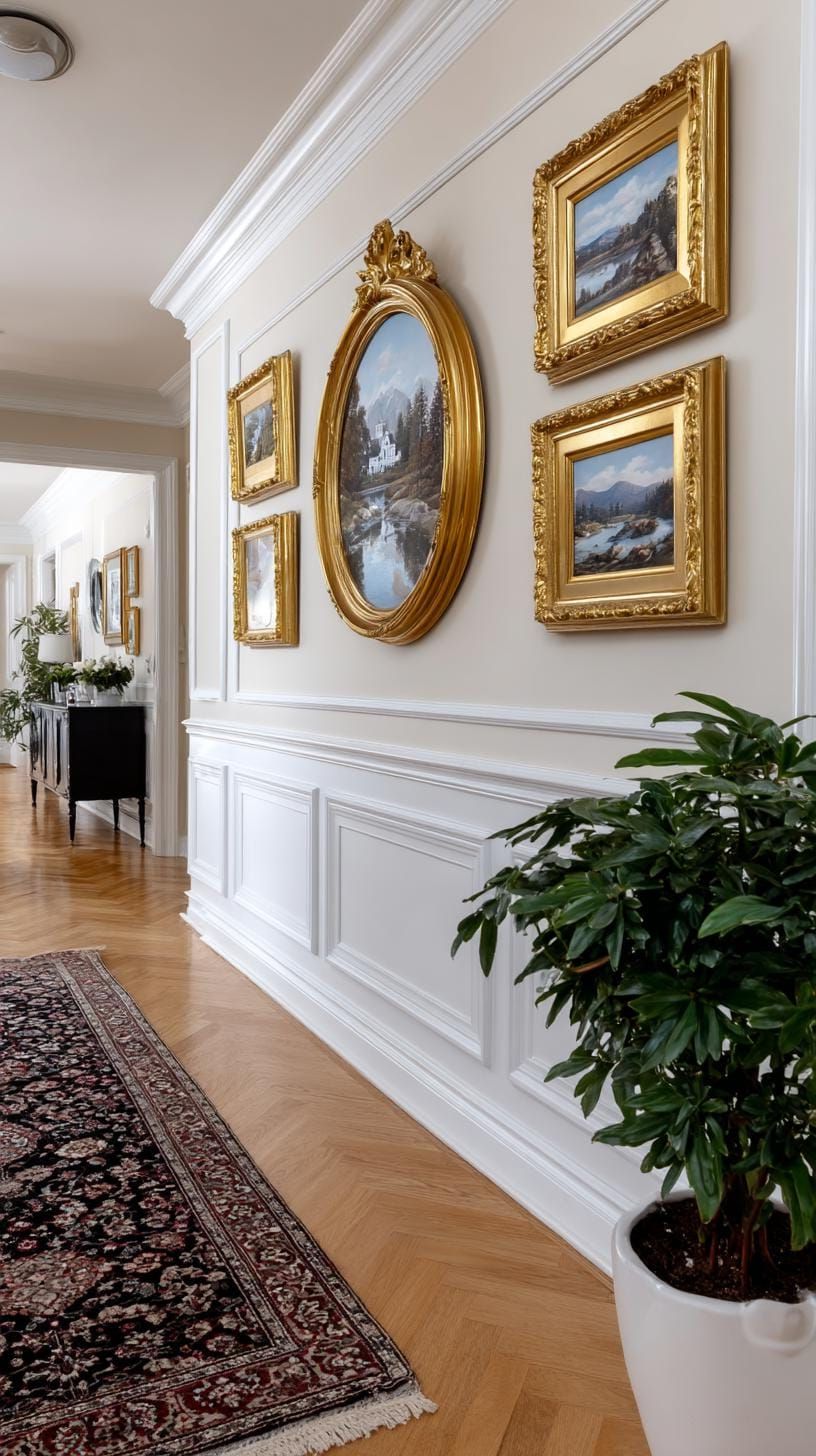
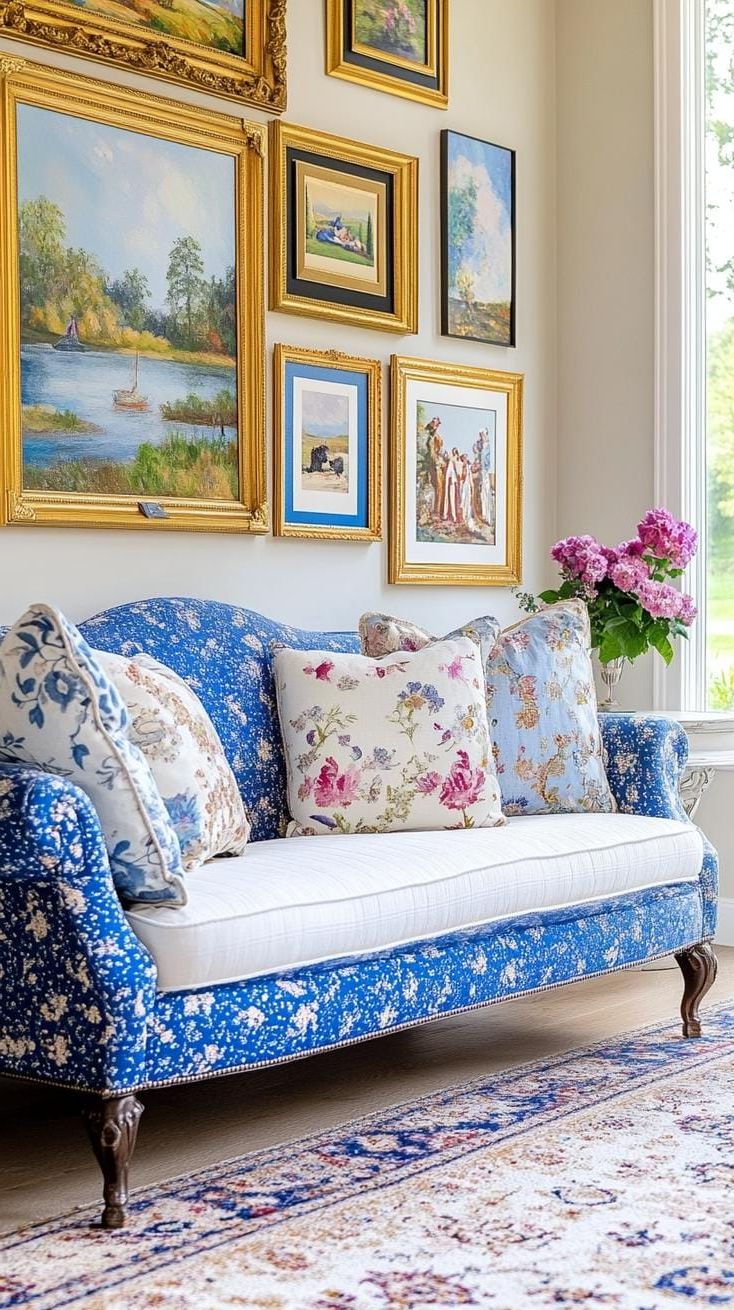
SaveHave you ever noticed how gold gilded frames can really tie a room together in an instant? Just pop some matching ornate frames into a classic grid pattern and voila! Luxury vibes all around.
 Save
SaveWhen you look at it, the balance just feels right and kind of soothing. And that fancy gold detailing? It really gives off a feeling of luxury and elegance. You’ll especially love this look in dining rooms or entryways – it’s just so classy and timeless.
 Save
SaveOh, just a heads up – having too much gold might make your wall look like a fancy palace hall filled with mirrors! It’s best to go for art pieces with softer colors and make sure they’re evenly spaced, like two to three inches apart.
So, what this does is it helps keep things balanced and make sure your furniture and style don’t completely take over the room.
32. Bold Duo of Two Oversized Frames
 Save
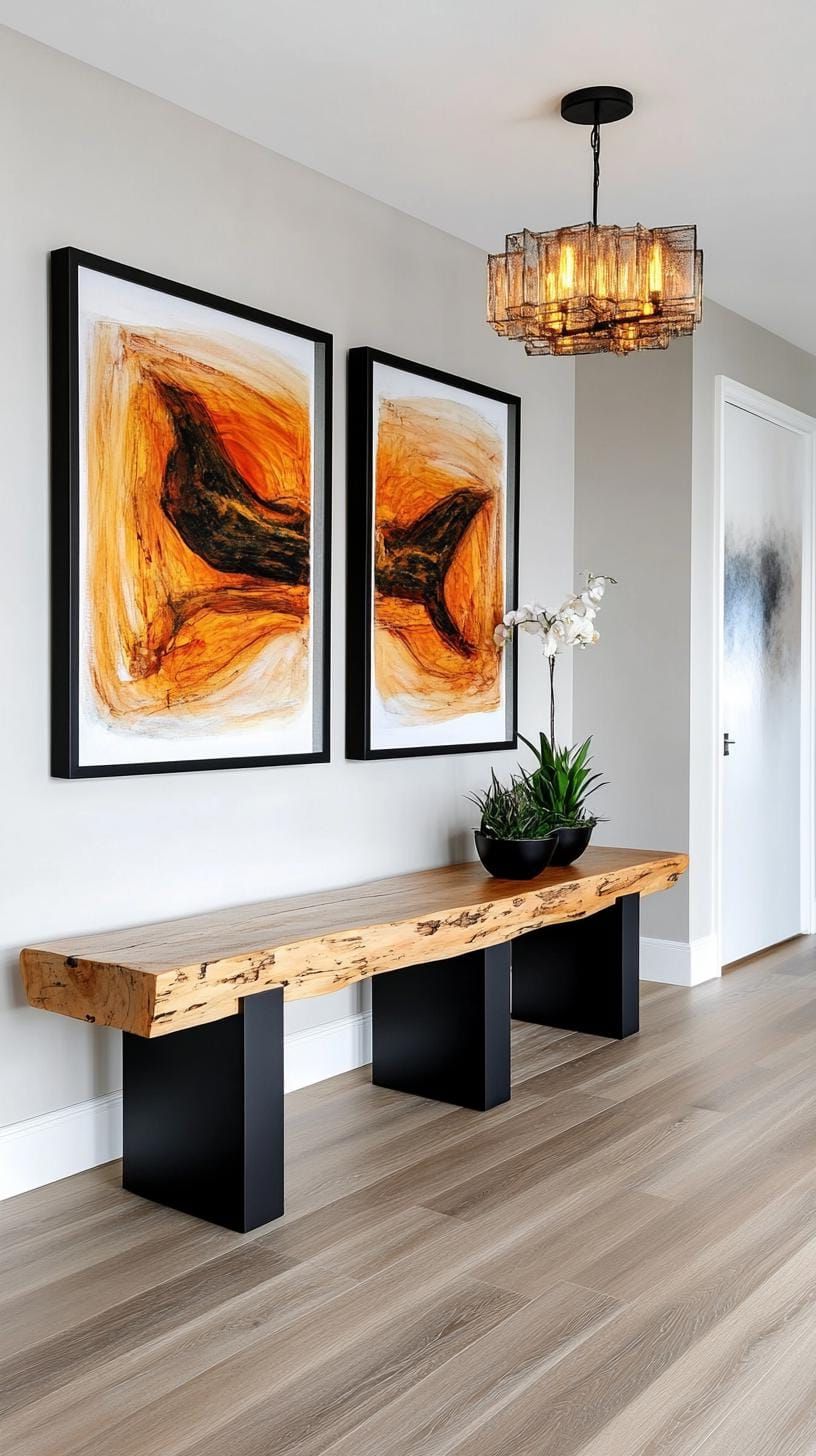
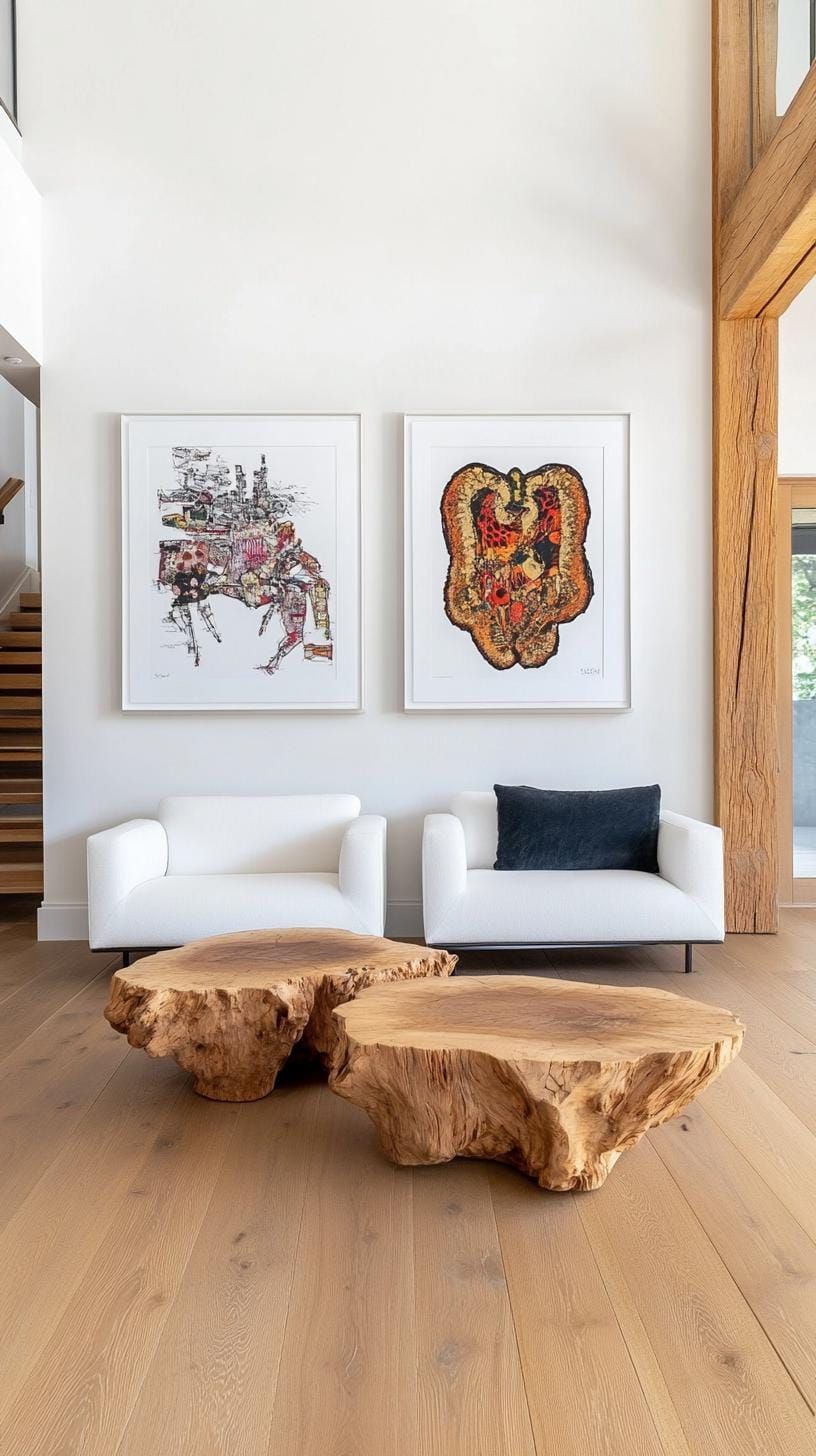
SaveHave you ever noticed how hanging two big, eye-catching frames next to each other can really make a statement? Who says wall art has to look cluttered to stand out?
 Save
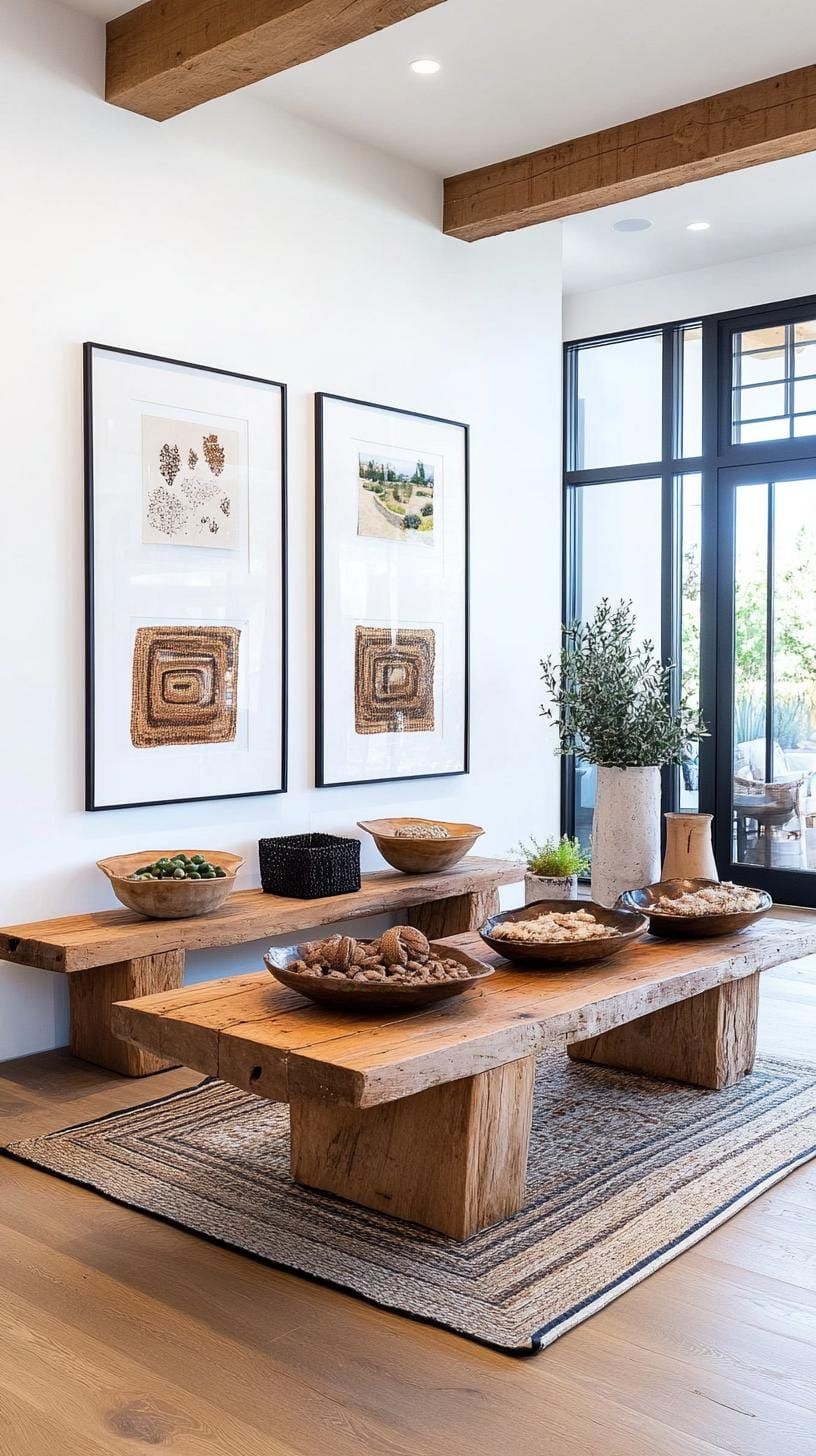
SaveThis style works great for those large, empty walls that just need a little something to make them pop, like in a bedroom or dining room that could use some personality! Sometimes, less is really more, especially when you can create a beautiful balance and contrast that steals the spotlight.
 Save
SaveWhen you’re picking out frames, it’s a good idea to go for ones that either match or complement each other. If you want to make a statement, try using black-and-white photos, or opt for colorful abstract paintings. One thing to watch out for is making sure the size of the frames fits the size of the wall – small frames can get lost on big walls. So, keep scale in mind when decorating!
Before you print out any important documents, it’s always a good idea to try out different templates first to avoid any potential visual mishaps down the line.
33. Rotating Seasonal Grid Refreshed Every Few Months
 Save
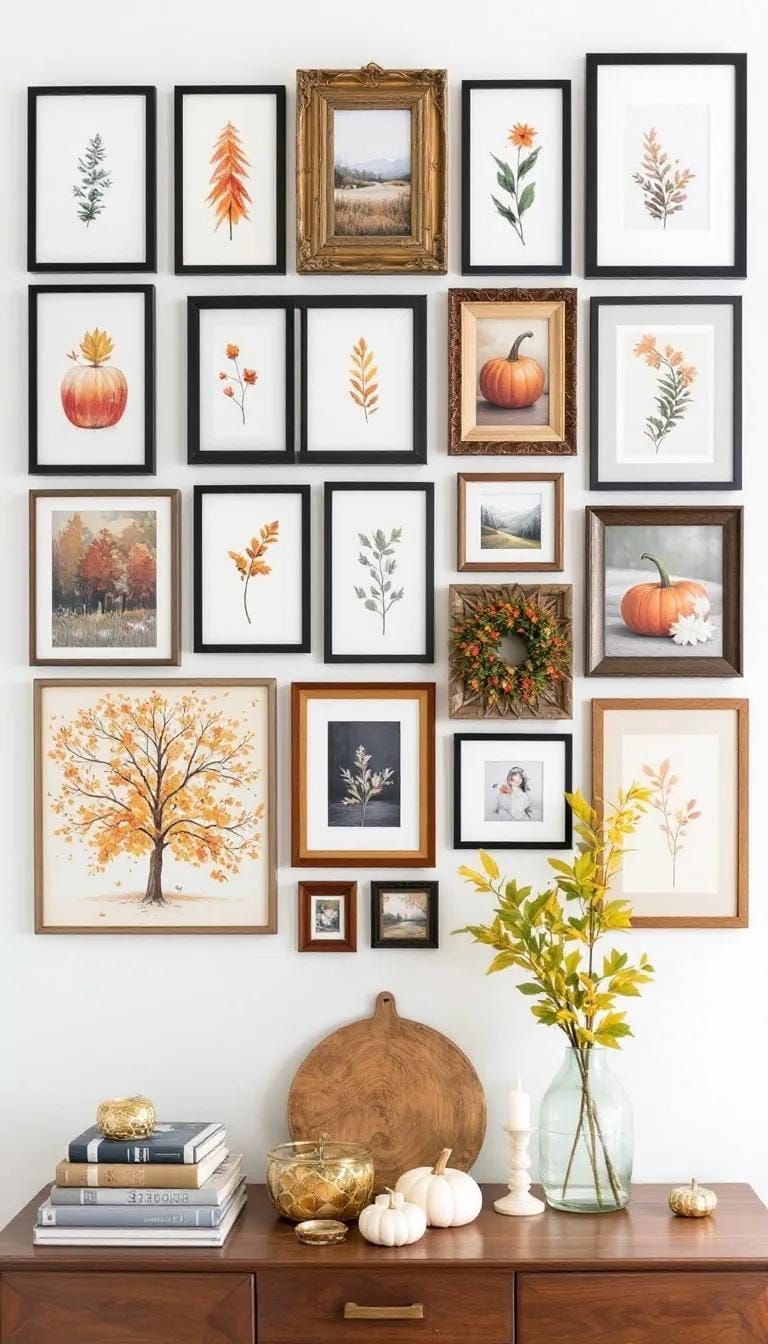
SaveAre you tired of looking at plain walls that are as boring as a rice cake? Well, a rotating wall grid is a great way to liven up your space without spending a ton of money. Just hook it onto the wall and watch your room transform!
 Save
SaveHey there! Have you ever thought about switching up your wall decor easily? You can try clipping seasonal prints, kids’ art, or postcards and swap them out every three months. It’s a fun way to keep your space feeling fresh without spending hours redecorating. Give it a try and see how your space transforms!
 Save
SaveThis method is great for sparking creativity! You can showcase autumn leaves in October, winter landscapes in January, and blooming florals in the spring. All you need are a couple of push pins and a fun, playful attitude.
The only catch is that you’ll have to find new art every season. But really, isn’t that part of the fun?
34. Asymmetrical Layout with Visual Harmony
 Save
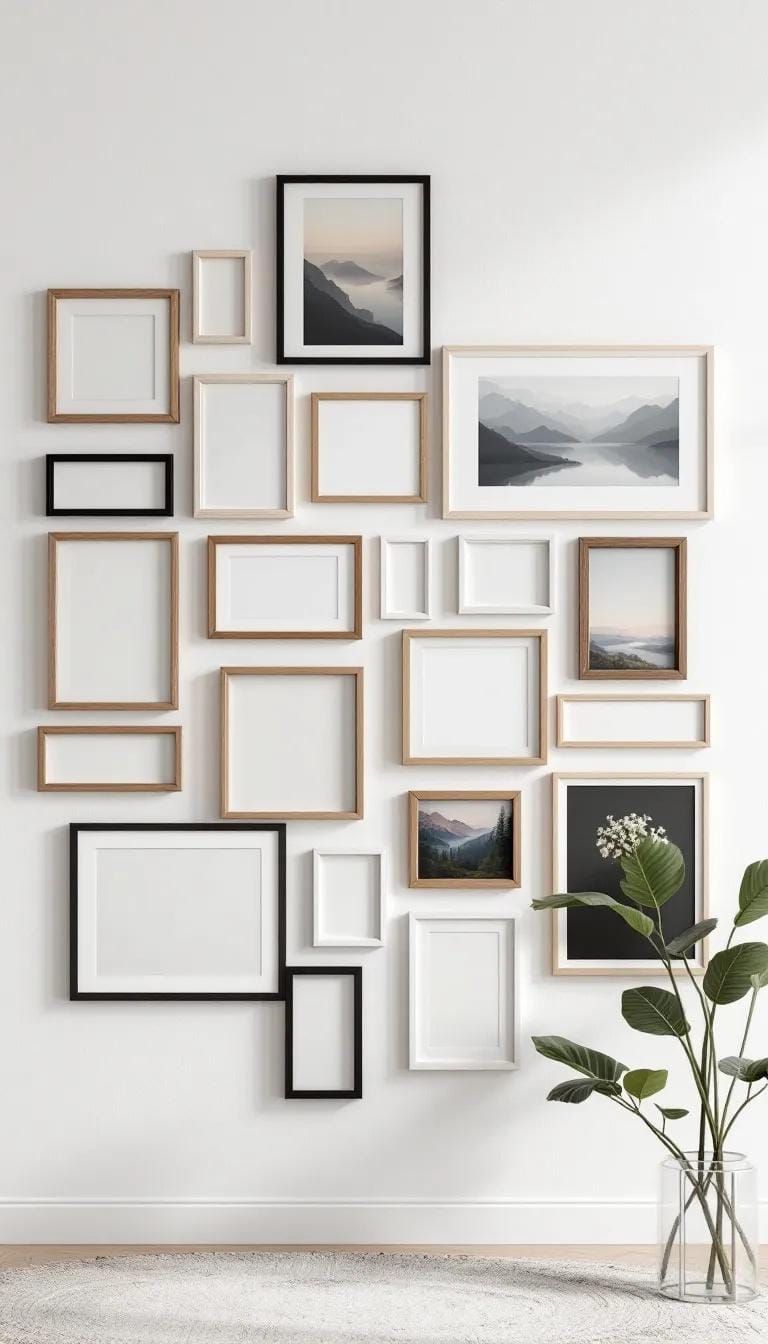
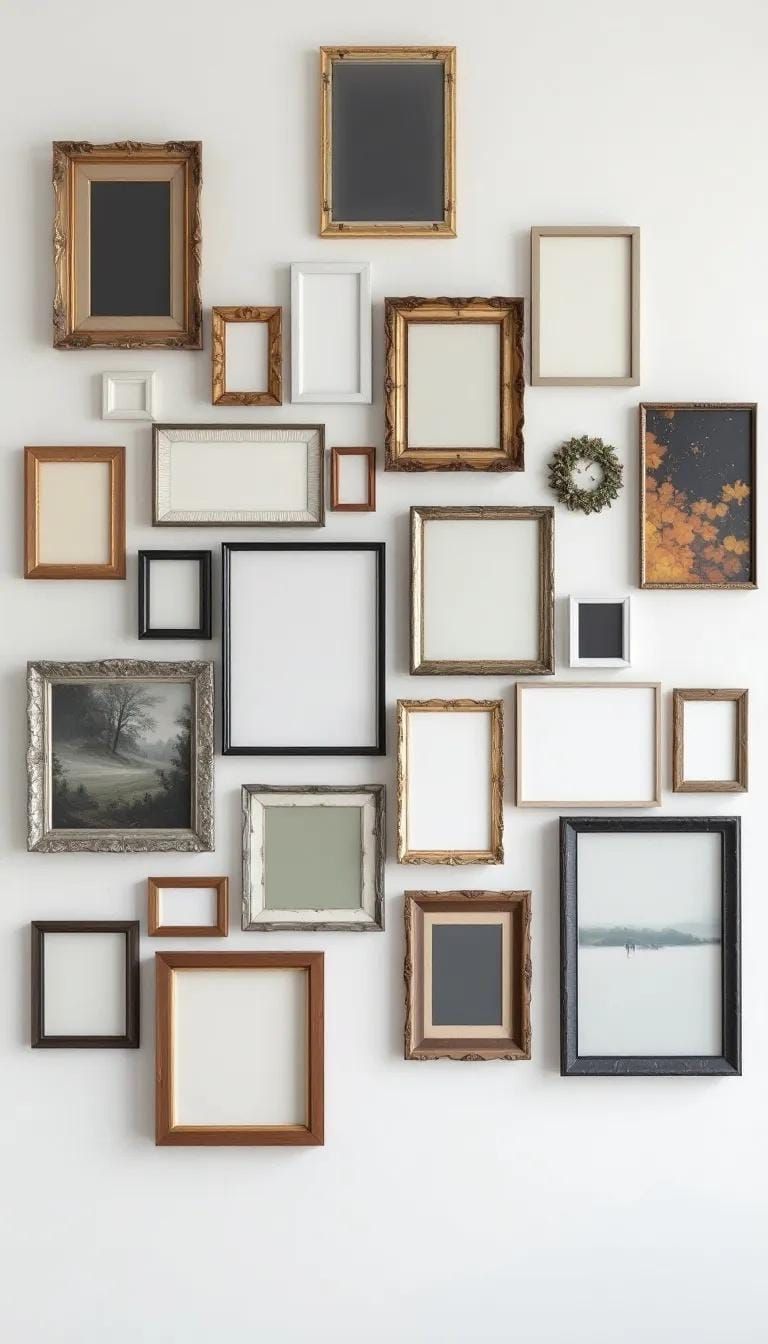
SaveWhen you ditch the idea of perfect symmetry, it can really mix things up! Creating an asymmetrical gallery wall gives you the freedom to play around with different sized frames and mix things up in unique and unexpected ways. You can even add in some smaller accent pieces to add some extra flair and personality to the display. So have fun with it and get creative!
I love how fearless this approach is! It really brings the whole arrangement to life and makes your art collection the star of the show. It’s like letting the art take charge and do its thing, instead of following strict rules all the time.
 Save
SaveSome people worry that having asymmetrical decor might make a room look messy, but in reality, it’s all about finding that balance through spacing and sticking to a color scheme or frame style that ties everything together.
For instance, imagine putting up a big eye-catching abstract piece on one wall to make a statement, and then adding some smaller prints on the other wall to bring everything together. It’s amazing how each wall can have its own unique look!
35. Sleek Black Metal Frame Poster Wall
 Save
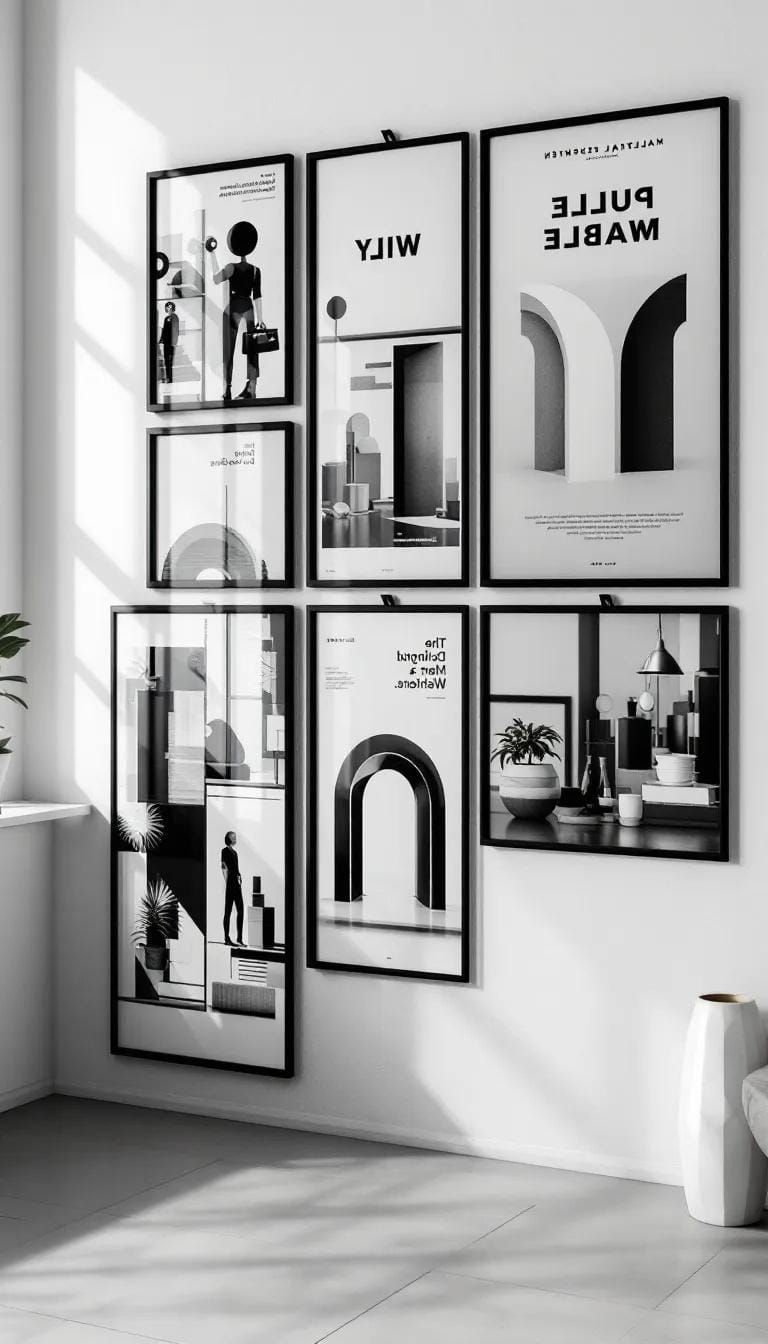
SavePicture this: a plain white wall transformed with some cool posters in sleek black metal frames. It’s a look that easily hits the mark for anyone, whether you’re into keeping things simple or going all out with your decor.
 Save
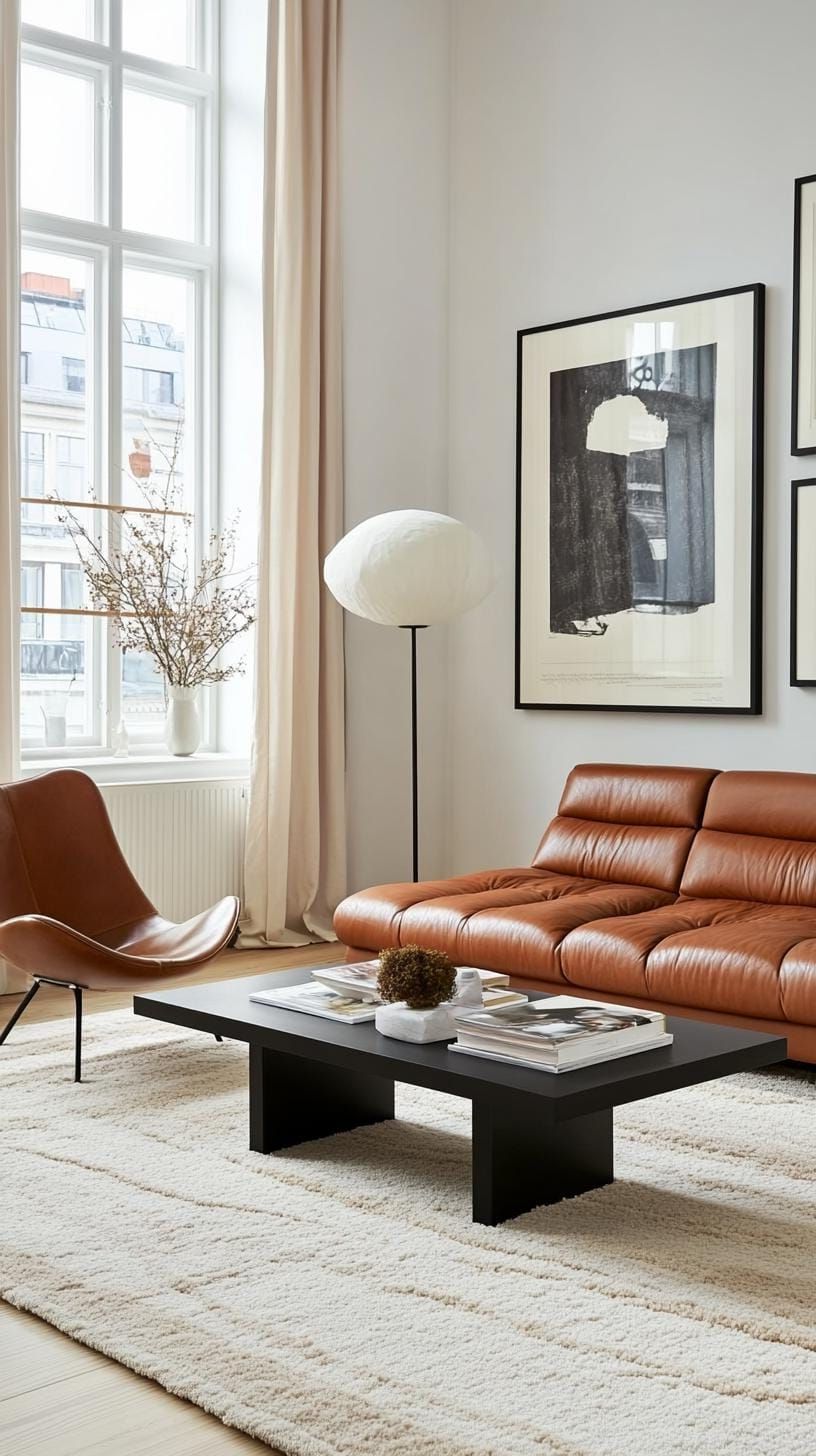
SaveHey there! How about mixing some cool abstract prints with some urban photography? A grid layout will keep things looking sleek and modern, while playing around with staggered arrangements will give your space a fun and energetic vibe. It’s a great way to turn your place into a stylish art showcase!
 Save
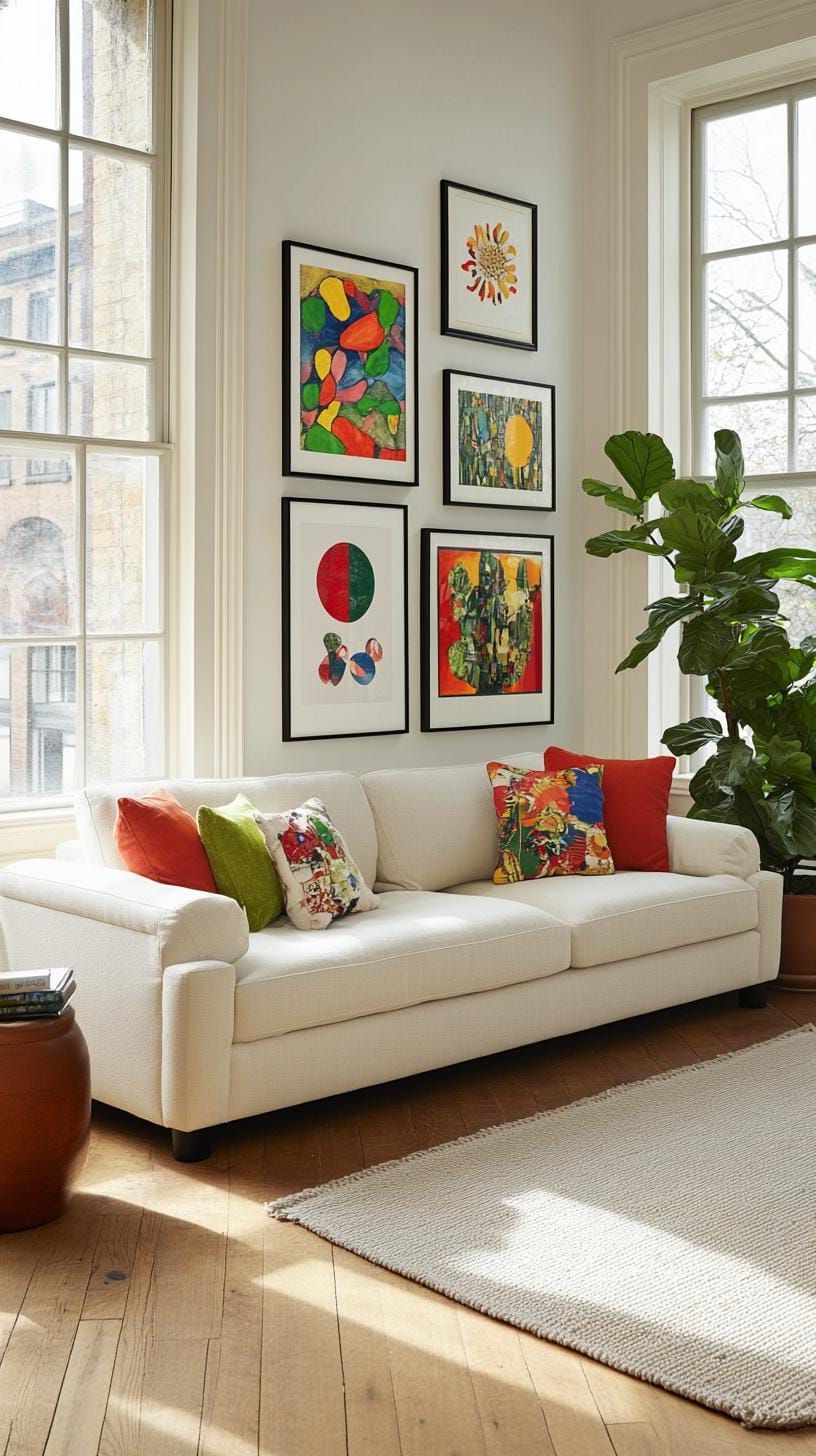
SaveThese frames are great because they’re super light and a breeze to hang up. Plus, when you feel like switching things up with new posters, it’s no hassle at all!
You know, fingerprints tend to really stand out on black metal, and if you go overboard with bold designs, things can start feeling a bit hectic. So, my advice would be to stick to a simple color scheme to keep things in harmony and let some empty space work its magic.
36. Travel-Inspired Prints and Cultural Textiles
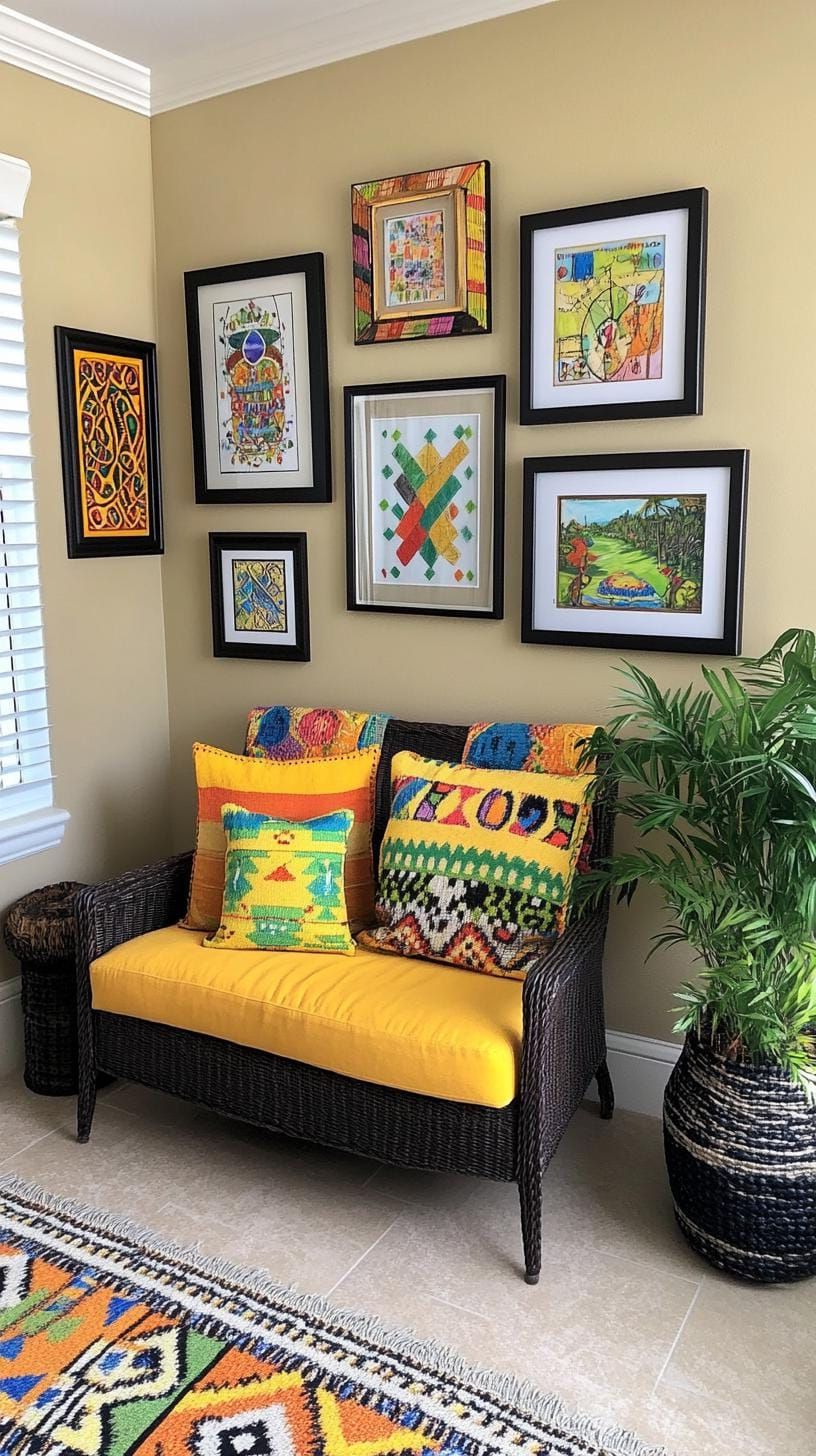 Save
SaveImagine if a wall could be like your own little travel diary! You can create a vibrant and personalized display by mixing together travel photos, colorful ethnic prints, and interesting textures. It’s like bringing a piece of your adventures and memories into your home decor. So go ahead, get creative and make your walls tell your unique story!
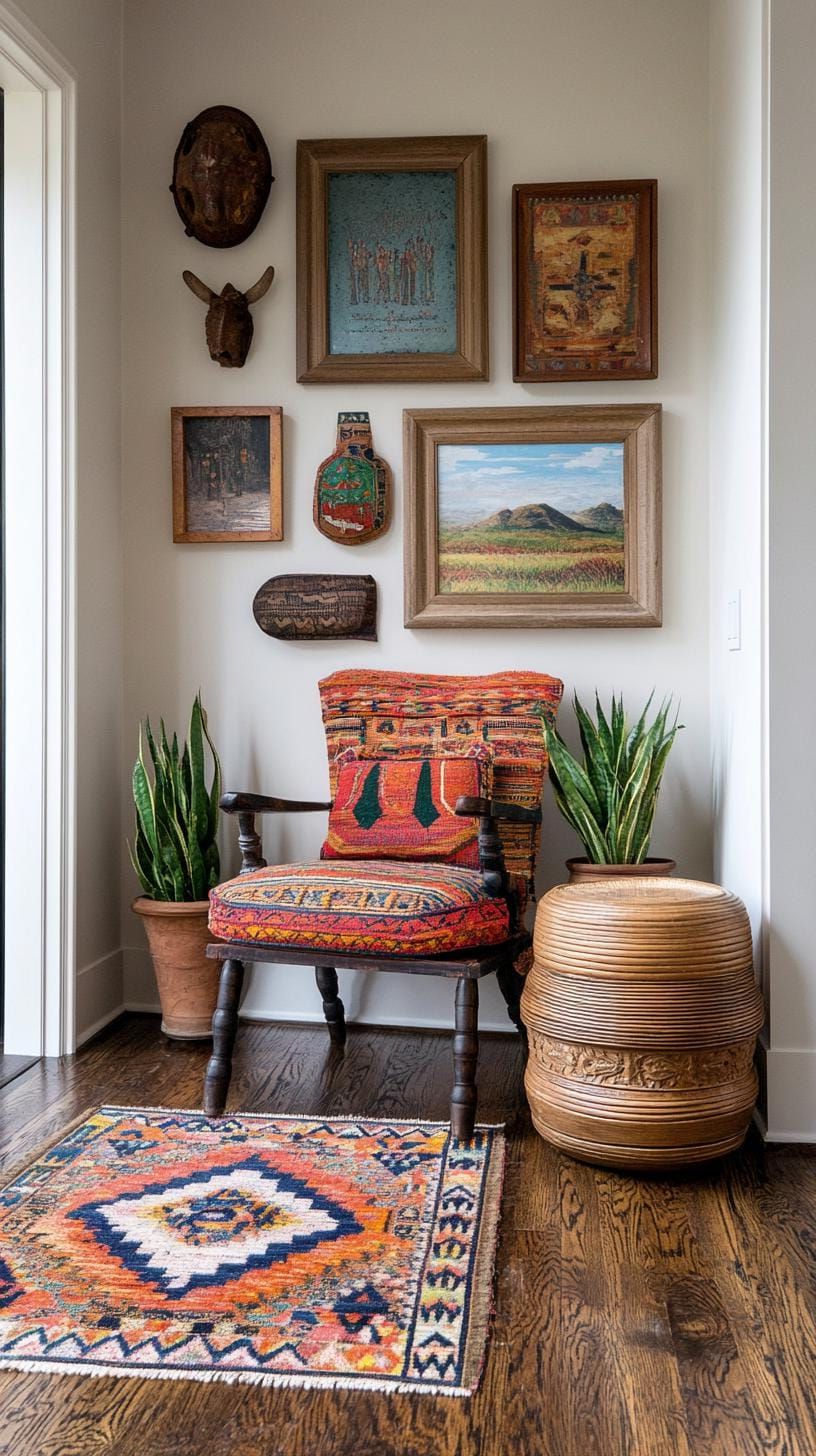 Save
SaveWhy not try layering some cozy Moroccan rugs, colorful batik fabrics, or unique woven baskets next to photos from your favorite travels? It’ll give your space a warm and nostalgic vibe, and spark some interesting conversations with anyone who stops by.
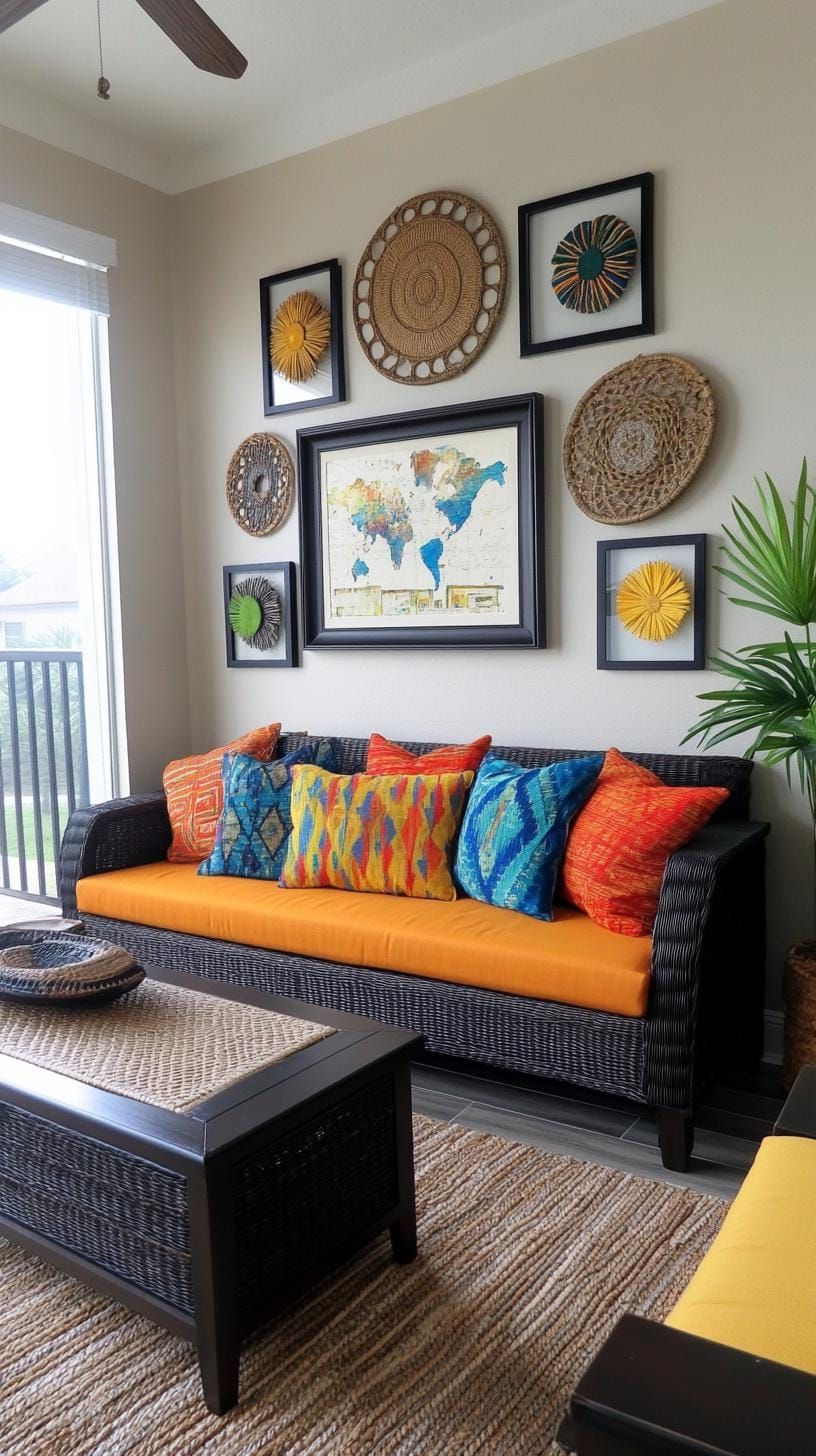 Save
SaveAre you interested in balance in your decor? Here’s a tip: make sure to keep equal spacing between items, even when they have different shapes and sizes. For example, try pairing a colorful textile square with a sleek photo frame. Mixing things up will keep your eyes interested and moving around the room.
Some people might think that mixing different styles and colors together can look a bit overwhelming, so it’s a good idea to stick to a basic color scheme to prevent it from feeling too chaotic.
37. Color-Coordinated Mosaic Wall in One Palette
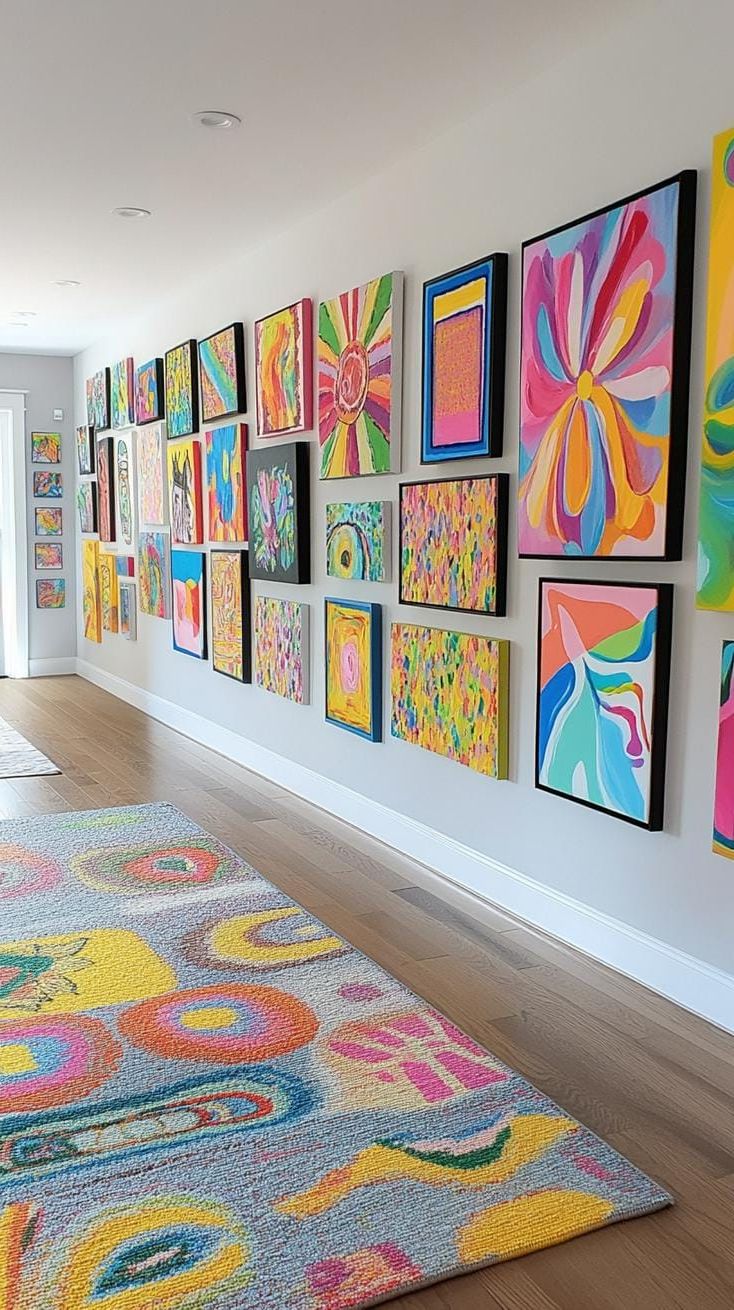 Save
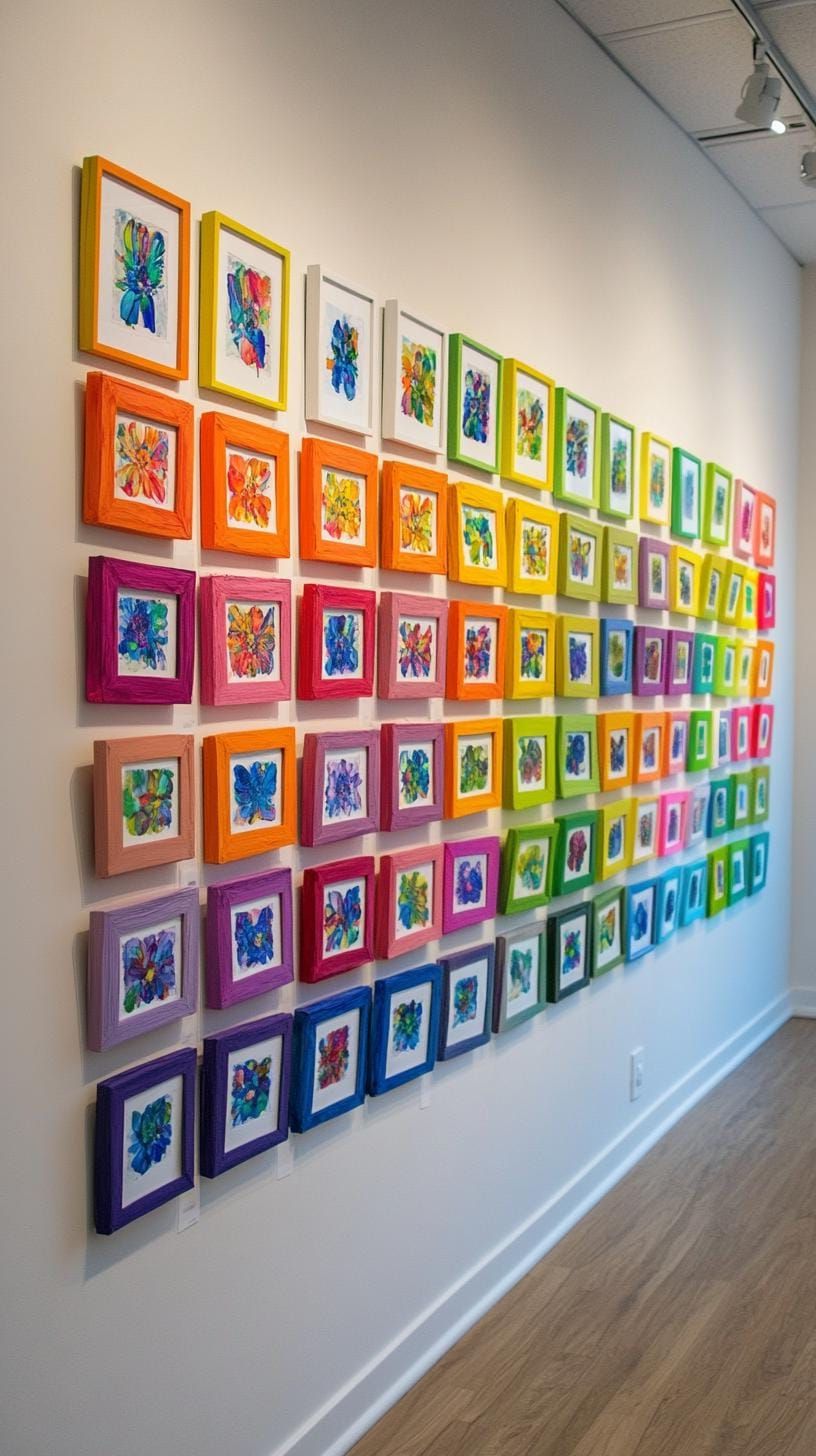
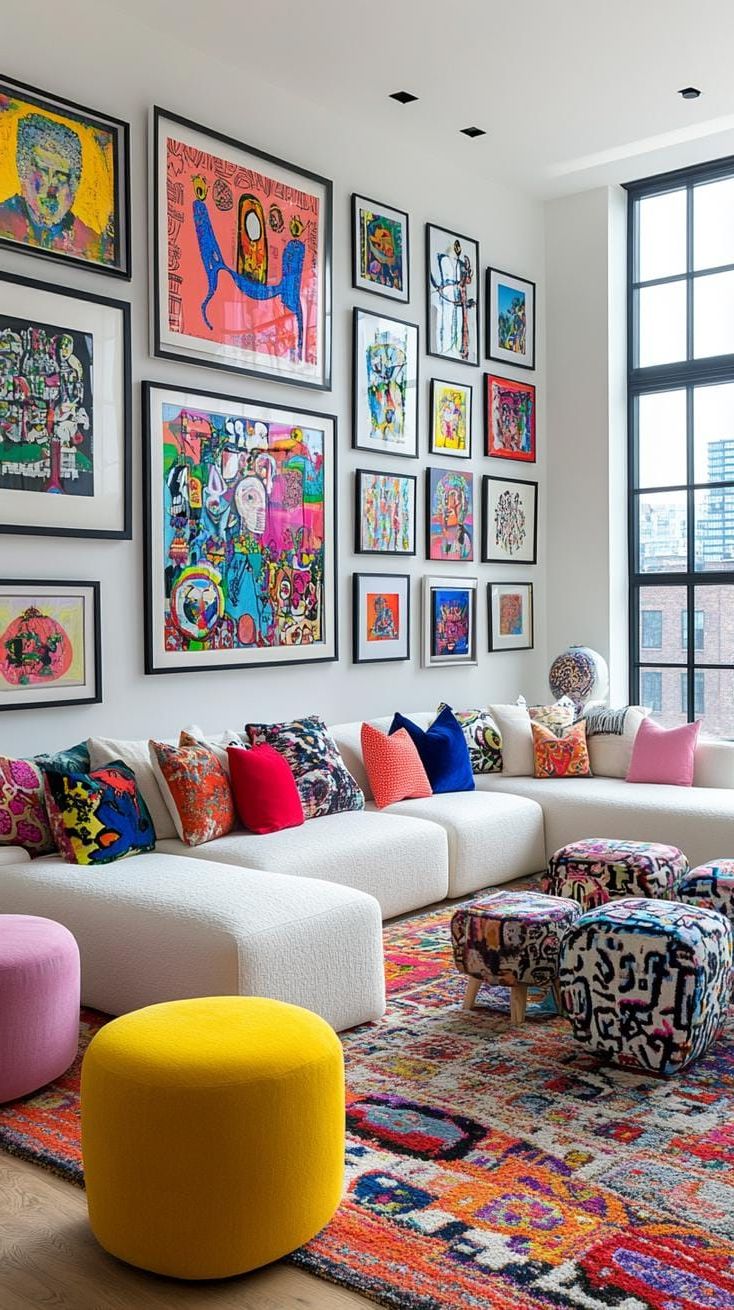
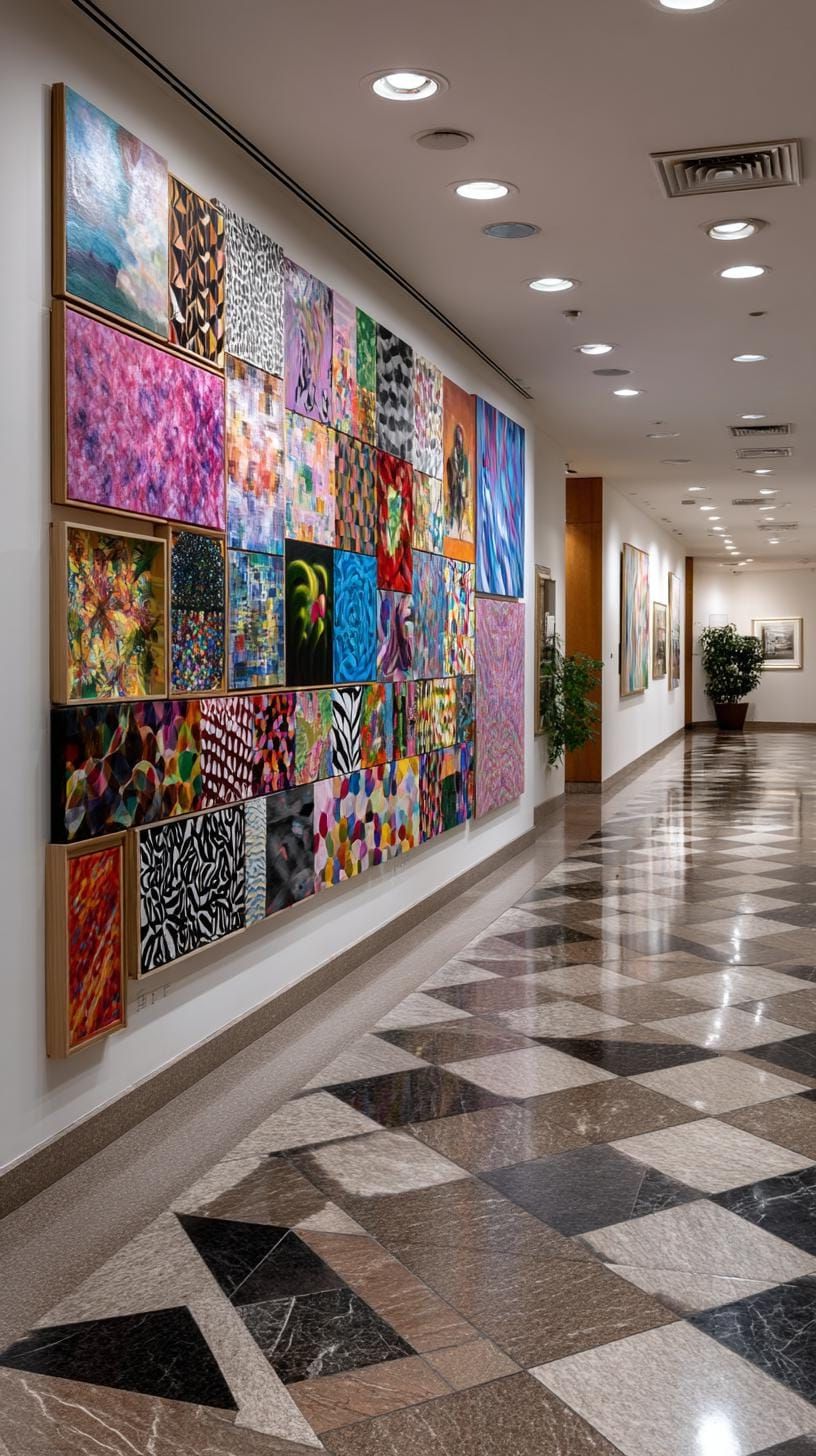
SaveHave you ever seen a full wall covered in a beautiful, coordinated mosaic? It’s like having a gallery in your own home! All the pieces work together in perfect harmony, creating a stunning focal point that brings everything together. It’s not just visually striking, but it also gives the room a sense of cohesion and unity.
 Save
SaveIf you want to make a statement without overwhelming clutter, this method helps to control the chaos and add some personality to your space.
 Save
SaveLet’s kick things off by choosing frames in a cool shade like black, brass, or even grass green. Then have some fun mixing and matching artwork like photos or geometric prints that all tie in with those colors you picked out.
You know, the real trick is mixing and matching different styles, sizes, and textures. It does take a bit of time and effort to get it just right, but trust me, the end result is so much more unique and personal than anything you could just buy off the shelf.
Final Thoughts on Building Your Gallery Wall
Putting together a gallery wall is kind of like whipping up a recipe in the kitchen – a bit of symmetry here, some bold frames there, and before you know it, those boring walls are transformed into a masterpiece!
Why not switch things up a bit? Instead of just sticking to the usual catalog-style layout, maybe consider using a grid for all those family photos or getting creative with a freeform arrangement for your travel mementos. Remember, it’s your story so feel free to mix it up and make your own rules!
Feeling ready to get started? Start by laying out your pieces on the floor, moving them around until you find the perfect spot. Once you’re happy with the arrangement, snap a quick photo with your phone before hanging them up. This way, you can avoid any regrets or unnecessary nail holes.
Why not liven up those bare walls with some personal touches and show off your memories and personality? Let your space reflect who you are and what you love!
Hey there! Today we’re going to talk about some related topics. Feel free to ask any questions or share your thoughts on the subjects we discuss. Let’s have a chat and learn from each other. Can’t wait to hear what you have to say!